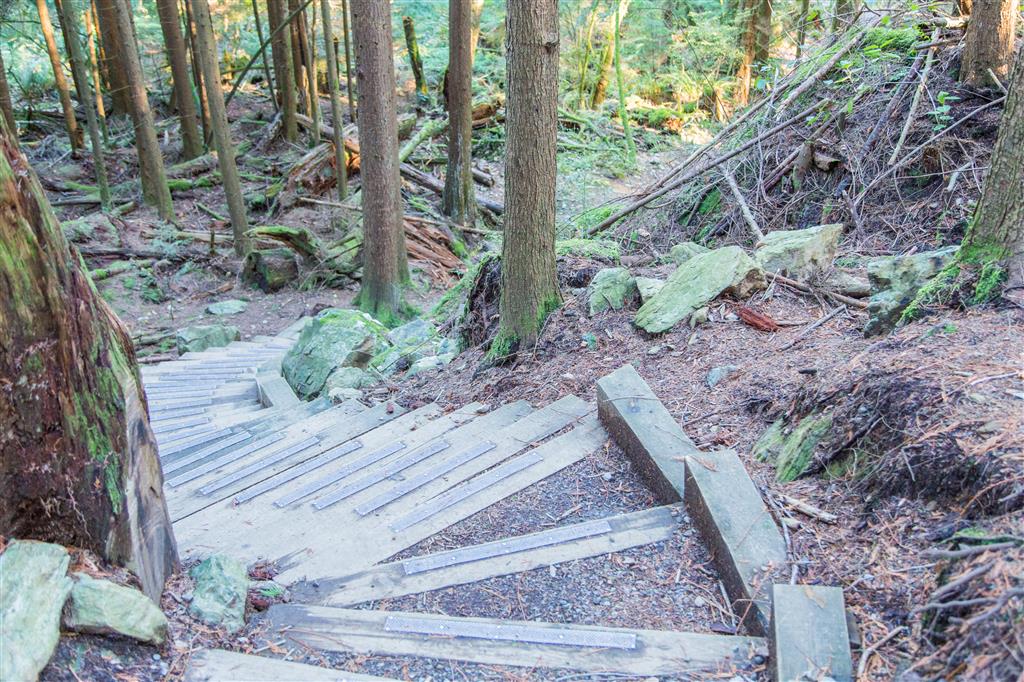
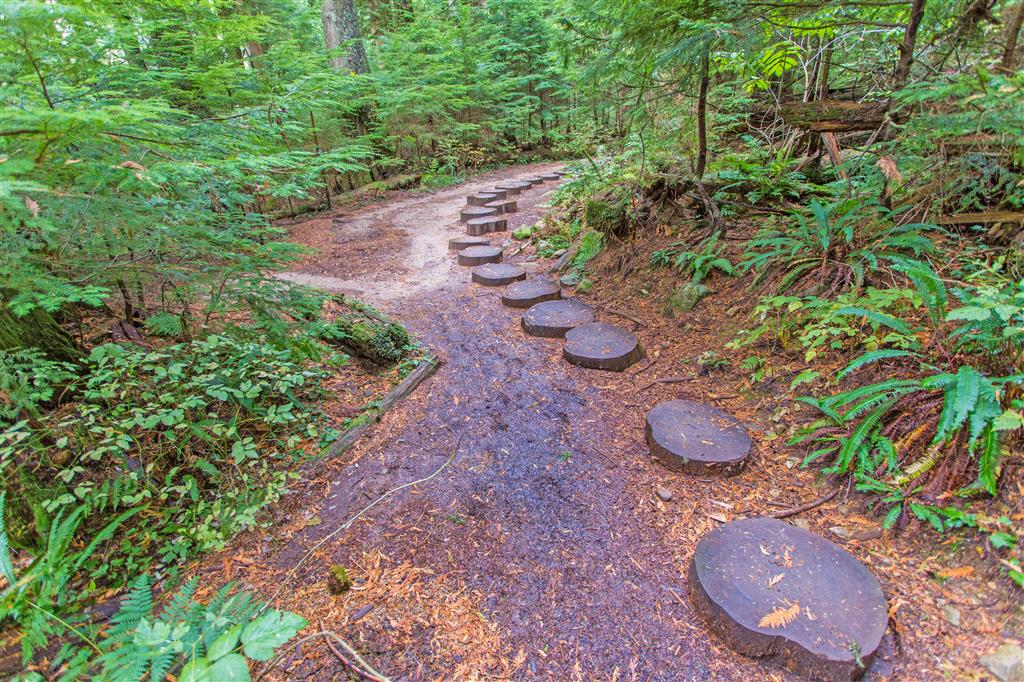
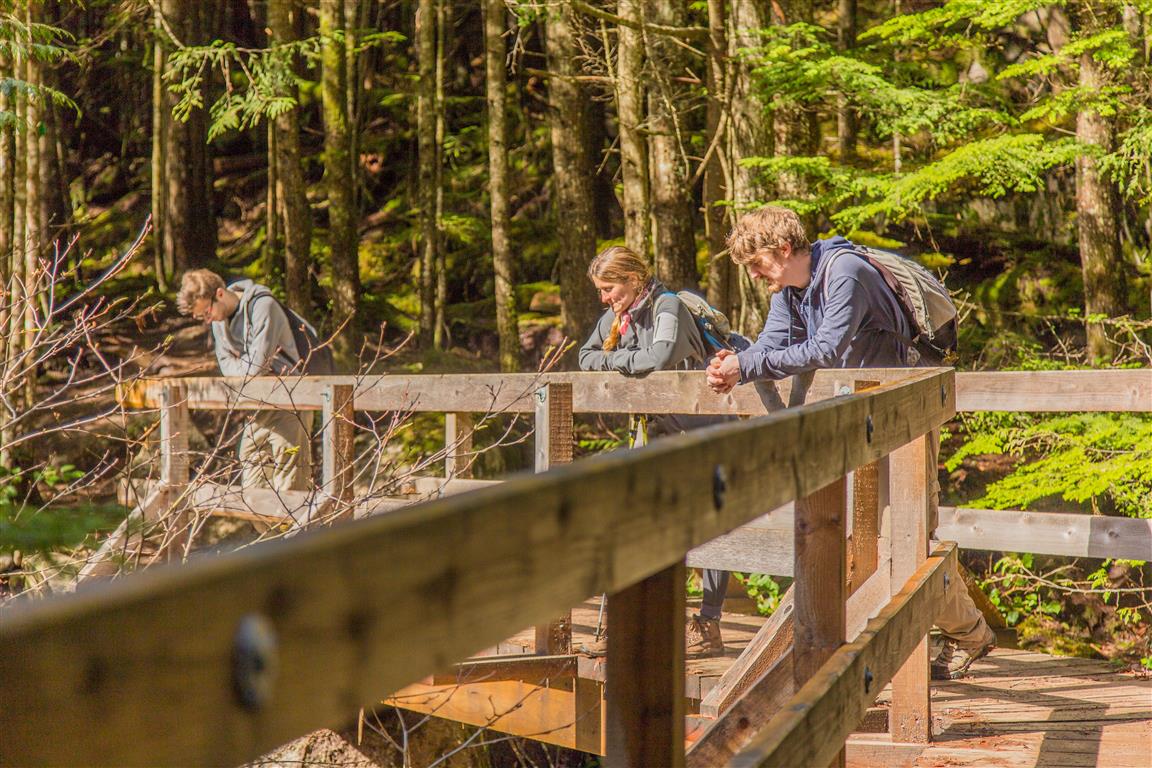
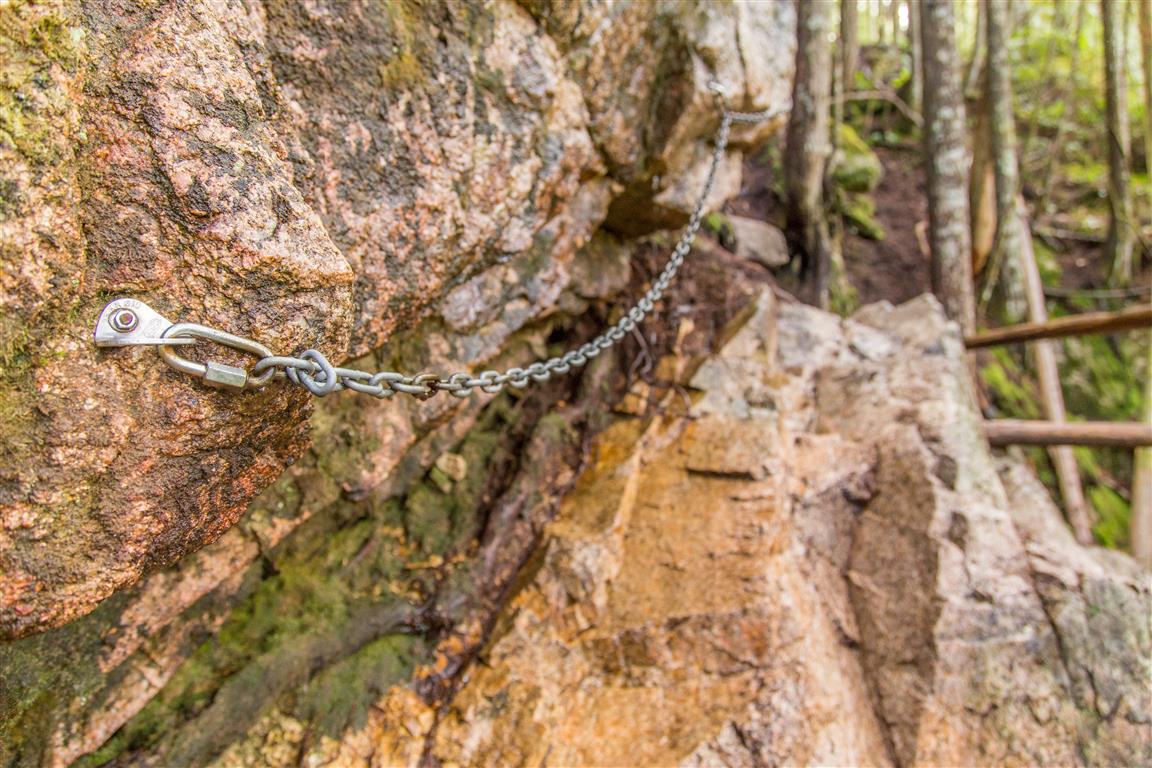
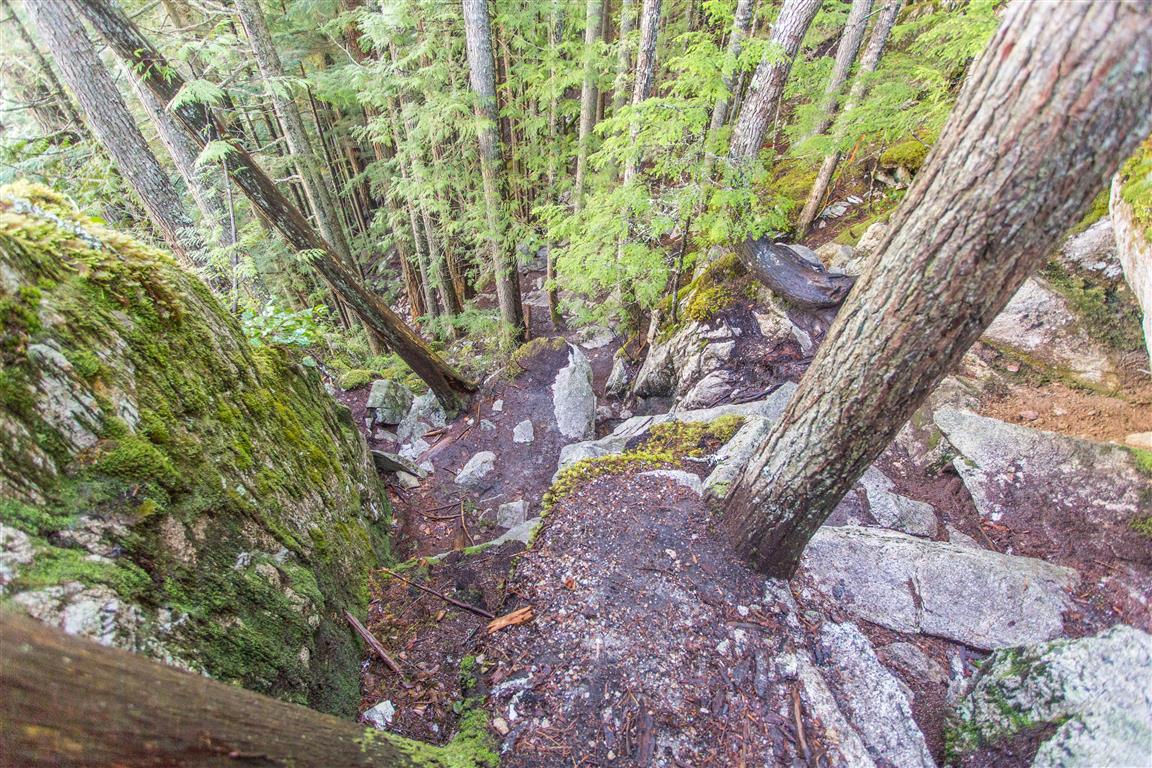
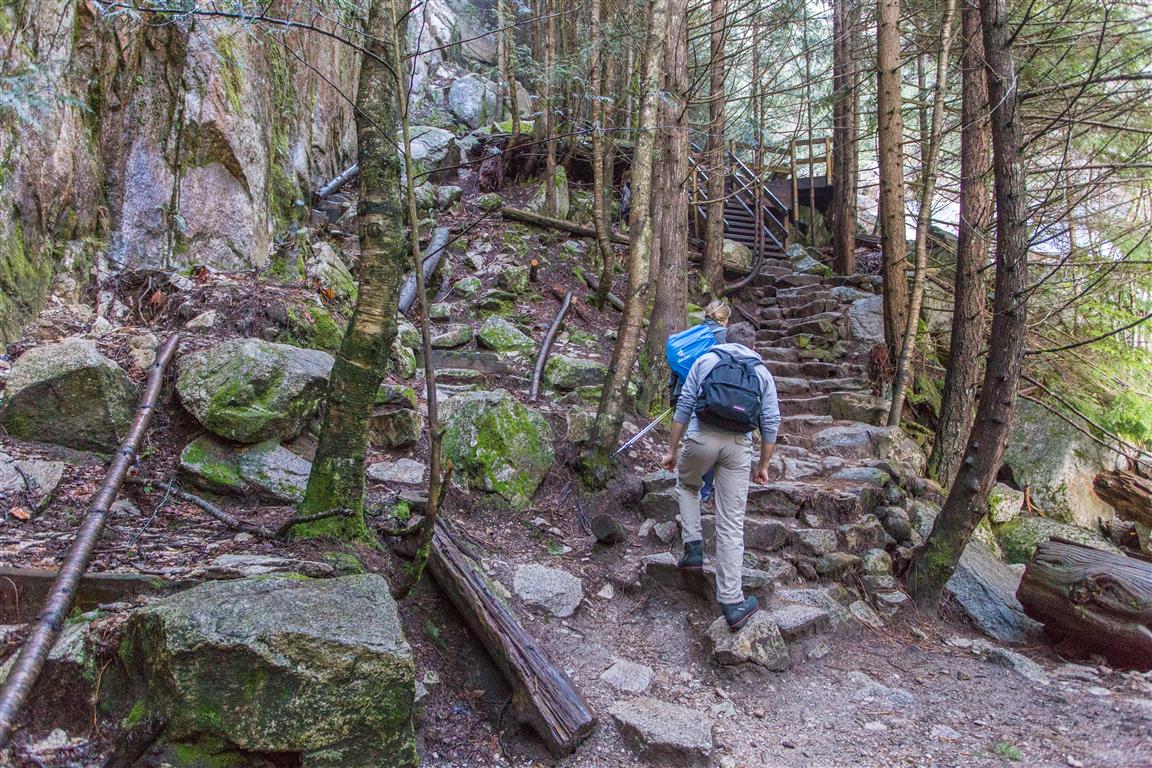
Upper Shannon Falls is the 3rd highest waterfall in British Columbia and the hike to the top is well worth it. Today, we parked in the Shannon Falls Parking lot, but you can also park in the parking lot for the Sea to Sky Gondola, a short distance to the north. The initial part of the trail is shared with the trail for the Stawamus Chief hike. If you park in the Shannon Falls parking lot, you can see the bottom of the falls before your ascent. The trail is well maintained by BC Parks and there a few bridges to cross. Sections of the trail are steep, with some parts having nicely placed cobbles for steps. We did this hike in March 2016 and the trail was quite busy. I would imagine a summer weekend would be very busy there.
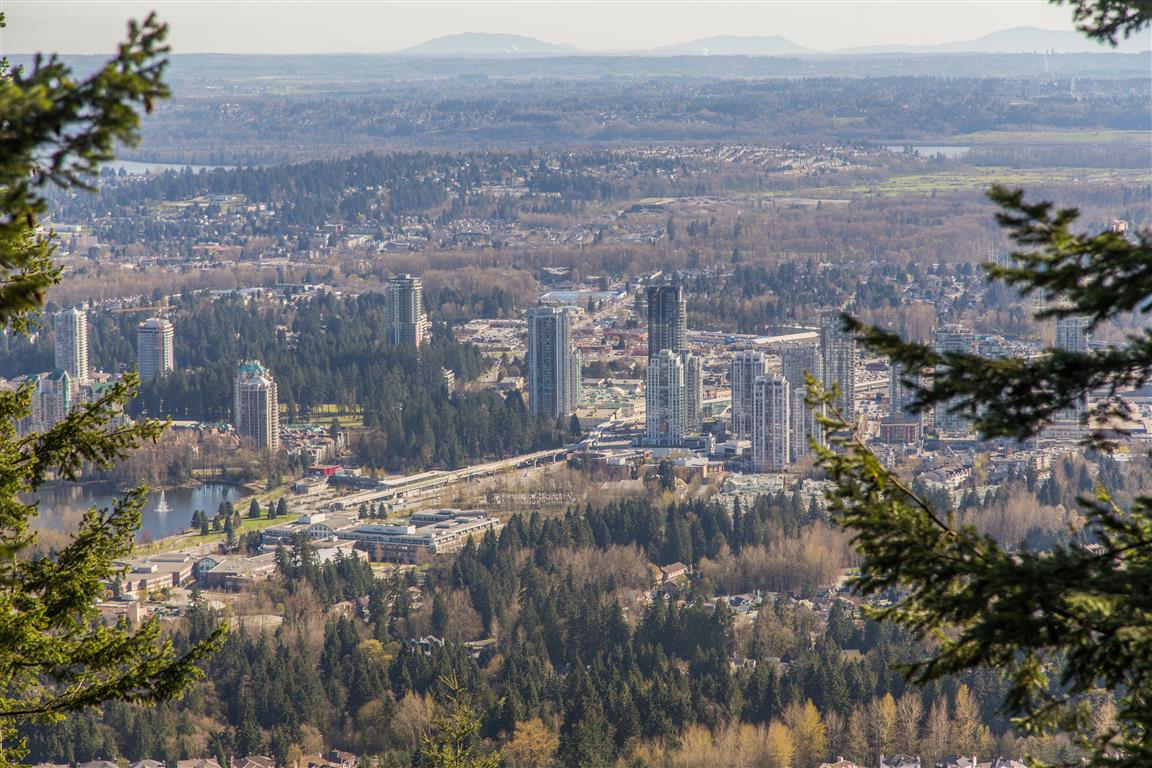
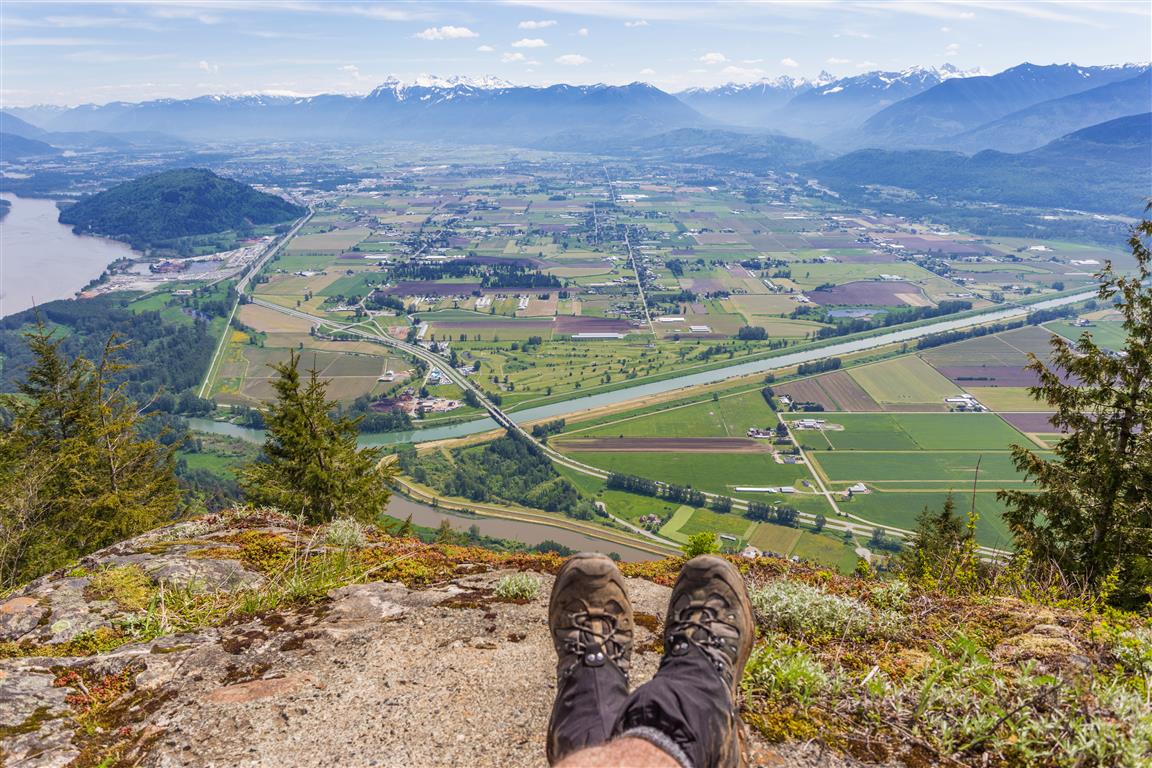
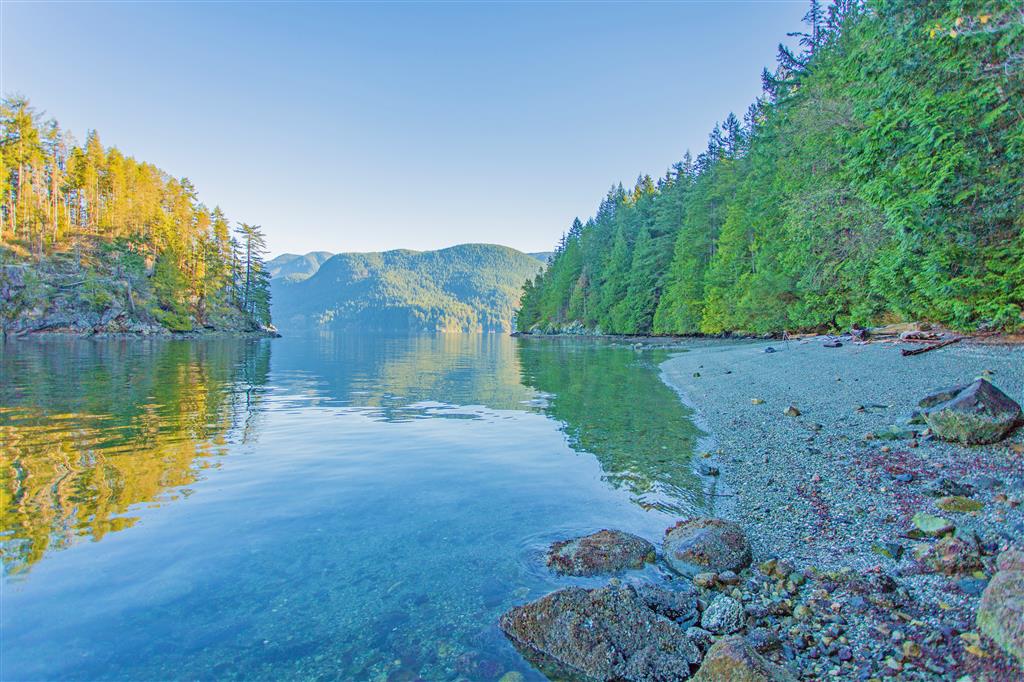
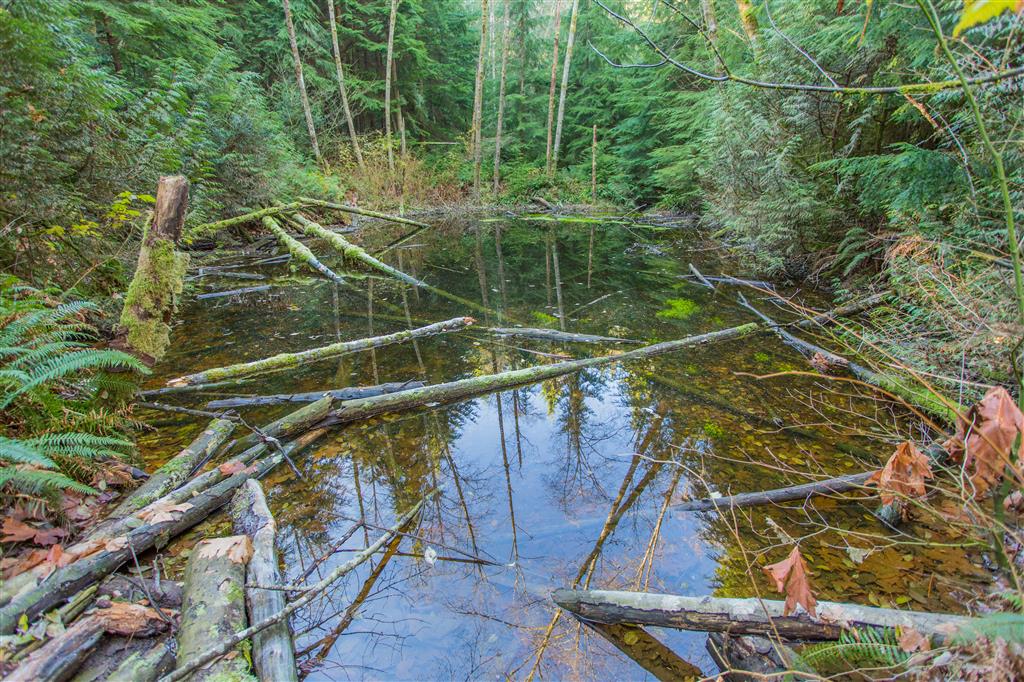
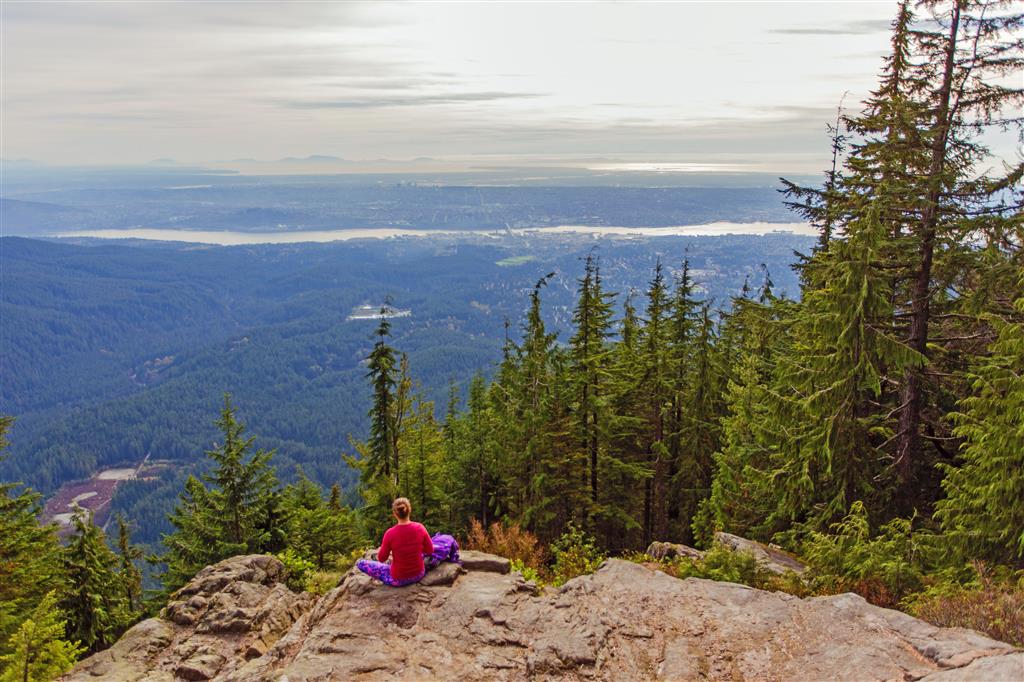
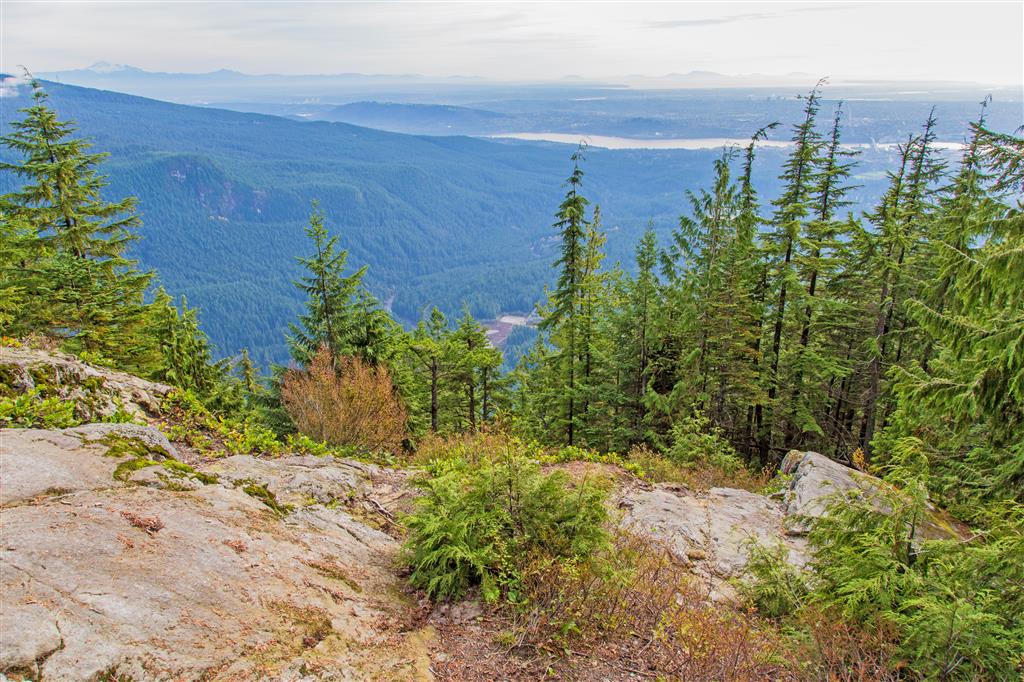
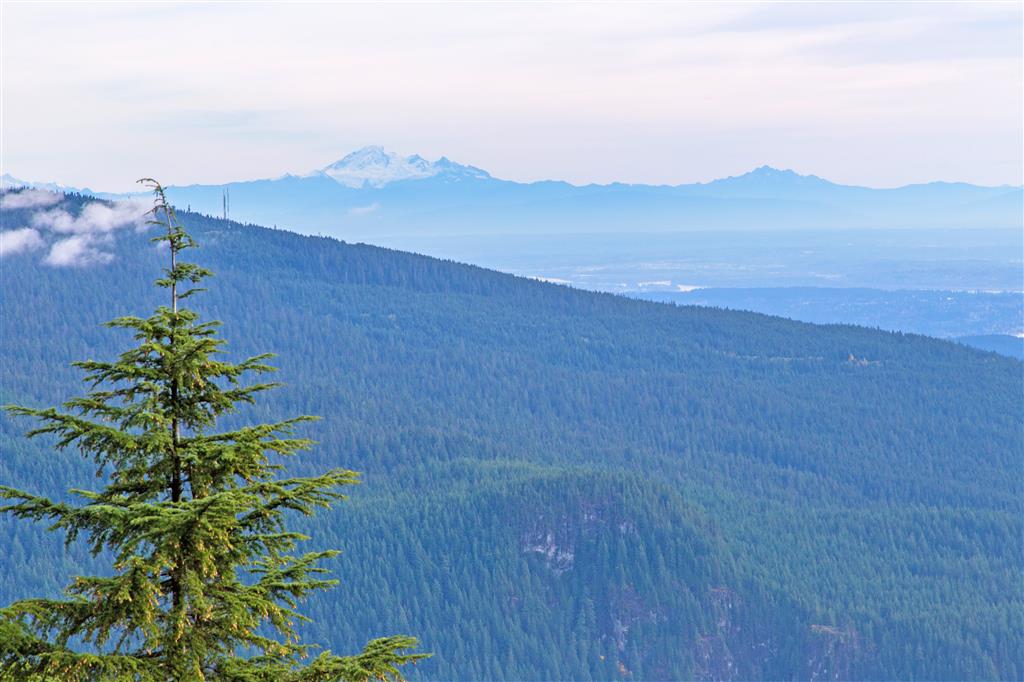
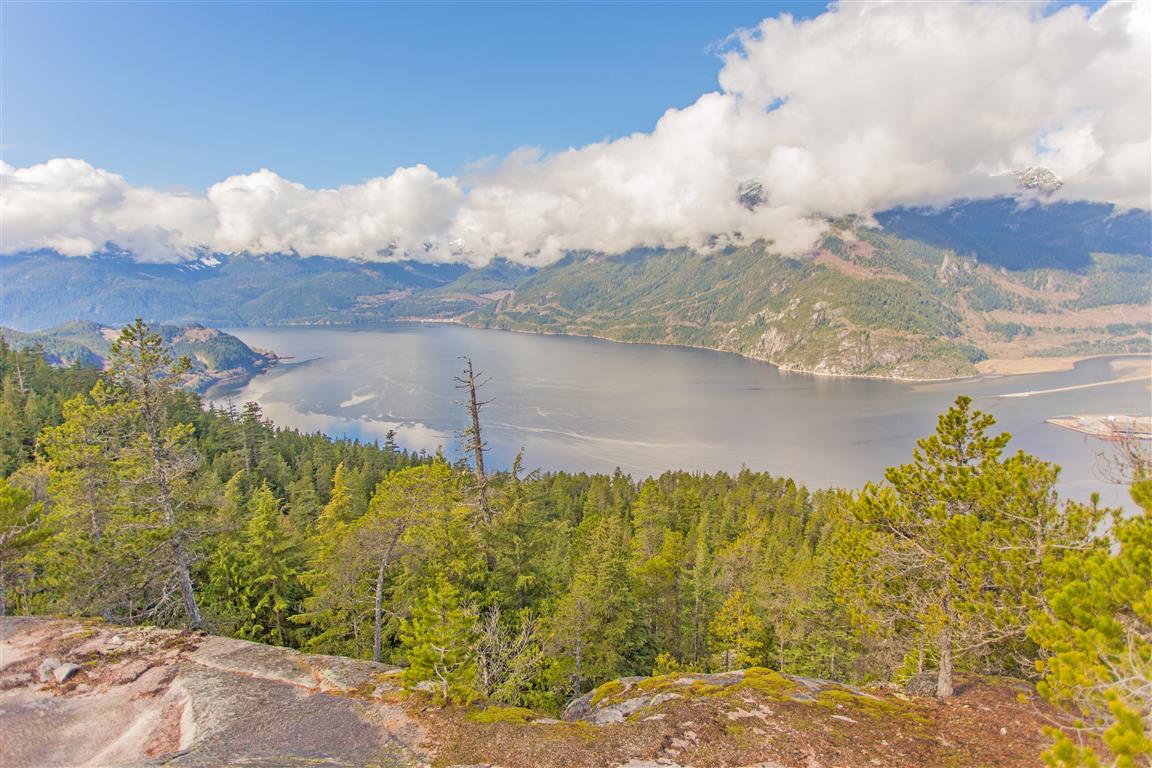
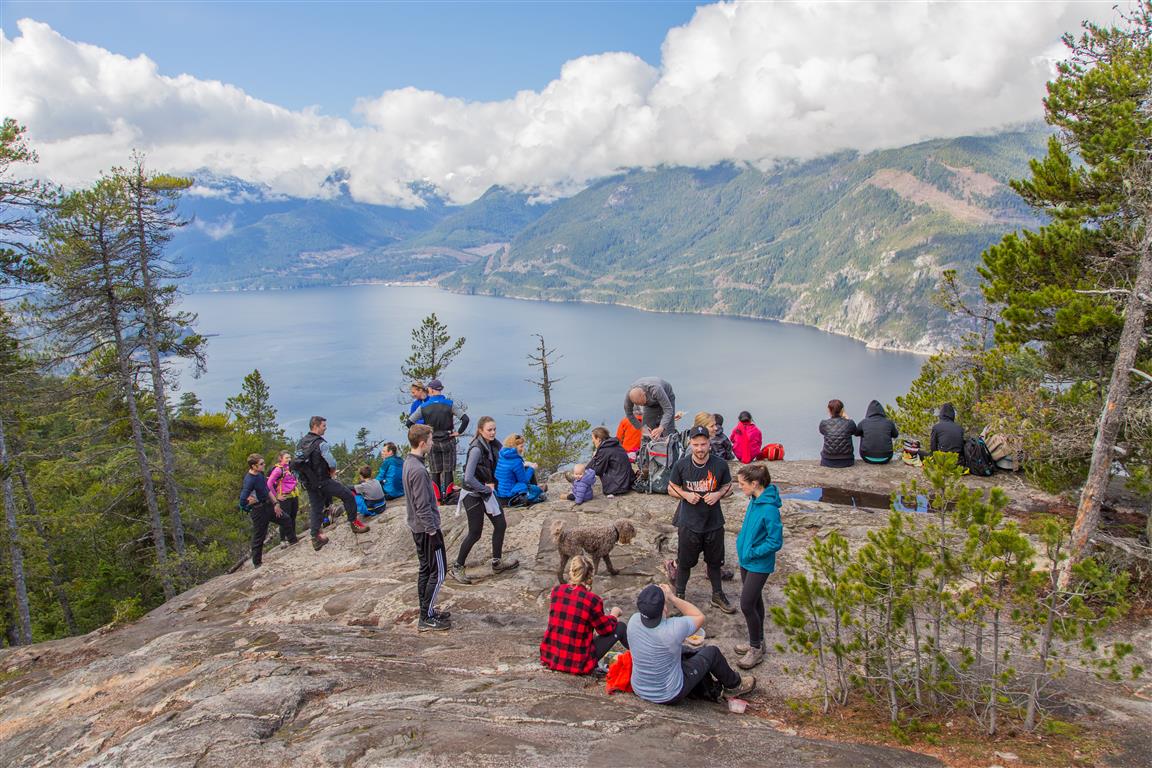
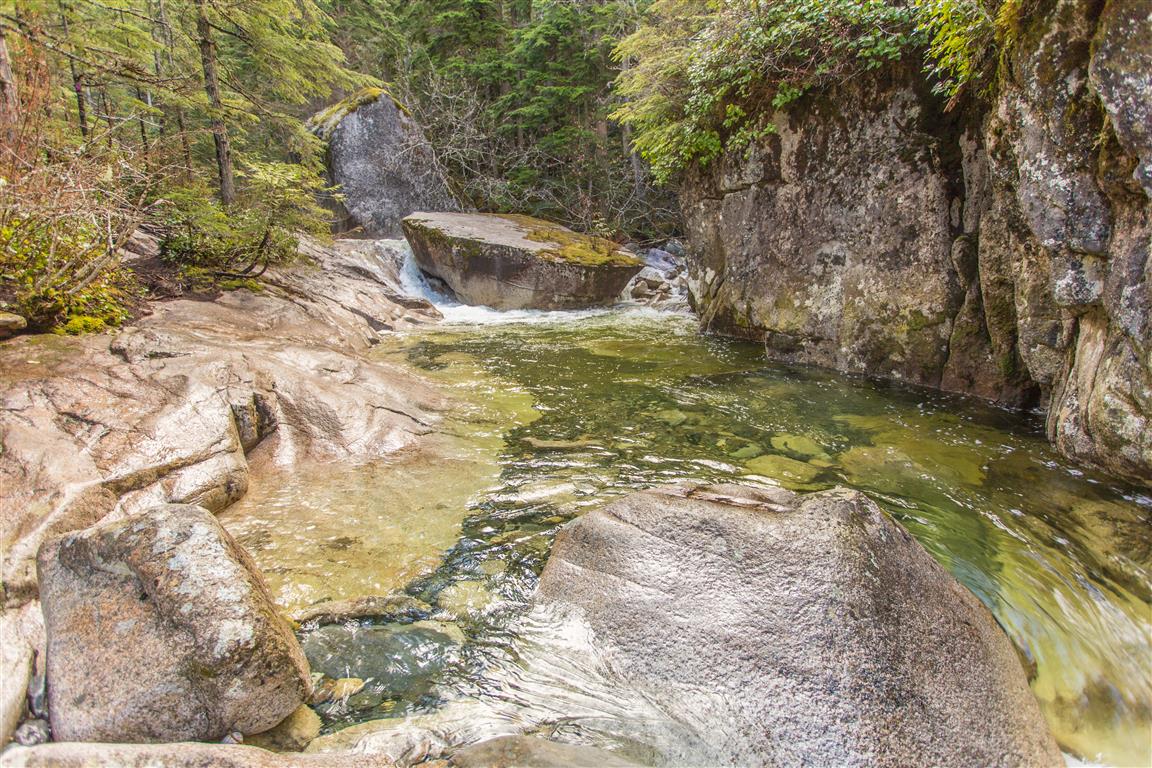
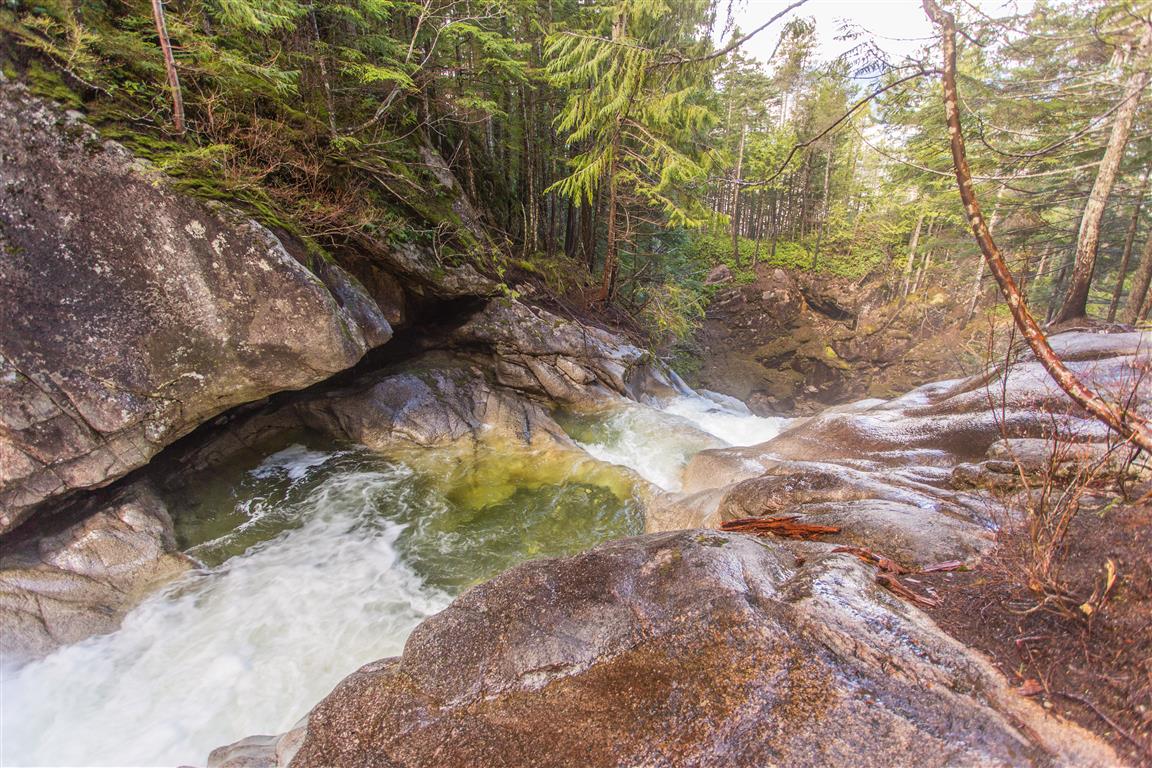
The trail rises steeply and there are a couple of viewpoints before the top. There is also a section of the falls, where you can get very close (but not too close). There is also a nice pool of water in the creek, where you could go in – in the summer, but I would imagine the water is very cold all year. At the top, you are rewarded with an amazing view of the end of Howe Sound, the Stawamus Chief and Squamish. The bluff at the top is a large area and accommodates many many people.
The stats:
Distance: 7.4 km (return)
Time: 5.5 hours (lots of breaks)
Low point: 3 m
High point: 485 m
Elevation gain: 482 m
Cumulative Elevation gain: 820 m
Trailhead: 49° 40’ 18.6” by 123° 09’ 35.2” (Google Maps and Navigation)
The route with downloadable gpx…
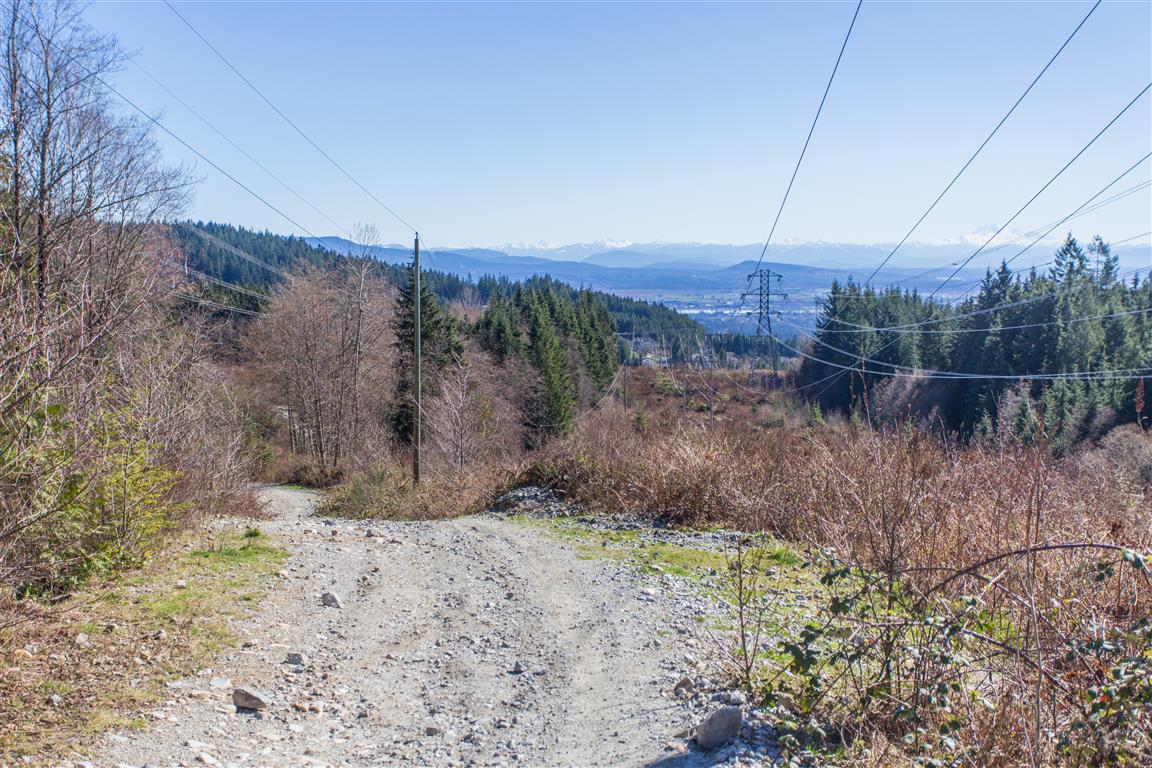
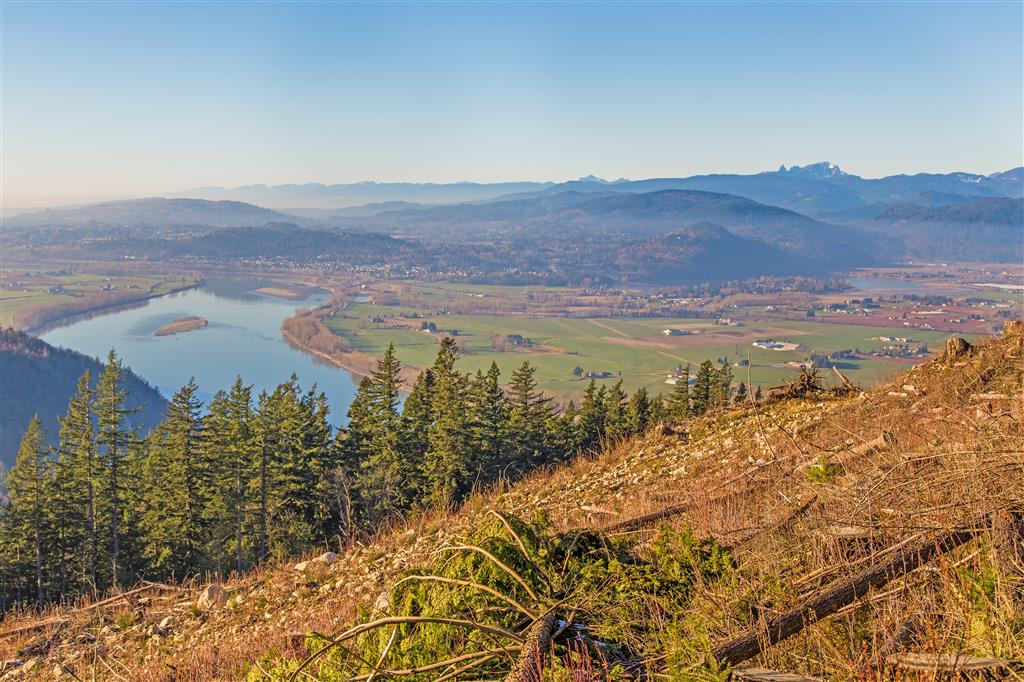
View from the top…
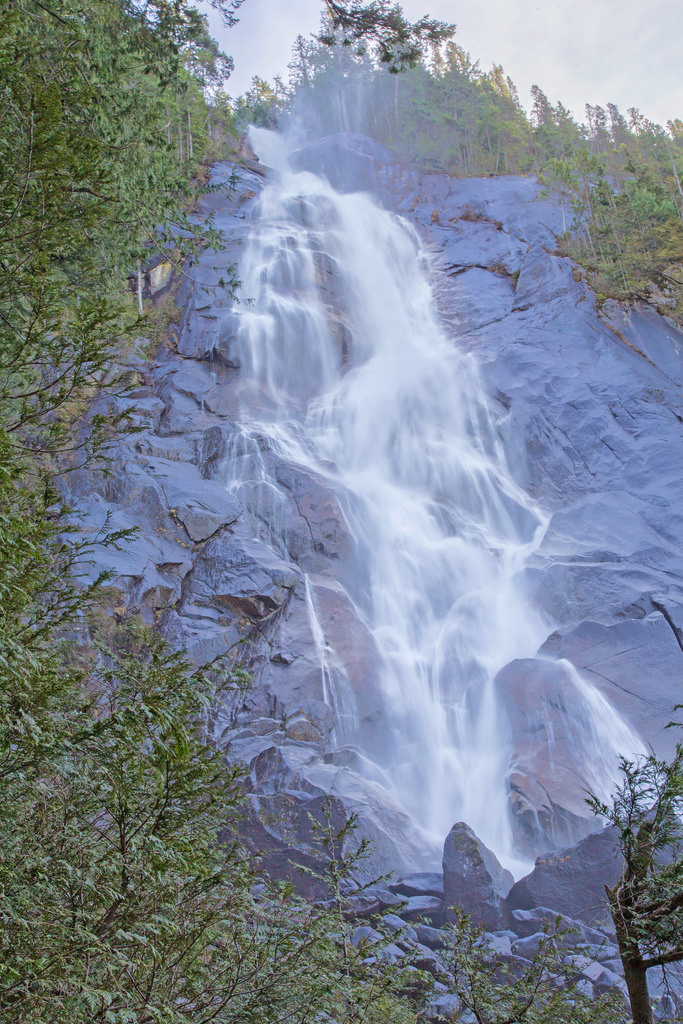
The falls from the bottom…
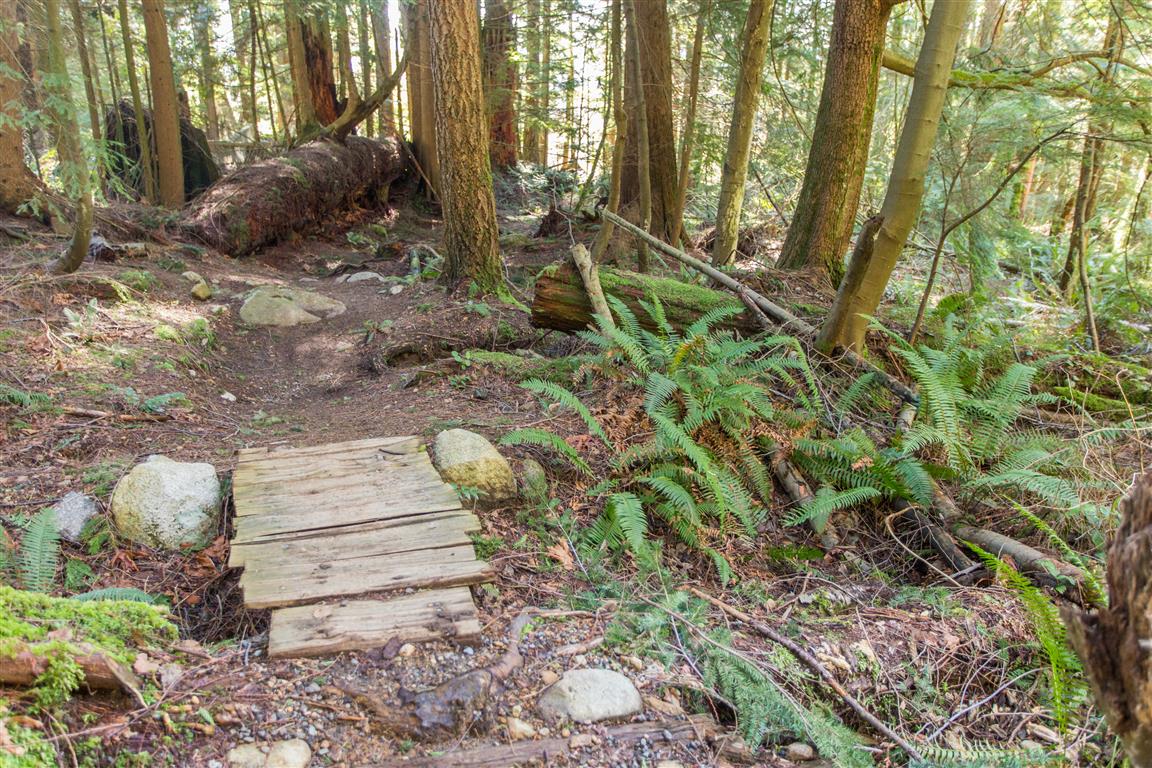
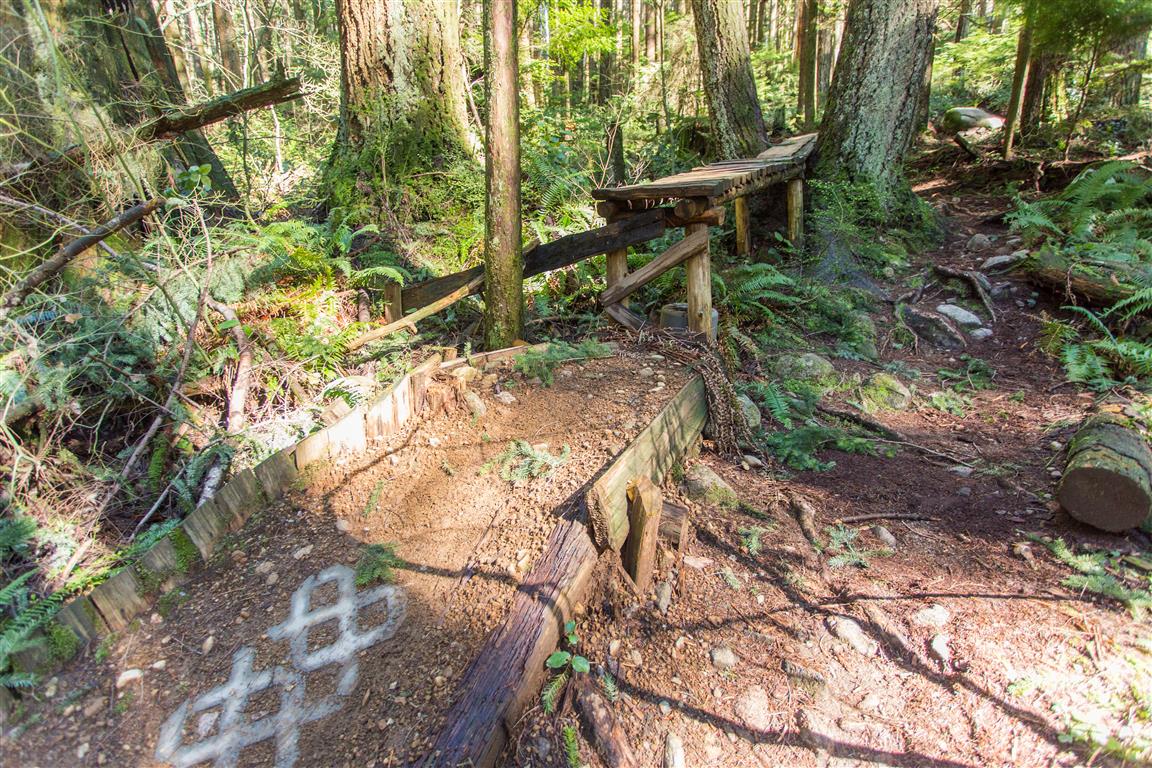
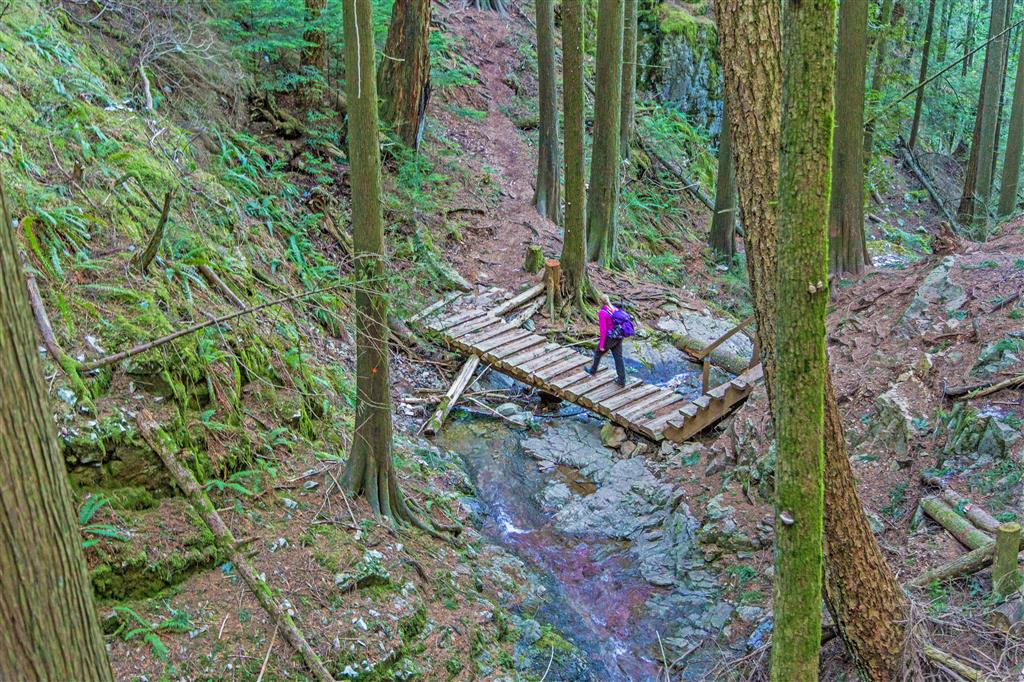
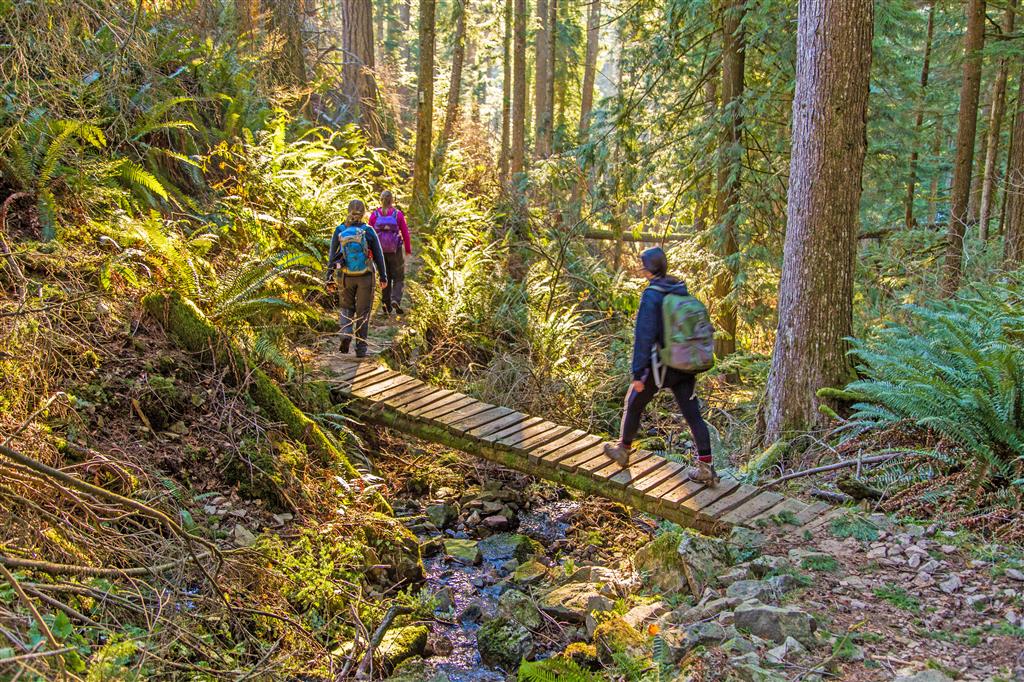
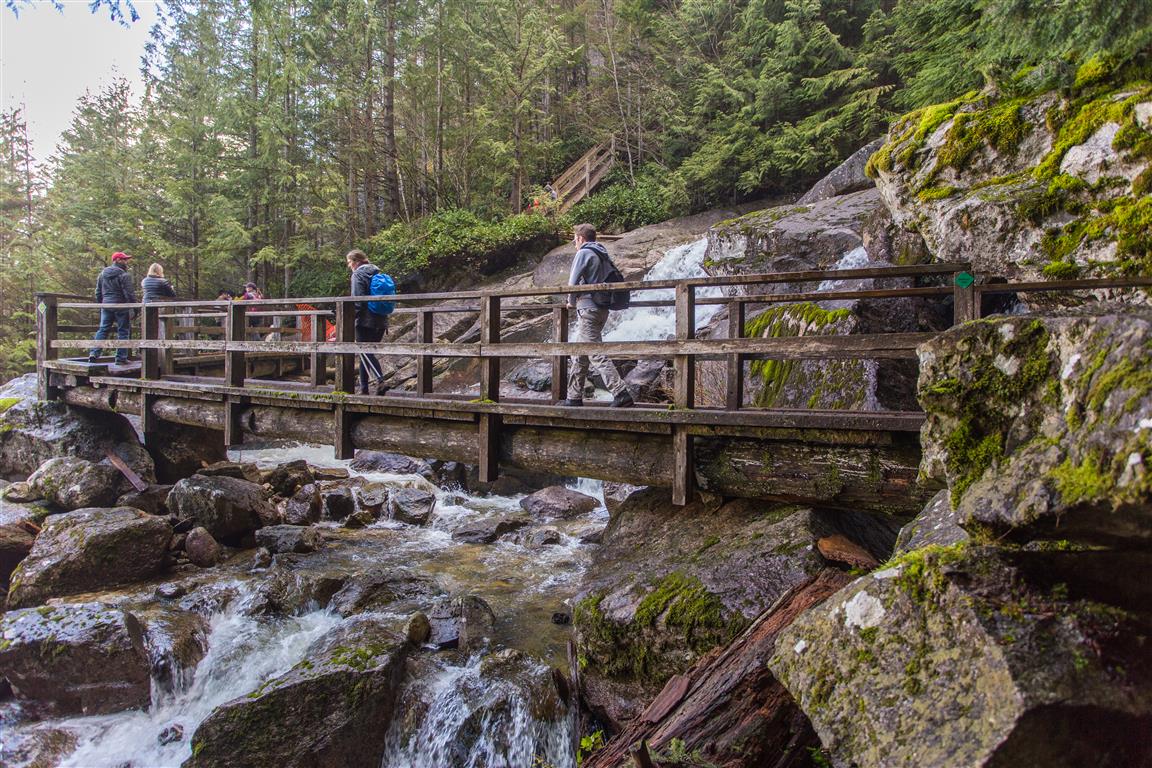
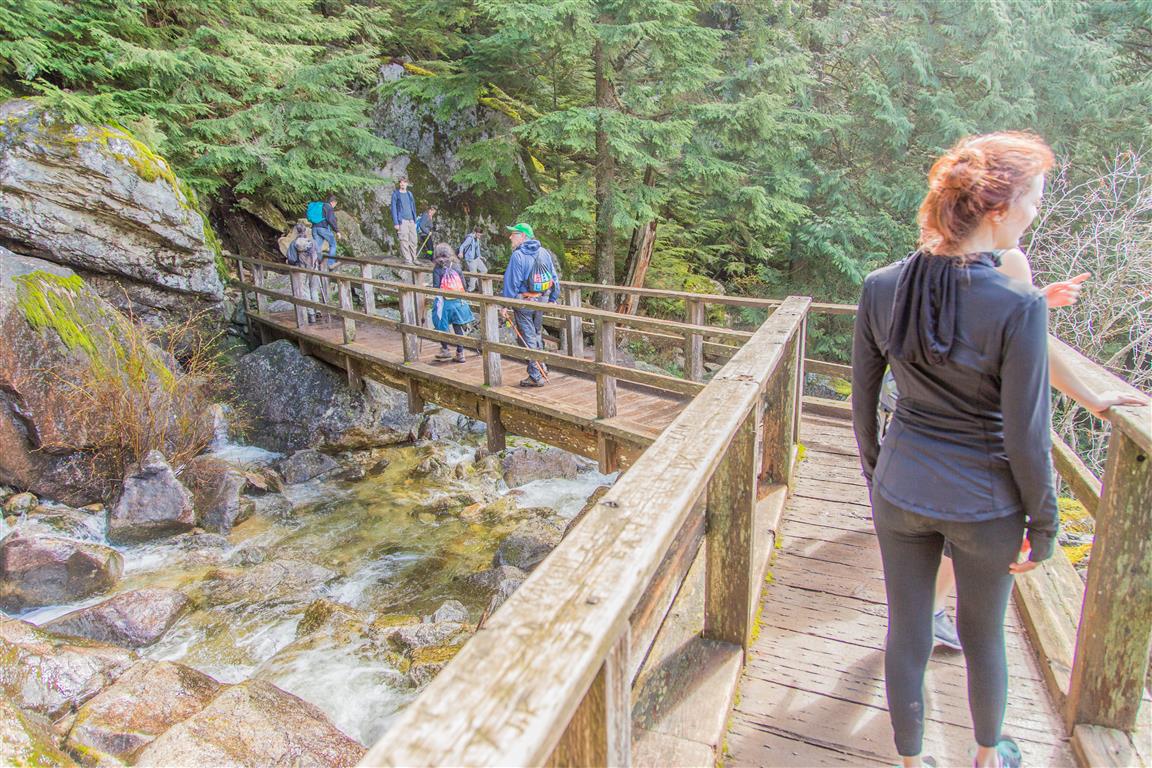
Bridge over Olesen Creek…
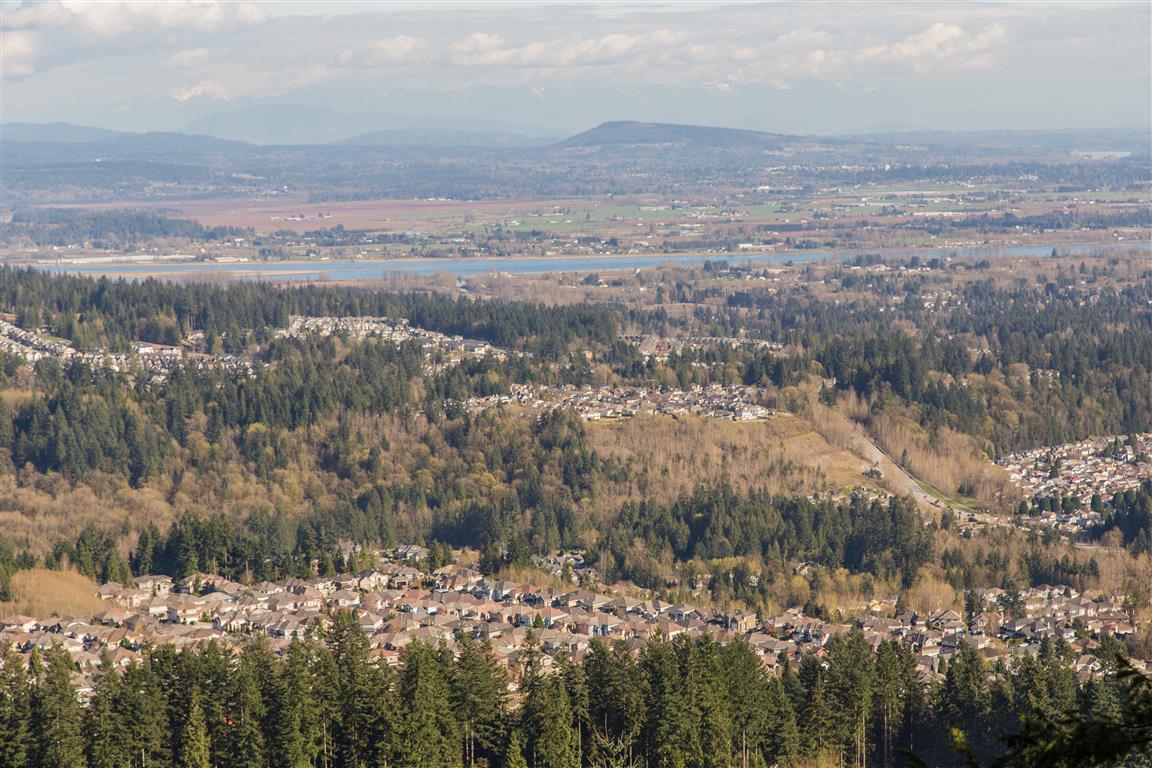
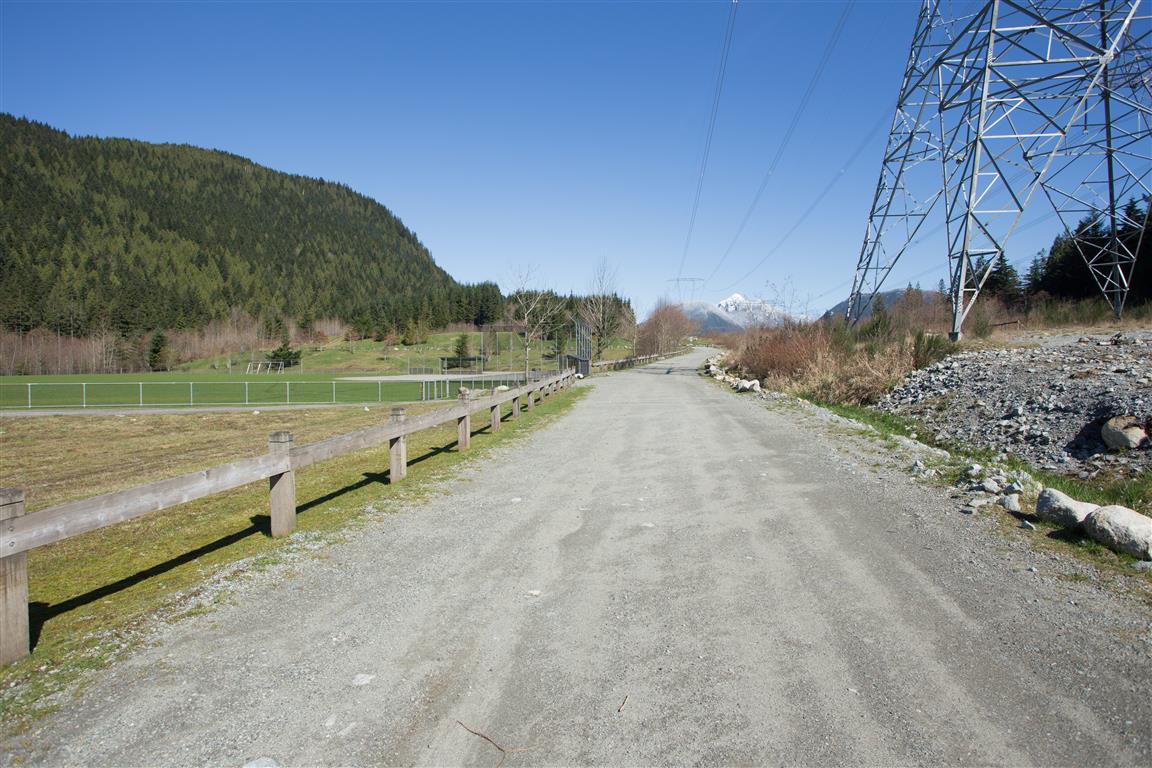
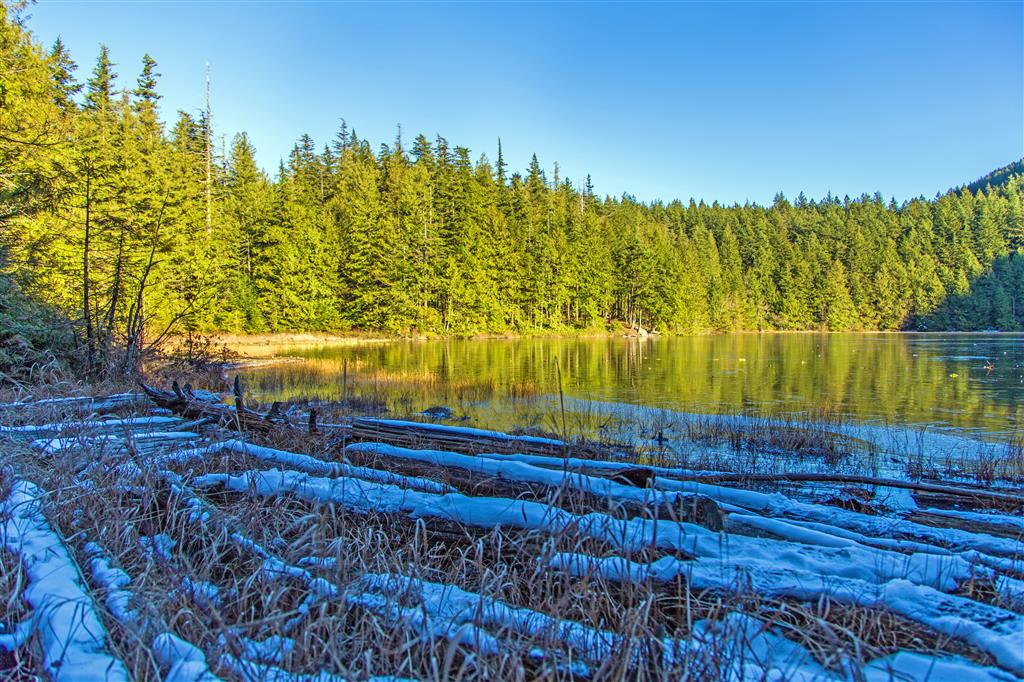
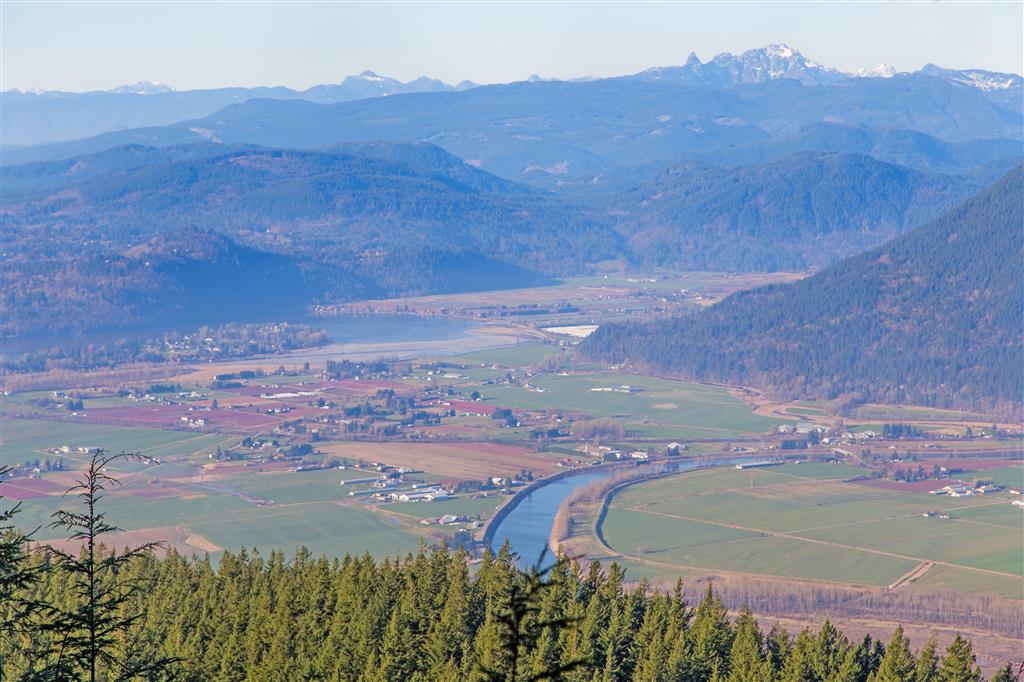
Squamish River Estuary…

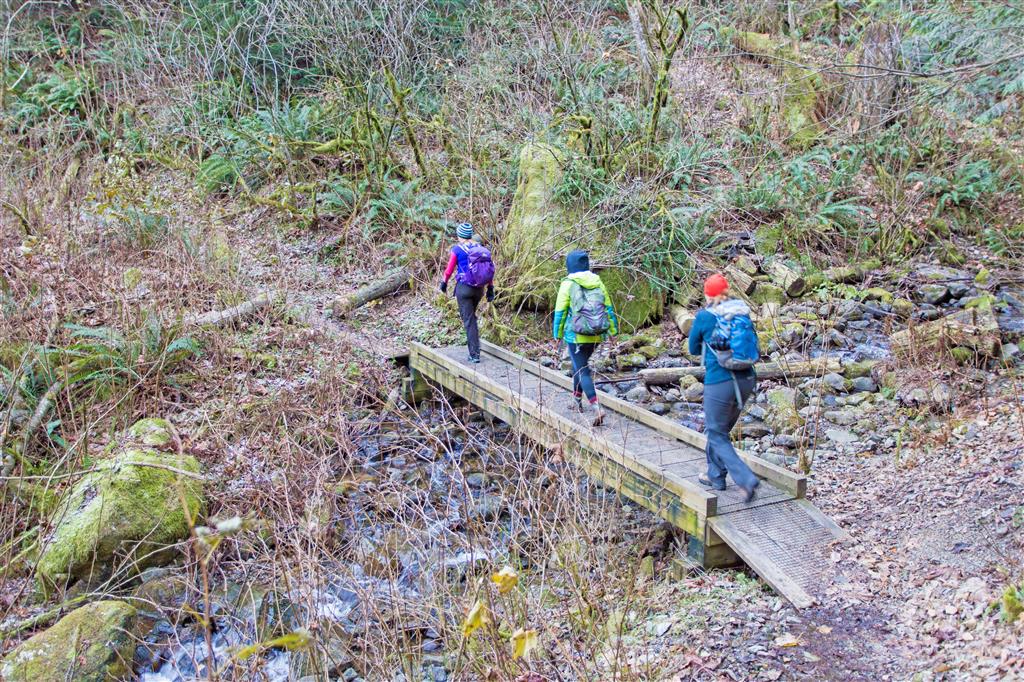
Another Bridge…
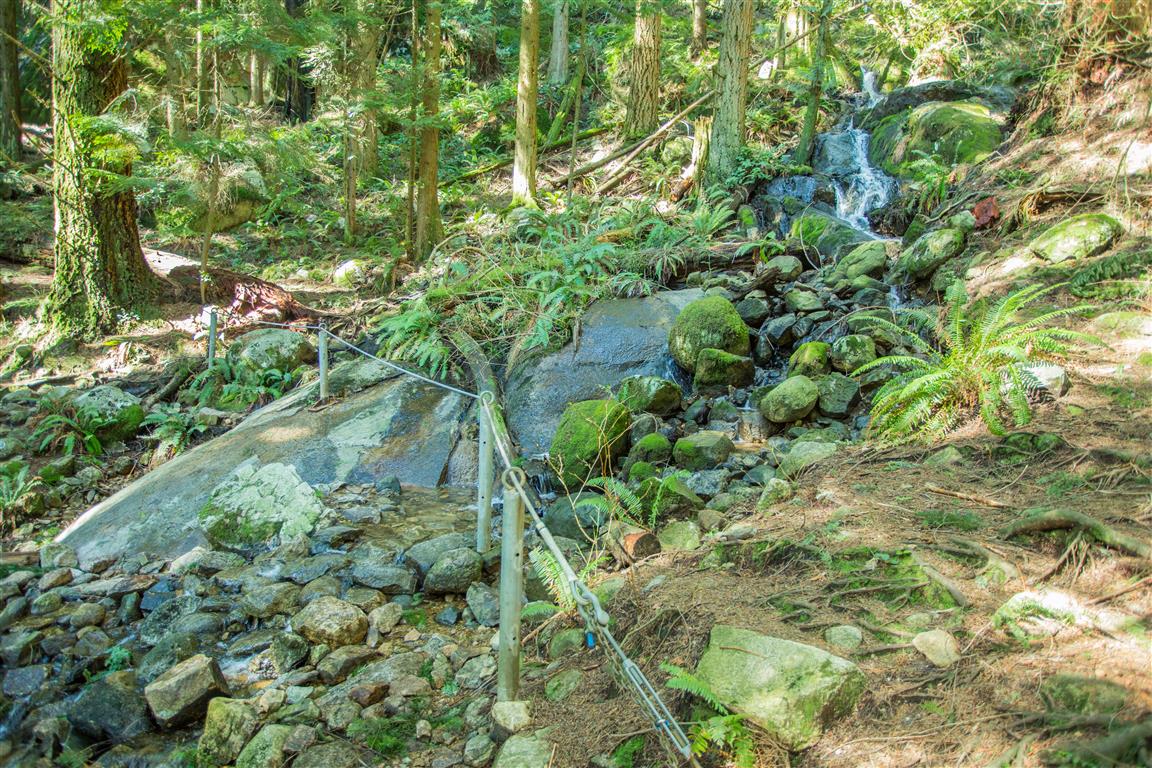
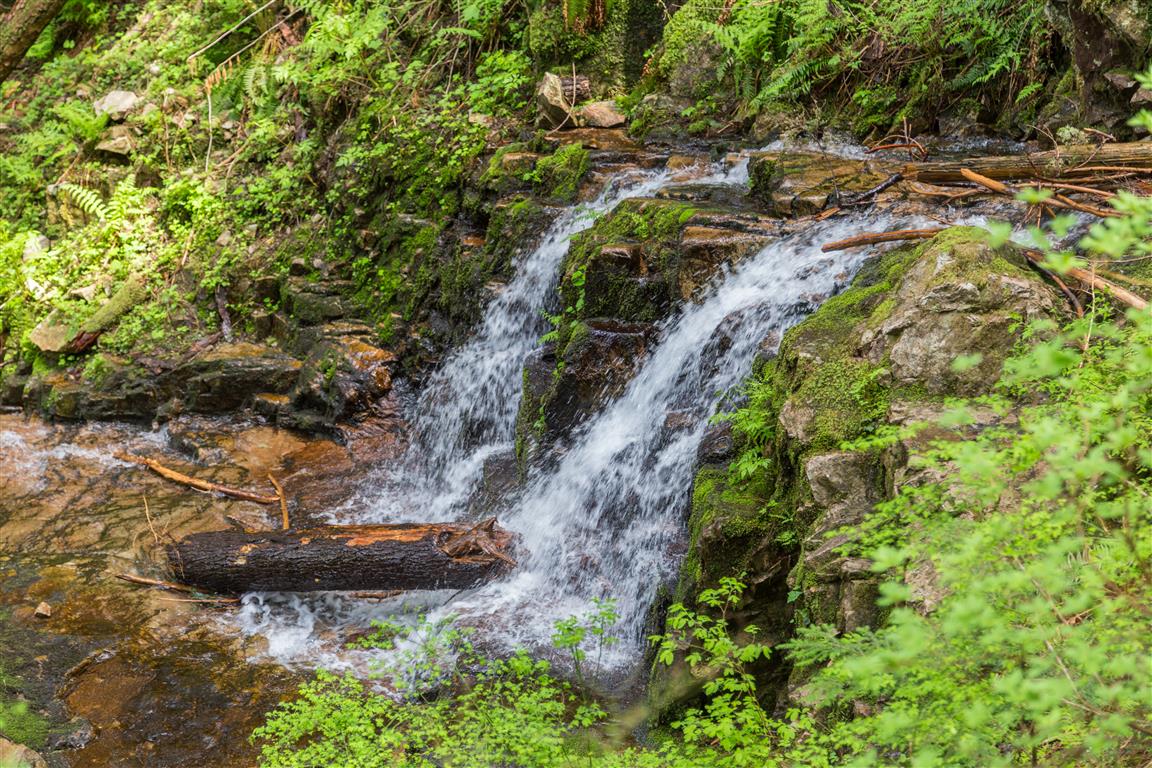
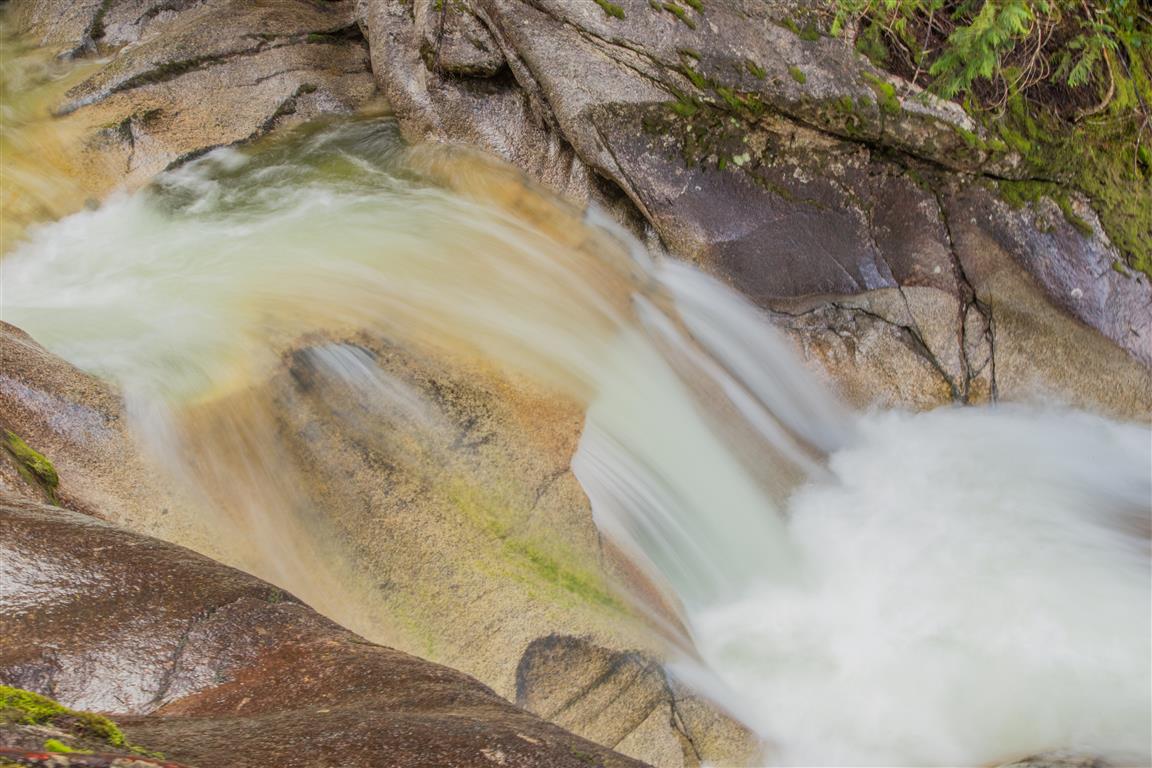
Cascading Water…
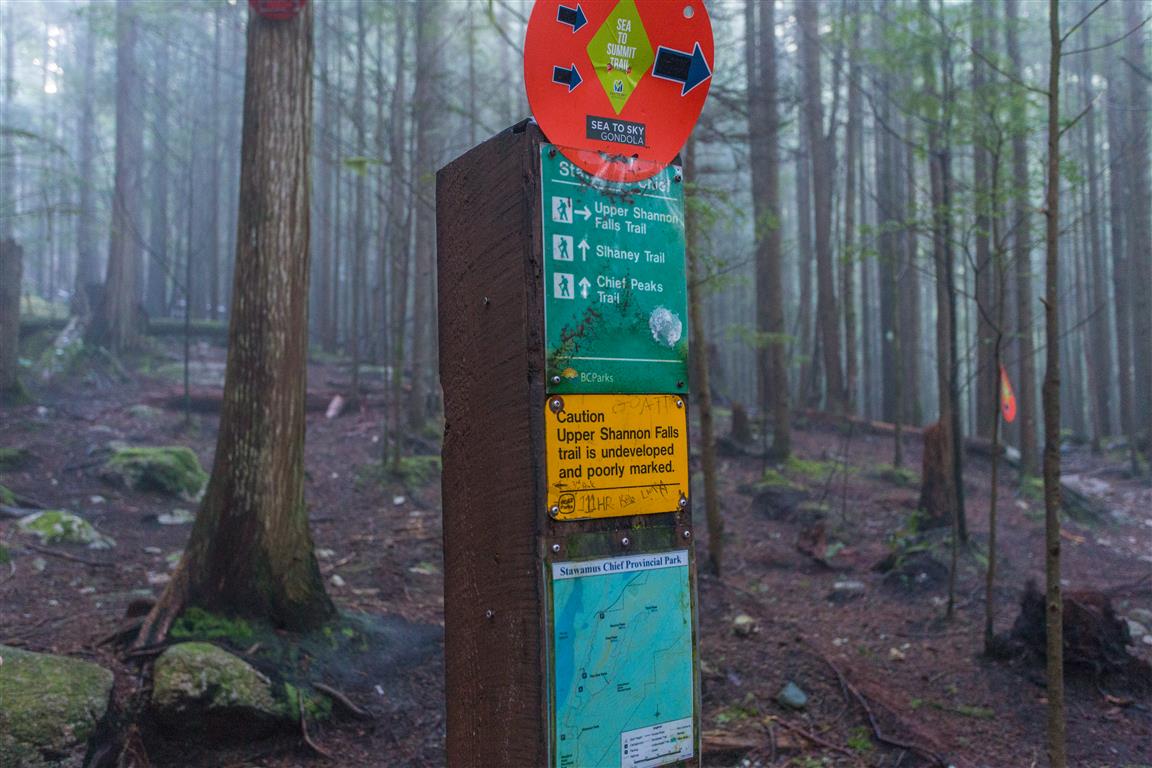
Junction…
Many People at the top…
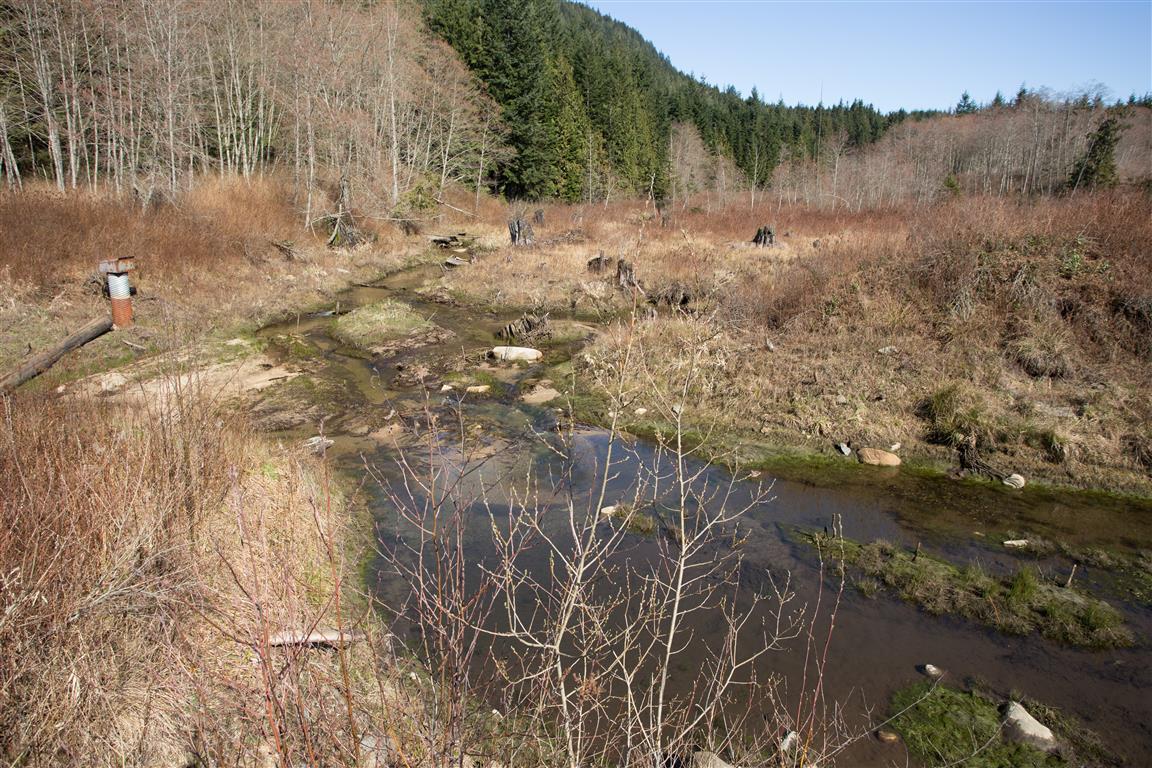
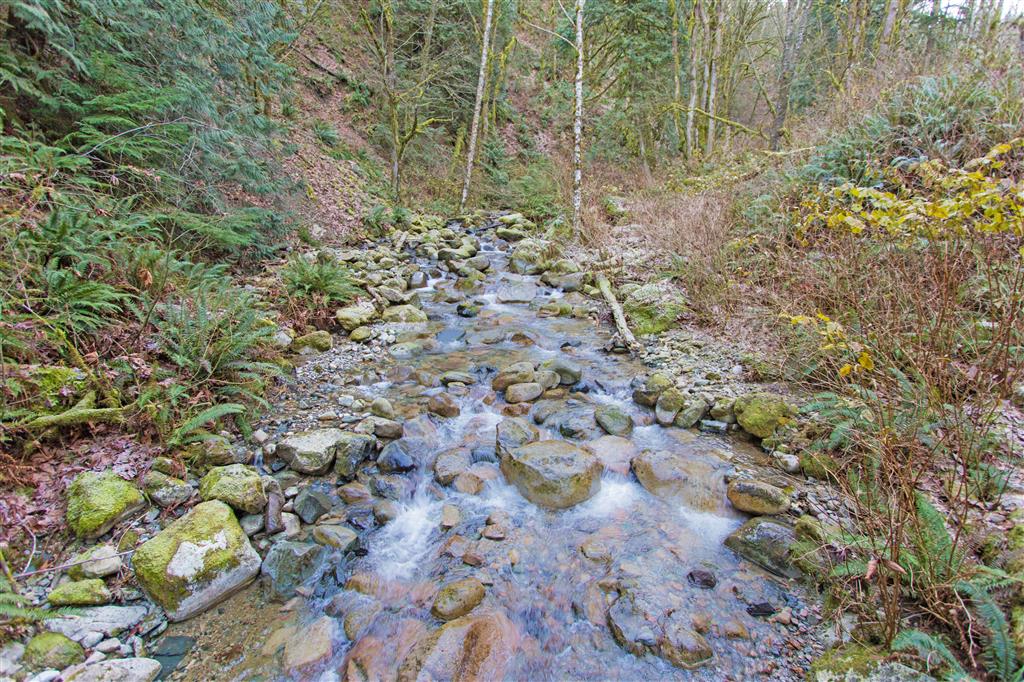
Olesen Creek…
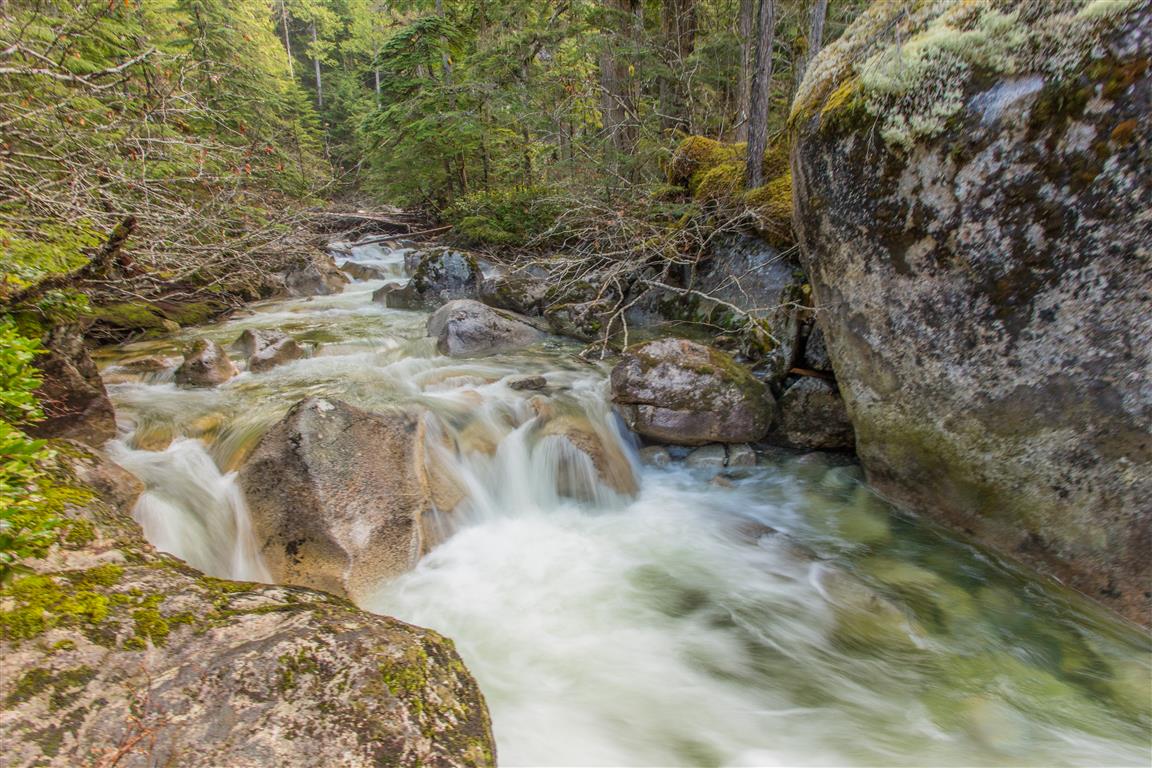
Olesen Creek…

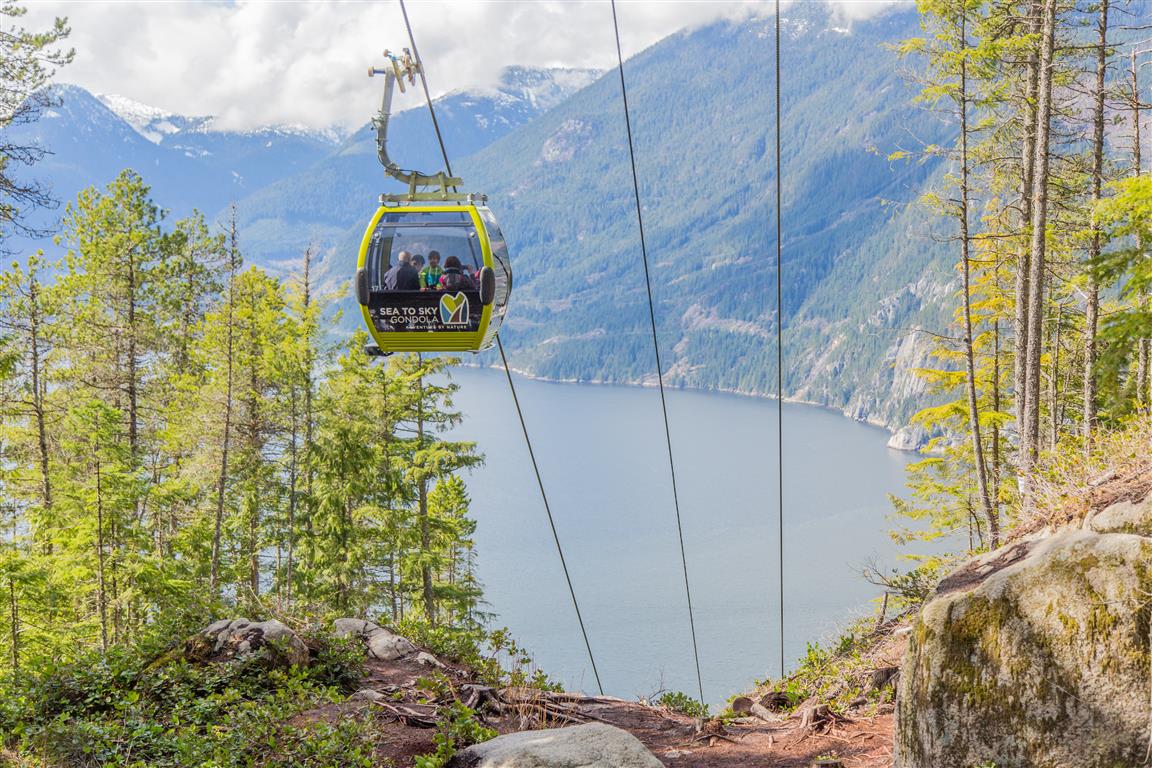
Sea to Sky Gondola…
Pool of water…
Another Bridge…
Rope for Assistance…
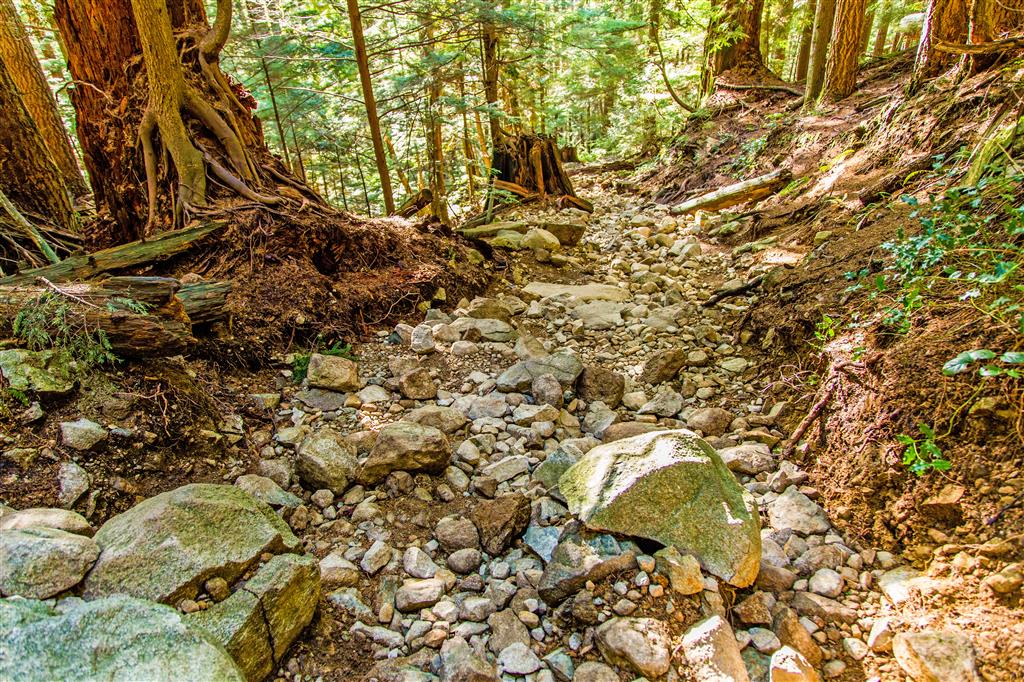
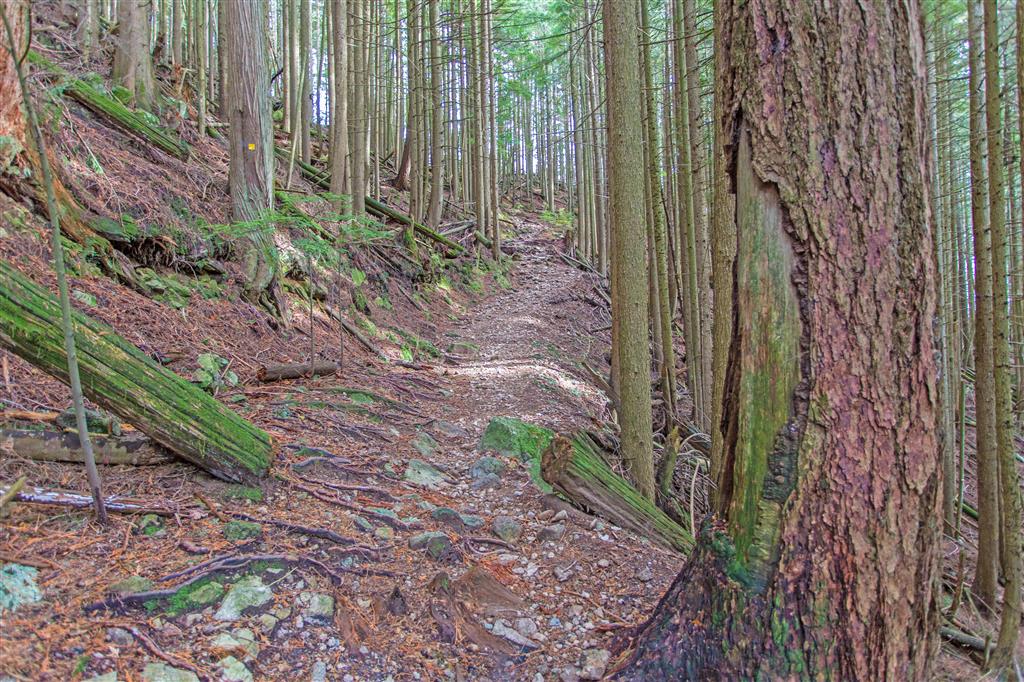
Steep Section…
The Chief Overlooking Squamish…

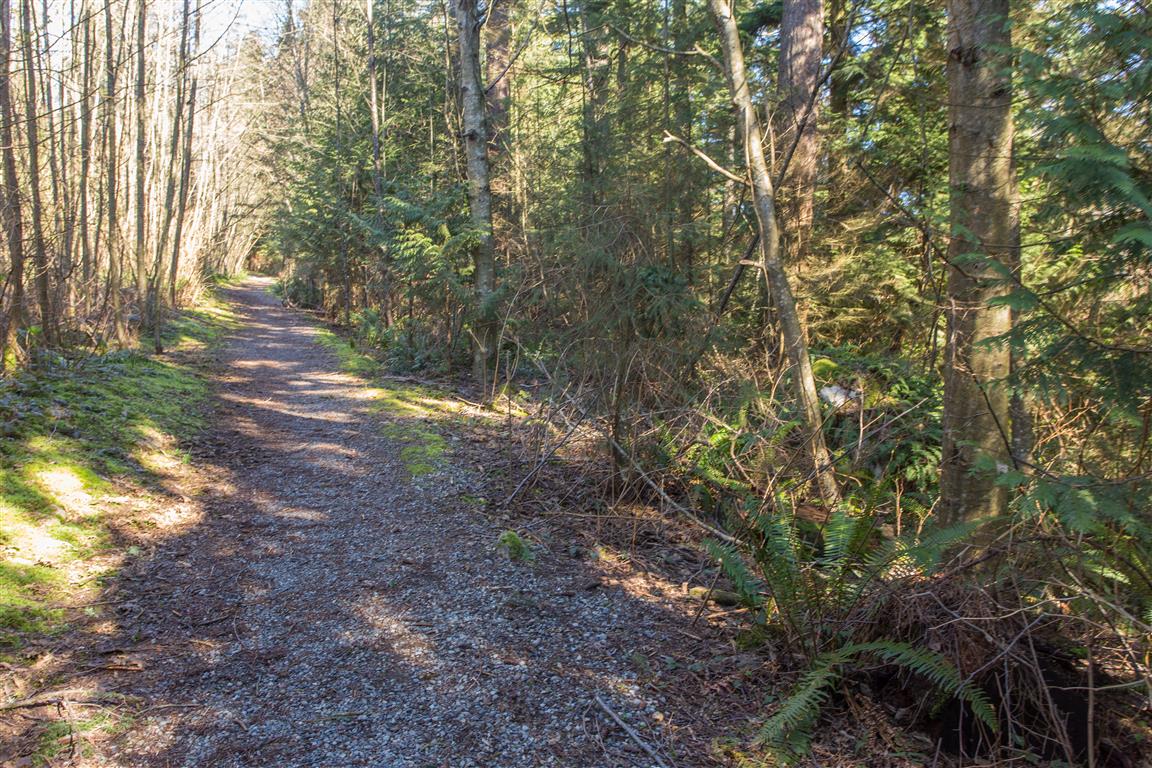
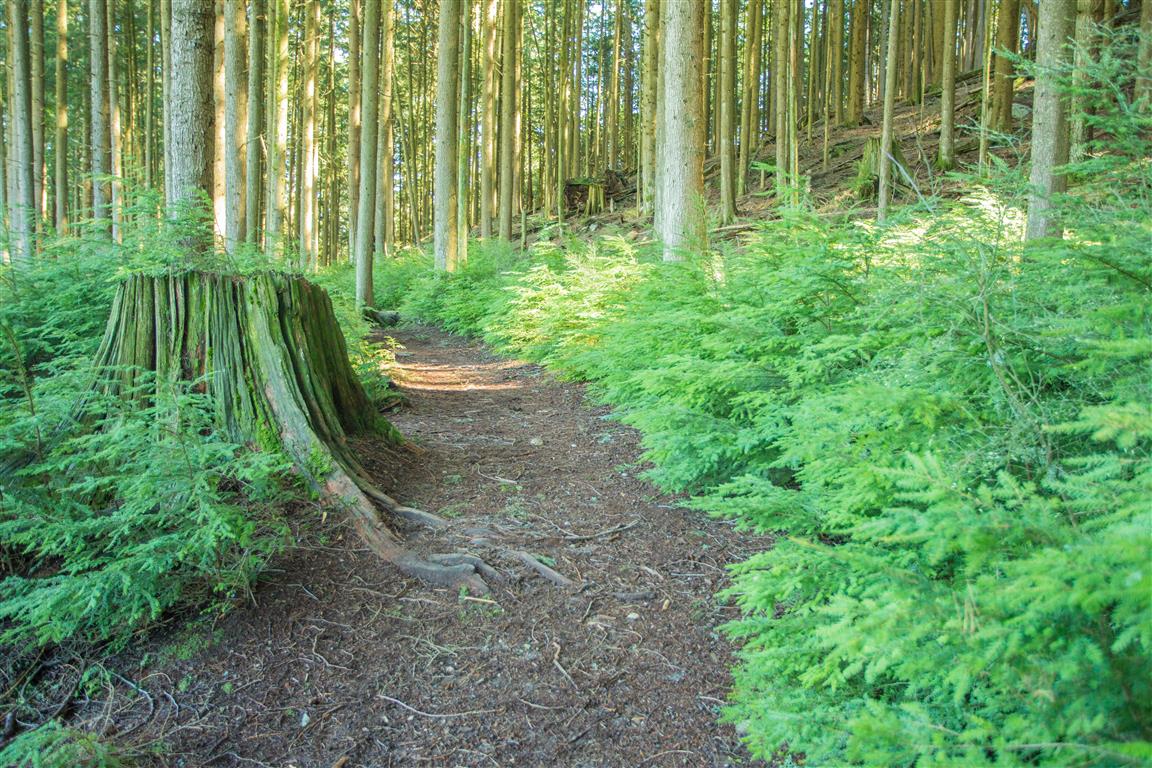
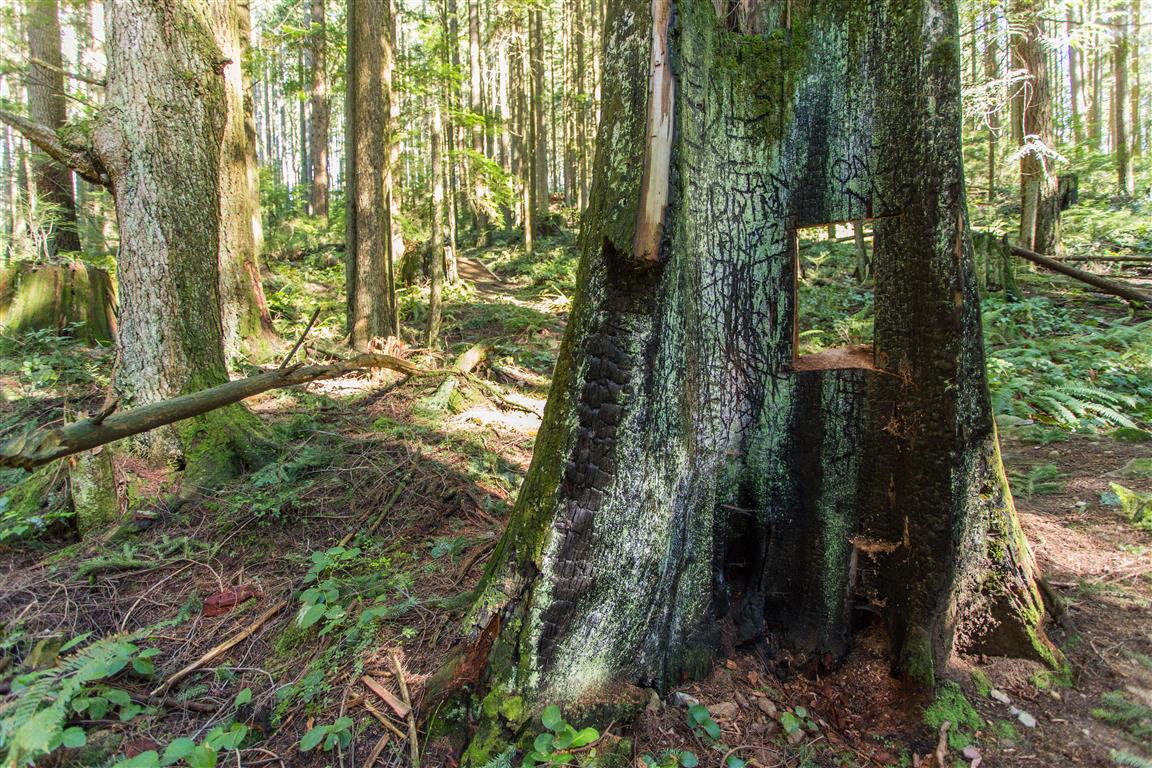
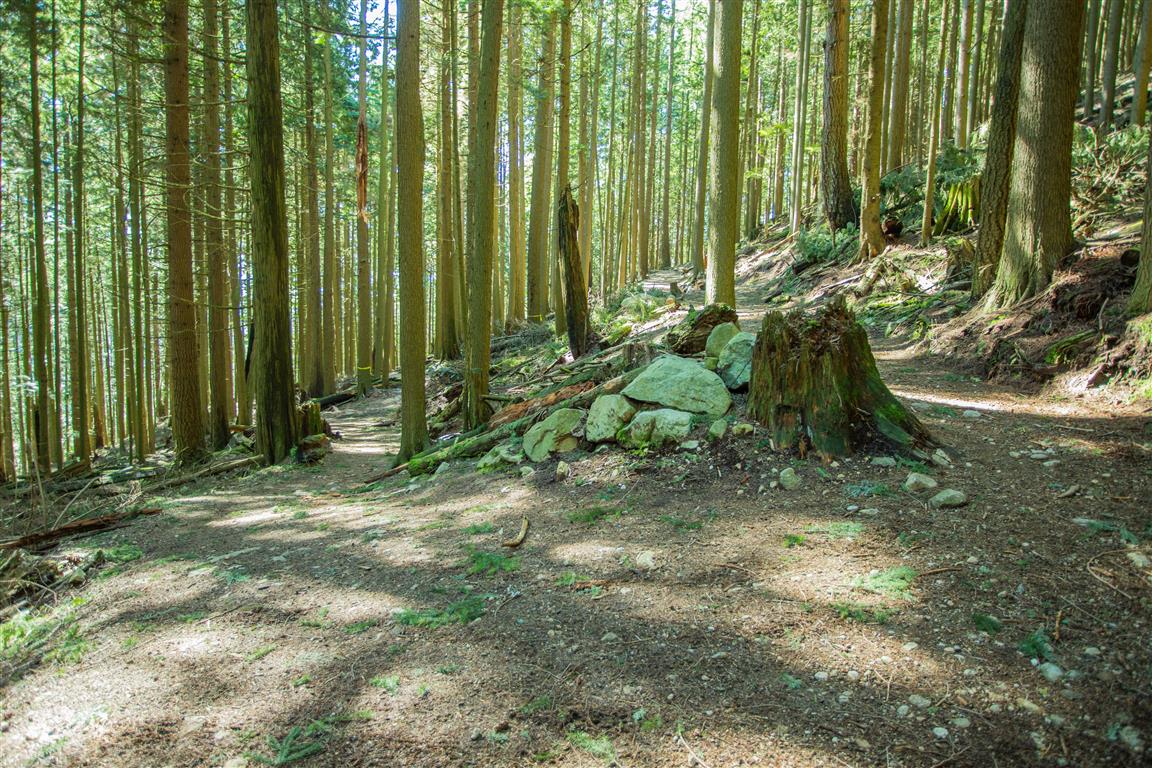
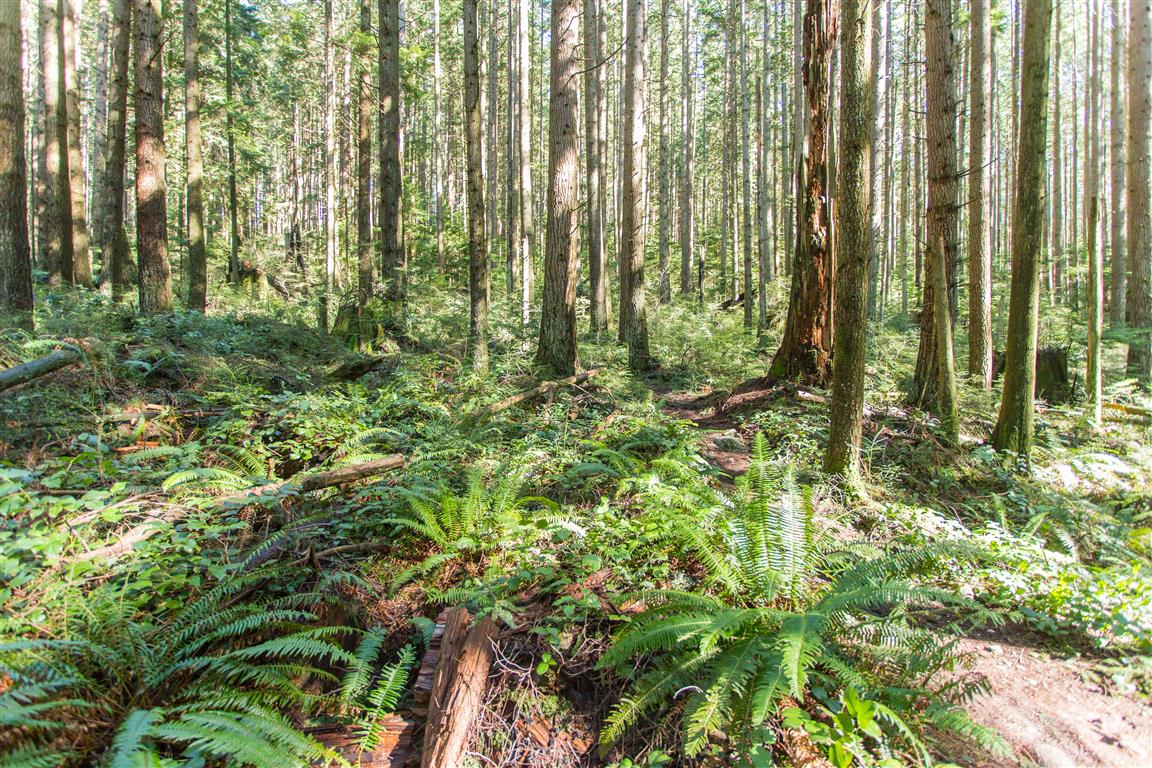
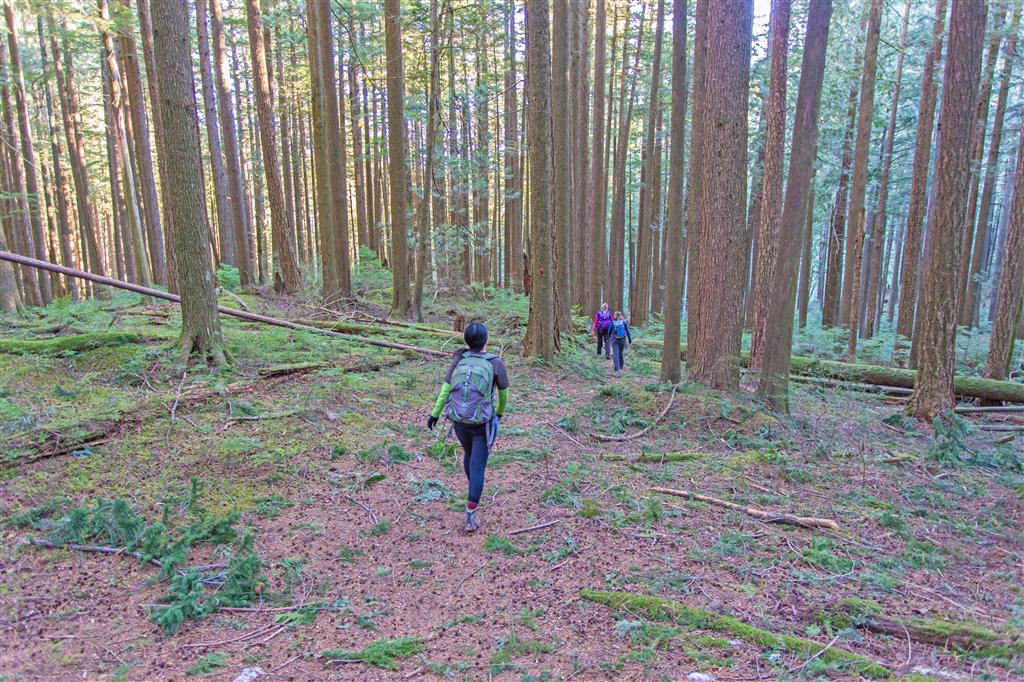
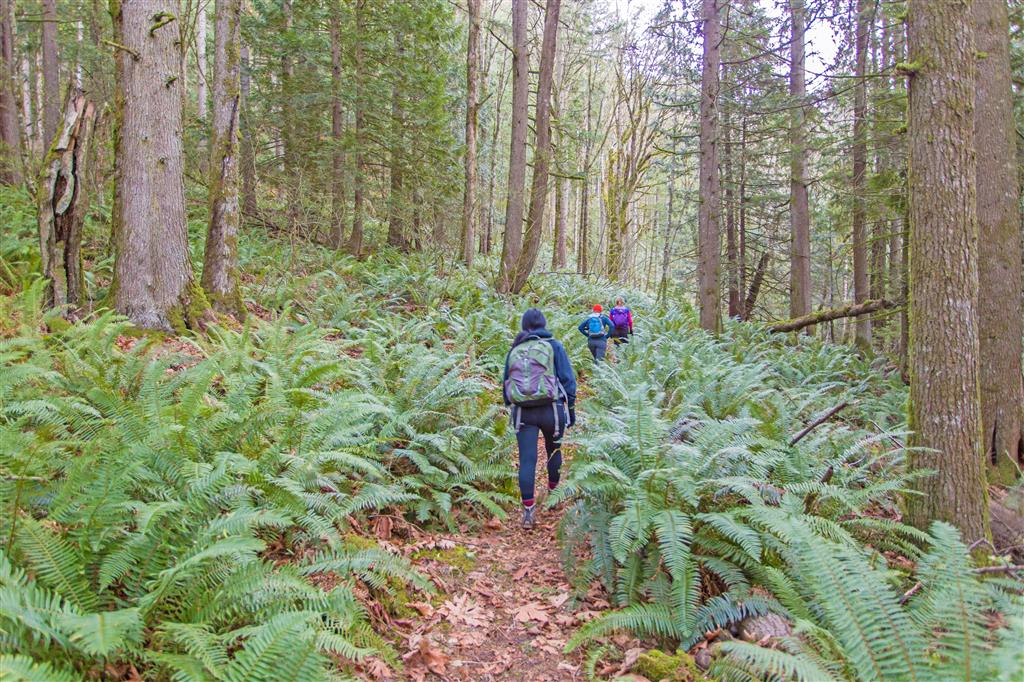
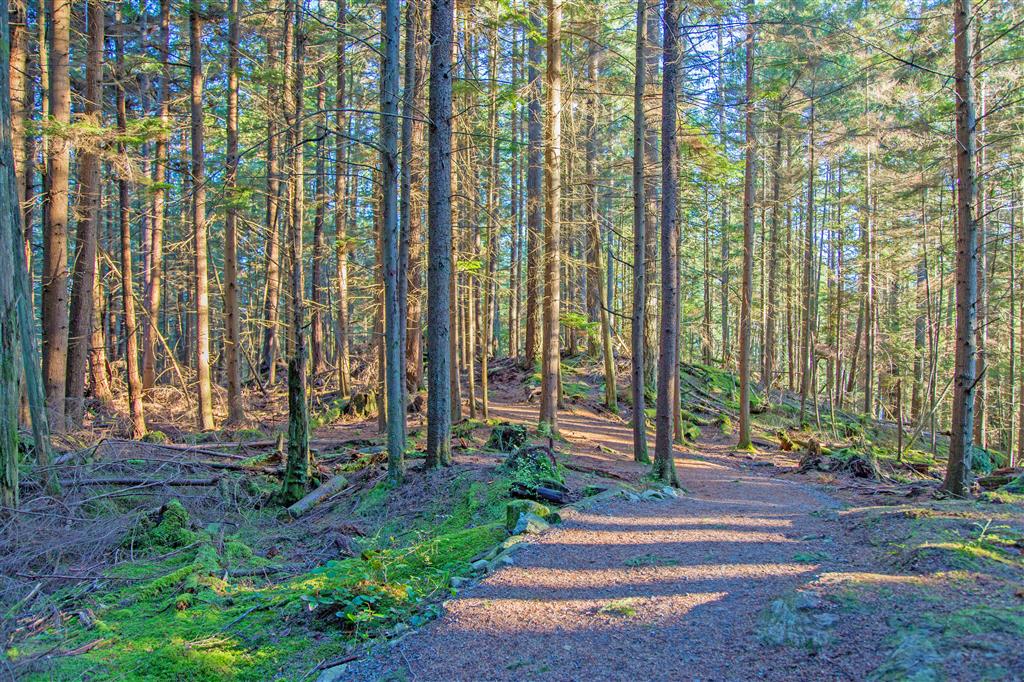
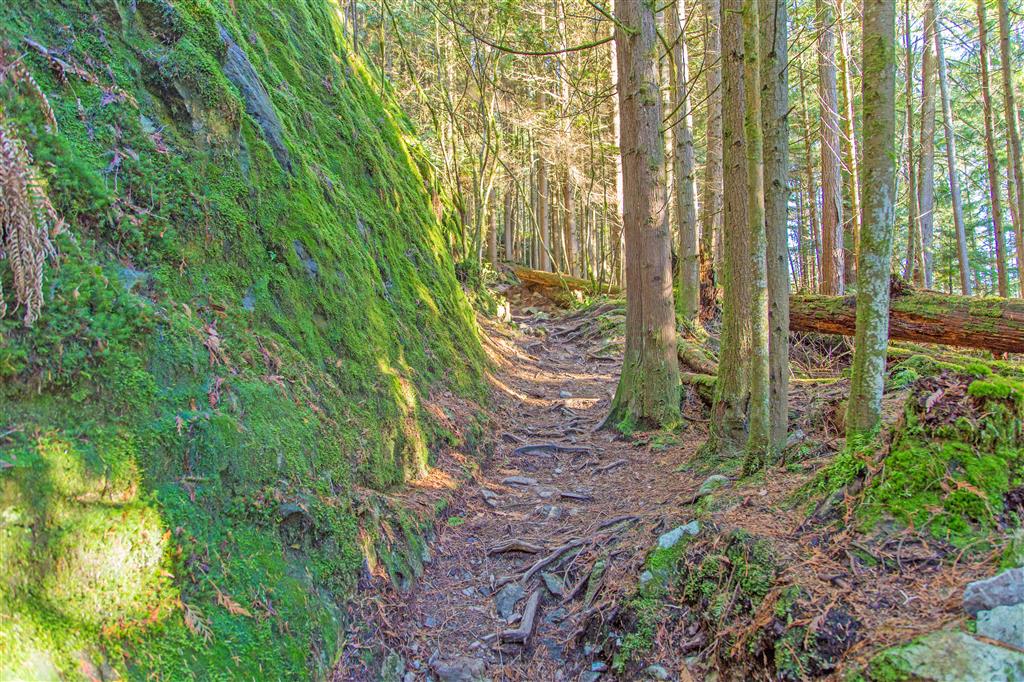
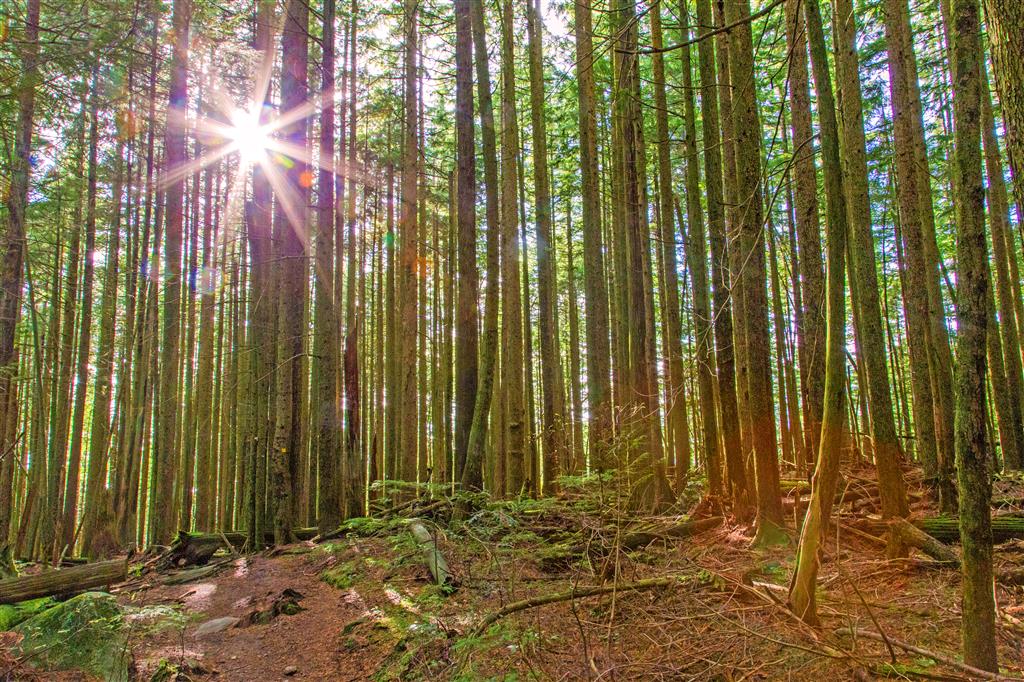
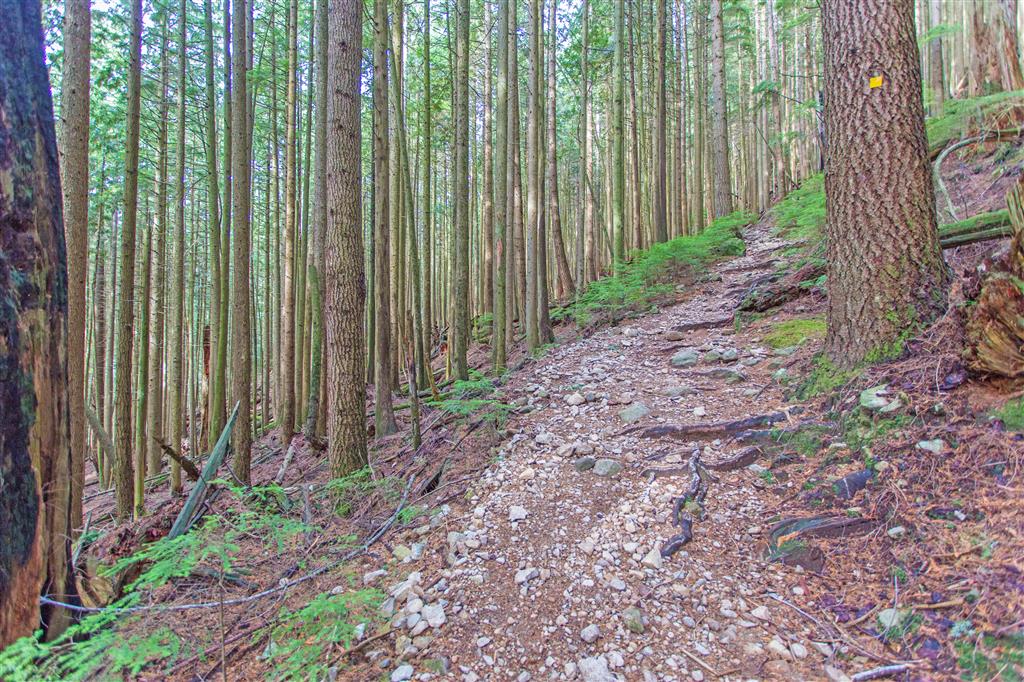
Trail pic…
Waterfall…
Full Flickr photo album of hike here… https://flic.kr/s/aHsktHWSzp
★★★★★★★★★★★
Before heading out on your hike, make sure you are well prepared. This means, having the TEN ESSENTIALS. It is also important to leave a trip plan (route details and estimated return time) with someone you trust.
Bring your smartphone, fully charged and put it in airplane mode while hiking. I always bring back-up battery packs for extra piece of mind. It is highly recommended that you bring a GPS device; I use my smartphone with a GPS app (Backcountry Navigator). The GPS will work in airplane mode. Learn how to use it before your hike.
For anyone new to hiking, there is a rule to which hikers follow; it is called “Leave No Trace” or LNT. The concept is generally to pack out what you pack in and respect nature, so all future visitors can enjoy what you have enjoyed.
To learn more about LNT, please check out this BLOG by a certified LNT Trainer.