Category Archives: Non-Buntzen Lake Hikes

Heliotrope Ridge


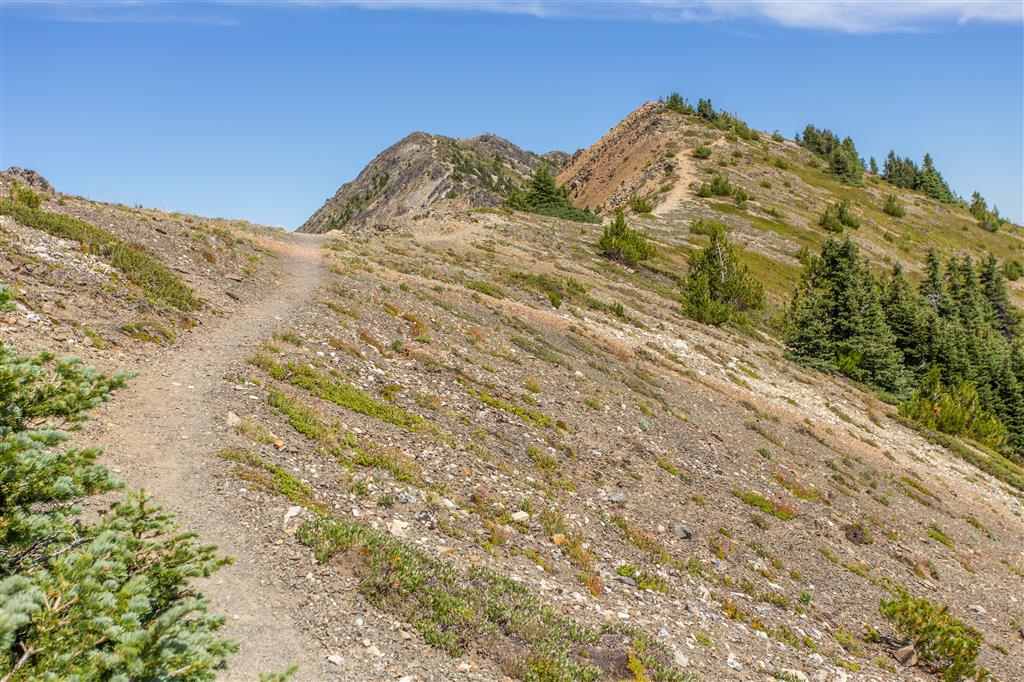
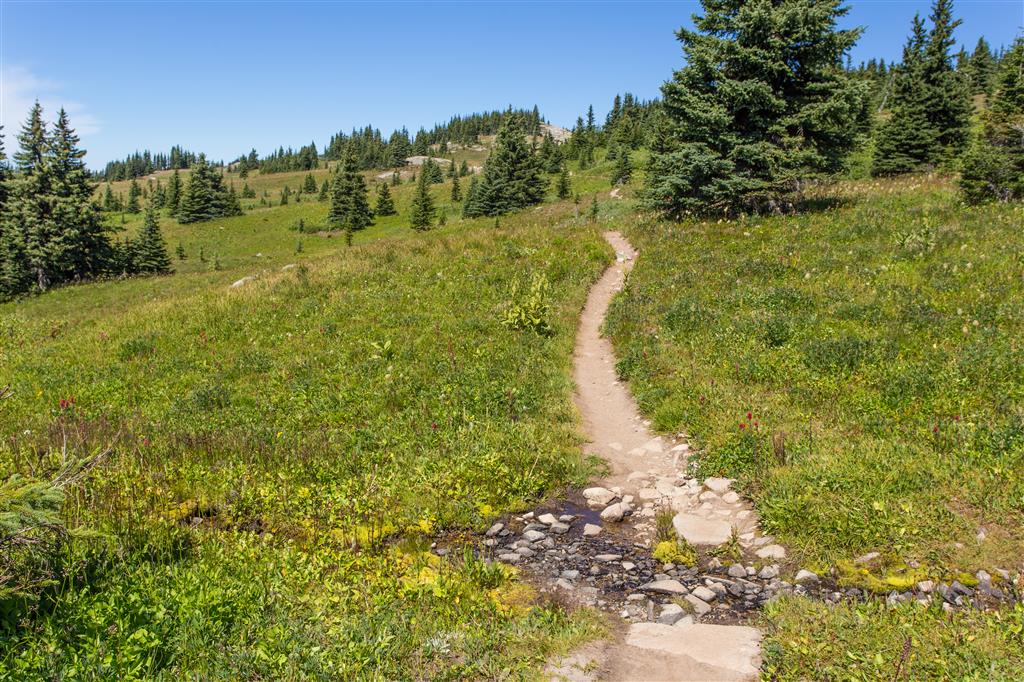
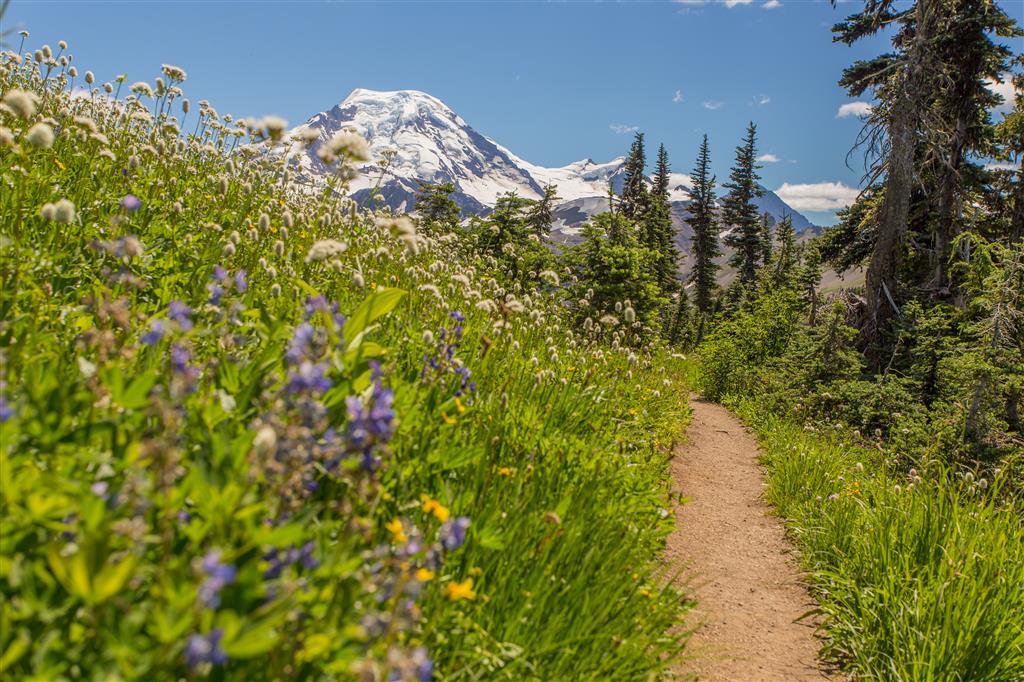
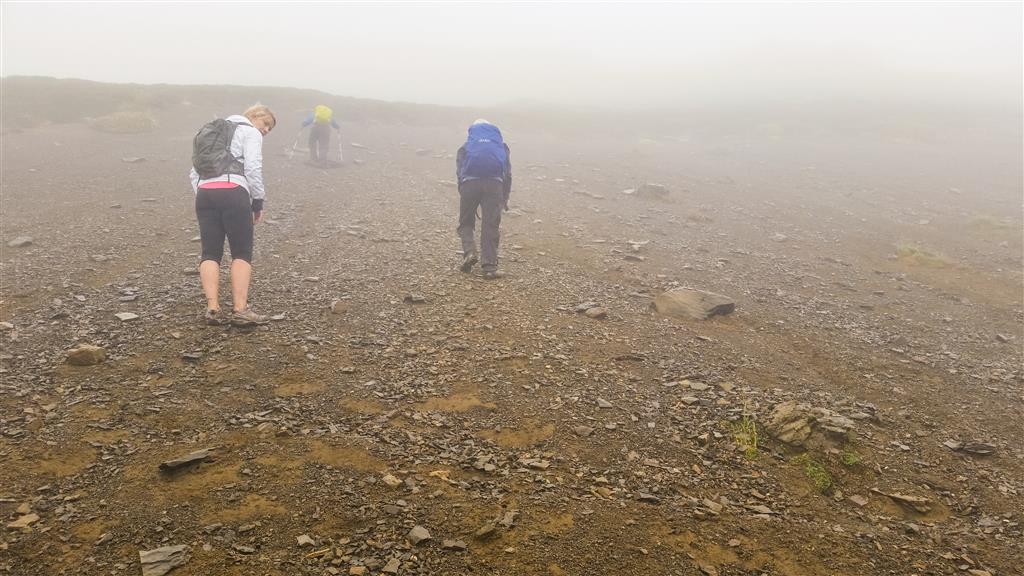
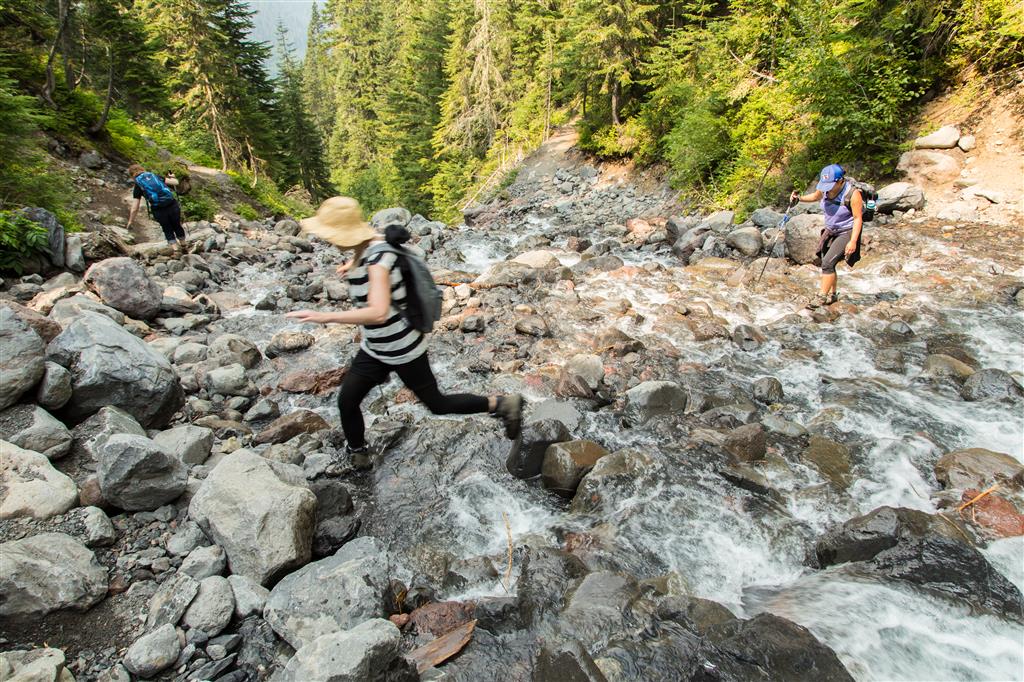
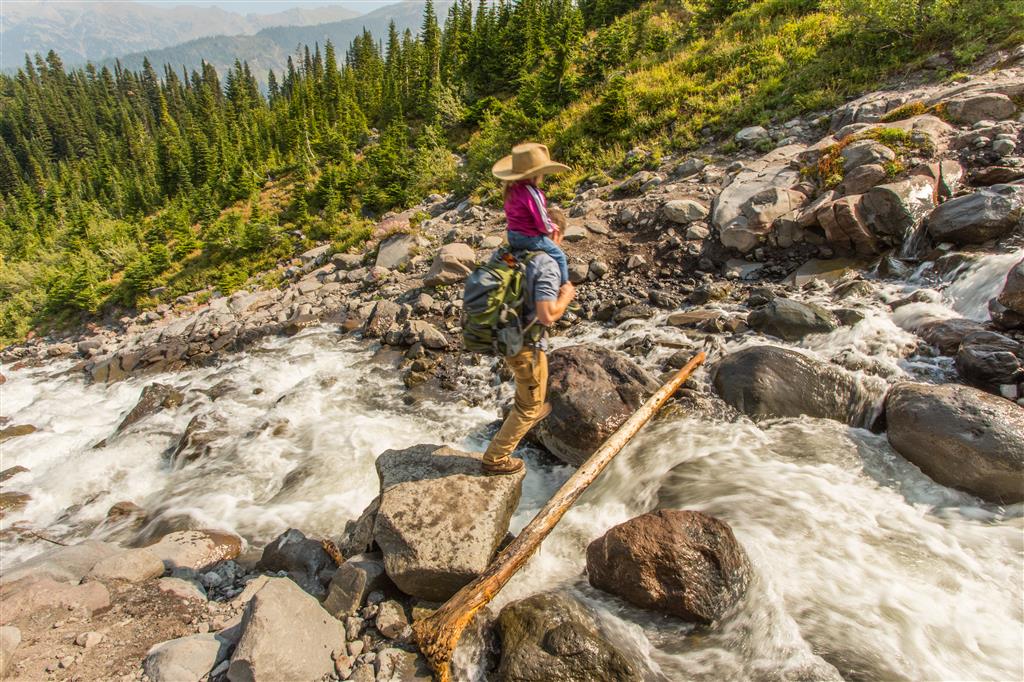
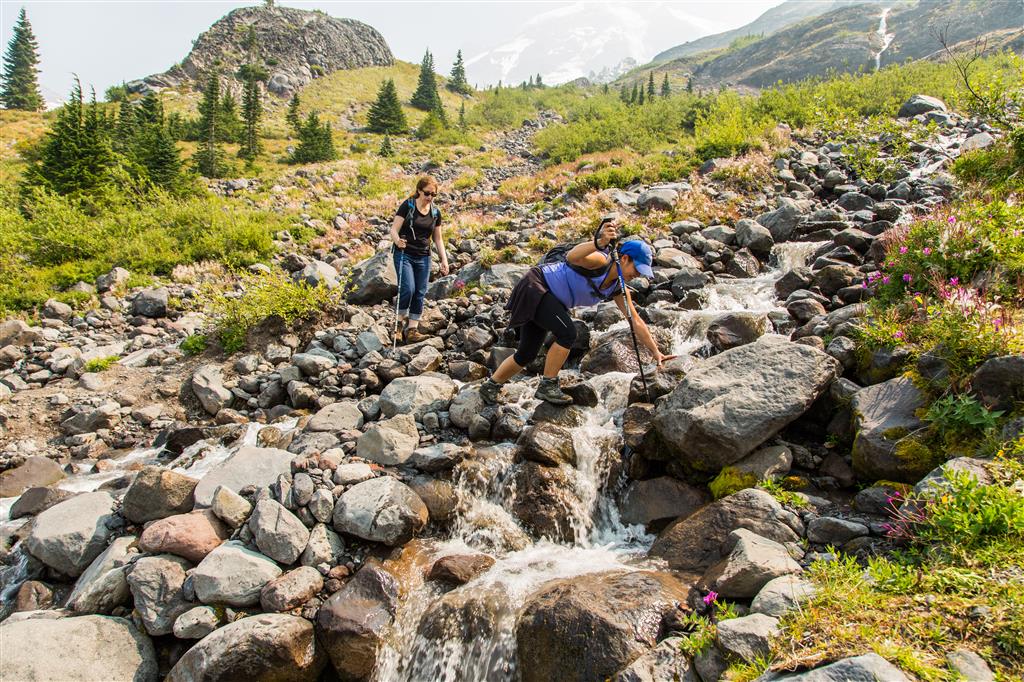
Back to the North Cascades in Mount Baker-Snoqualmie National Forest, Washington. The Heliotrope Ridge trail is very popular and it’s also a climber’s route to summit Baker. This hike offers stunning views of Mount Baker and the Coleman Glacier, as well as many other peaks in the area. The trail is well built and easy to follow – The tricky thing about this hike are the four unbridged stream crossings – they require confident foot steps on the rocks and some hopping. Today, all but one of the stream crossings were quite easy; there was one tricky crossing that required a big rock to rock hop over rushing waters and then some careful stepping on wet rocks. If you are unsure of the crossing, just wait for other hikers to do it and that might give you confidence. If you are very unsure, don’t do it because you cannot be tentative when hoping the rocks. That said, some people made it look very easy and one guy carried small children on his back and he made 4 back and forth trips. The stream levels will be lower on colder days, so you could wait to do it in late September or October for lower stream levels; you can also check out trip reports on the Washington Trails Association website.

Remember – You will need a Northwest Forest Pass, which can be purchased in person at the Glacier Public Service Center at 10091 Mt. Baker Highway,Glacier, WA (Link to Map)

Or you can buy an epass in advance online at the Discover Your Northwest website

Border crossing tips: Bring passport, Nexus or enhanced ID !!; no fruit, no veges, no meat (this isn’t a complete list !); trailmix is ok. There is an IGA just across the border if you want to get some fruit or a sandwich for your hike.

A great resource for current conditions for this hike is the WTA website.
Check it OUT !!!

The location of the start of the forestry road (NF-39) to the trailhead is HERE

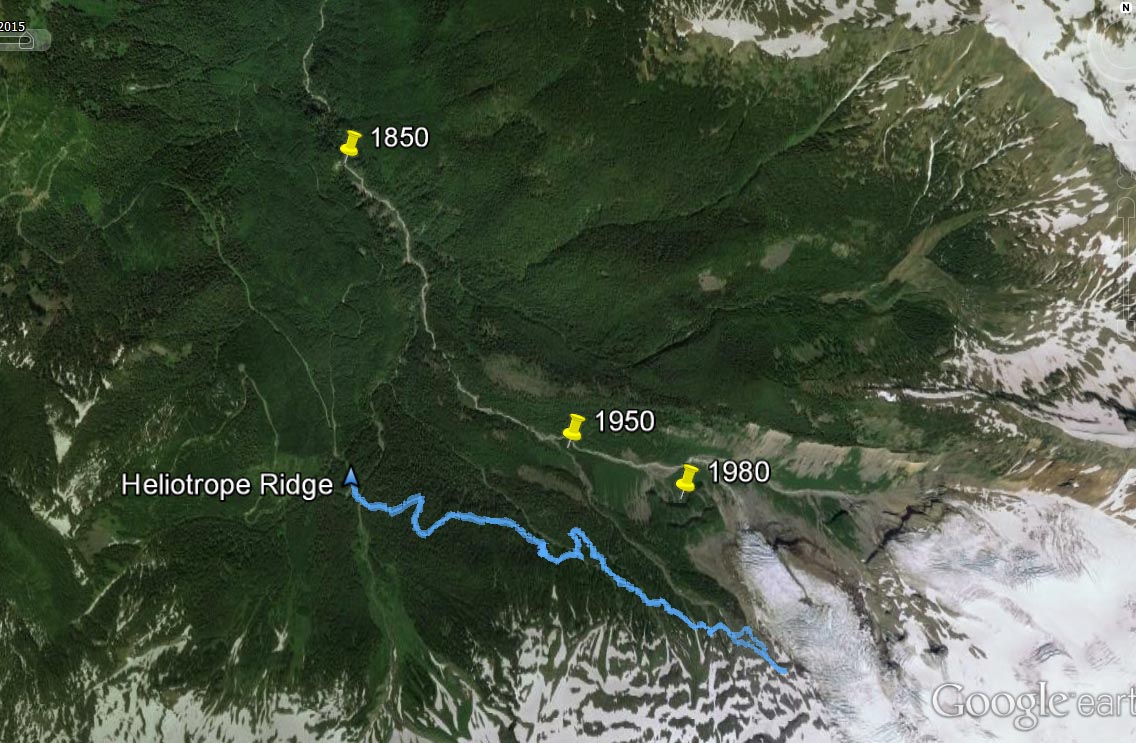
Here are the stats (with a little exploring at the end)

Distance: 8.8 km (return)
Time: 5 hours
Low point: 1109 m
High point: 1679 m
Elevation gain: 570 m
Cumulative Elevation gain: 790 m
Trailhead: 48° 48’ 7.6” by  121° 56’ 44.4” (Google Map)
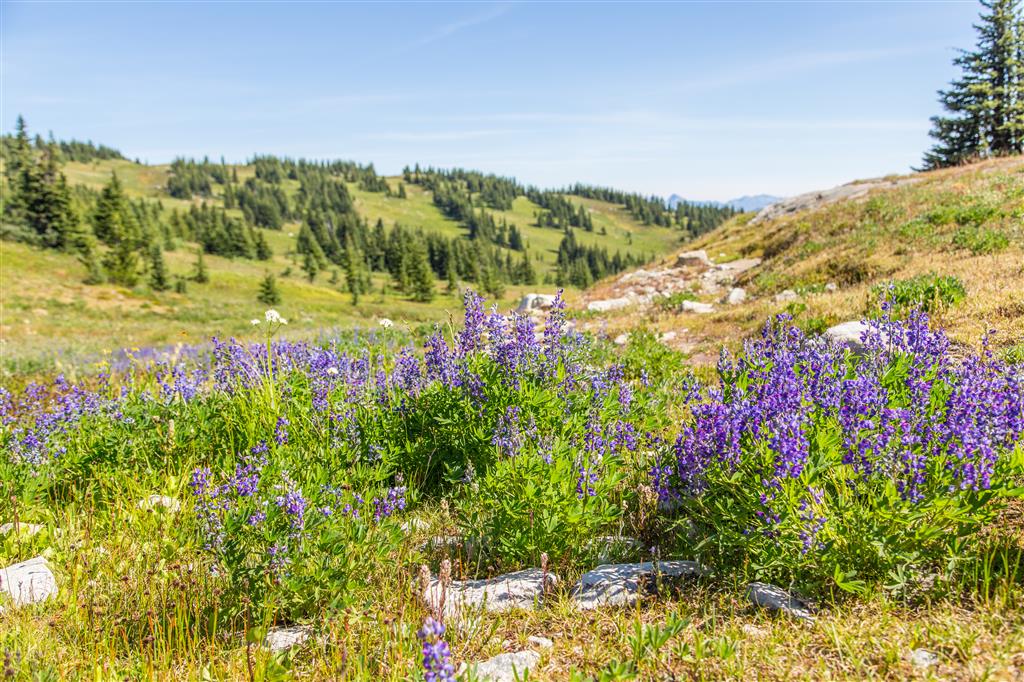
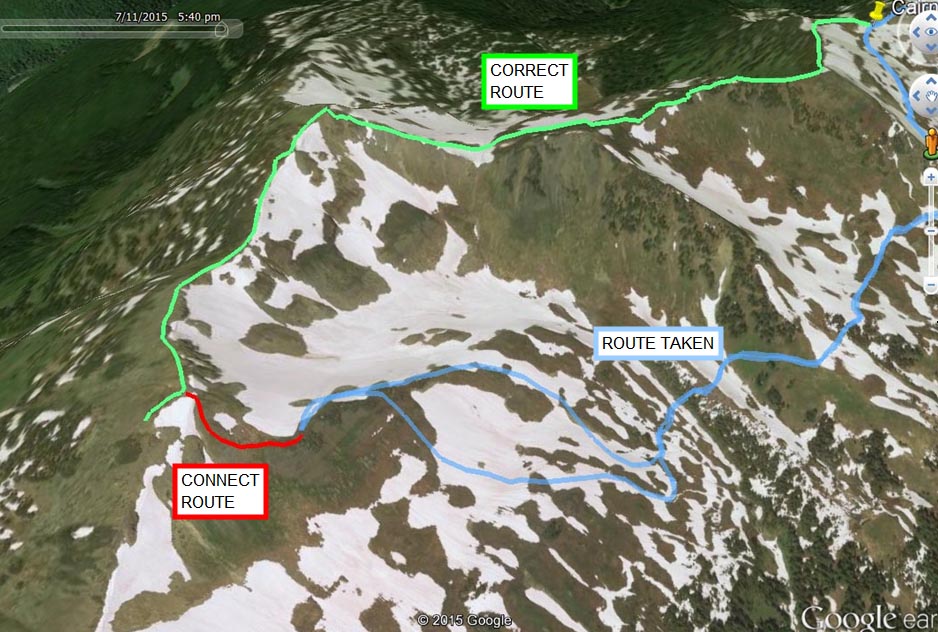
Here is the route…

Here’s an interesting graphic showing how much the Coleman Glacier has retreated…

Coleman Glacier

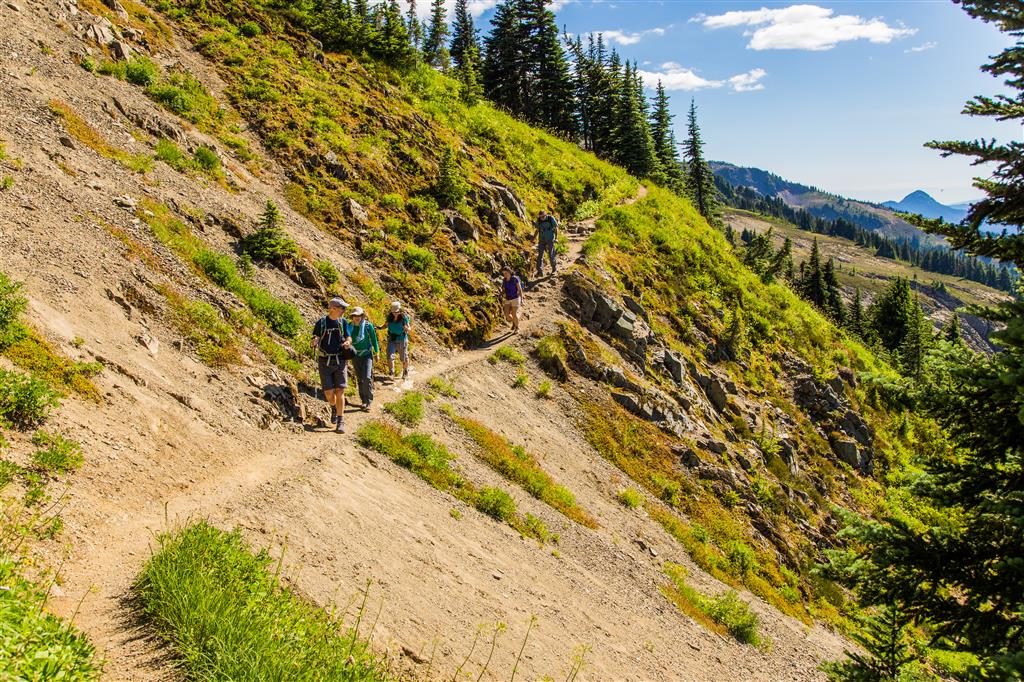
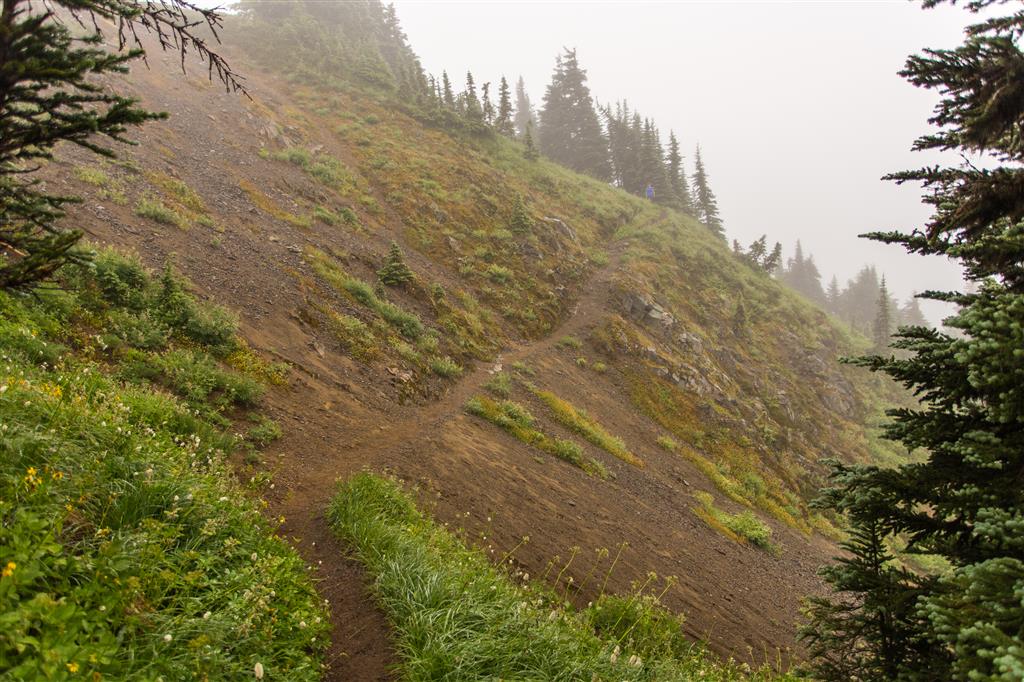
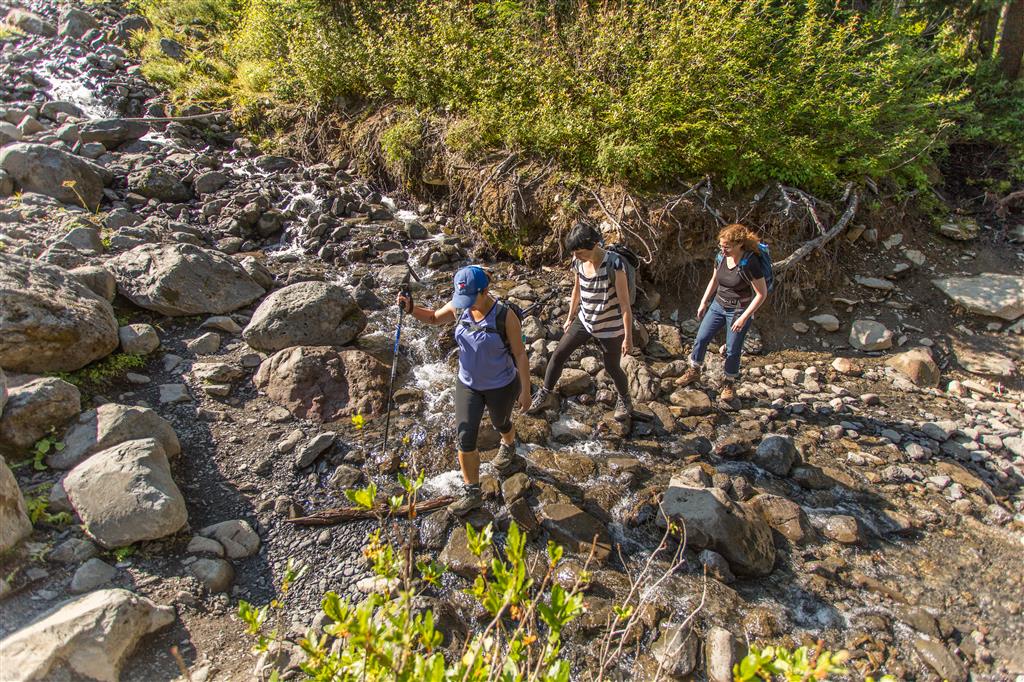
Here are the four stream crossings in order…

#1
Stream crossing 1b

#2
Stream Crossing 2

#3
IMG_8487

#4
Stream Crossing 4

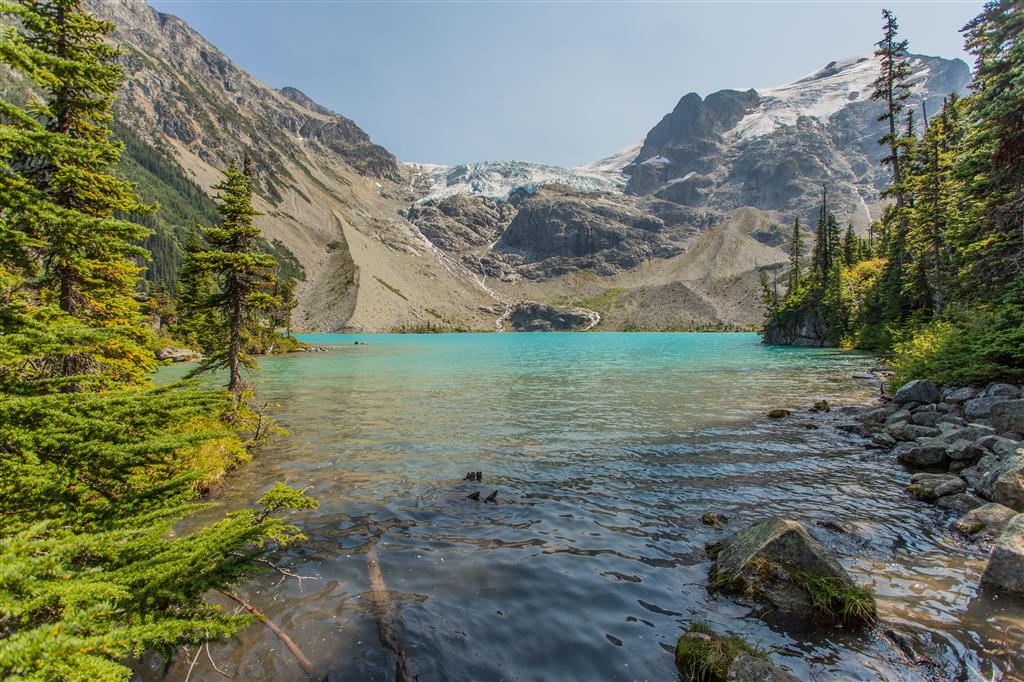
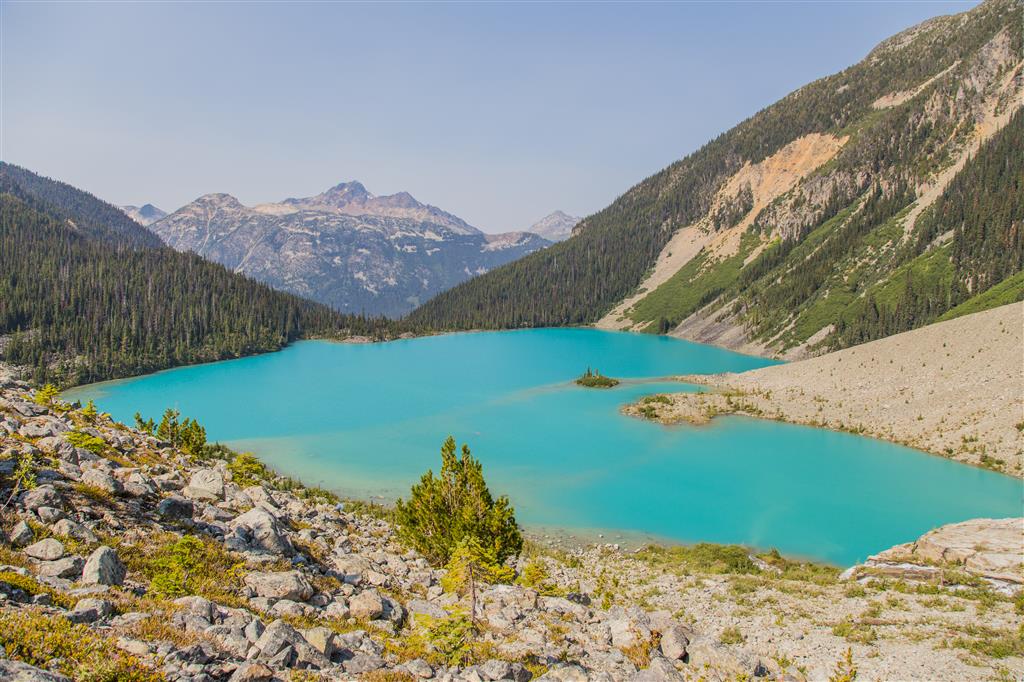
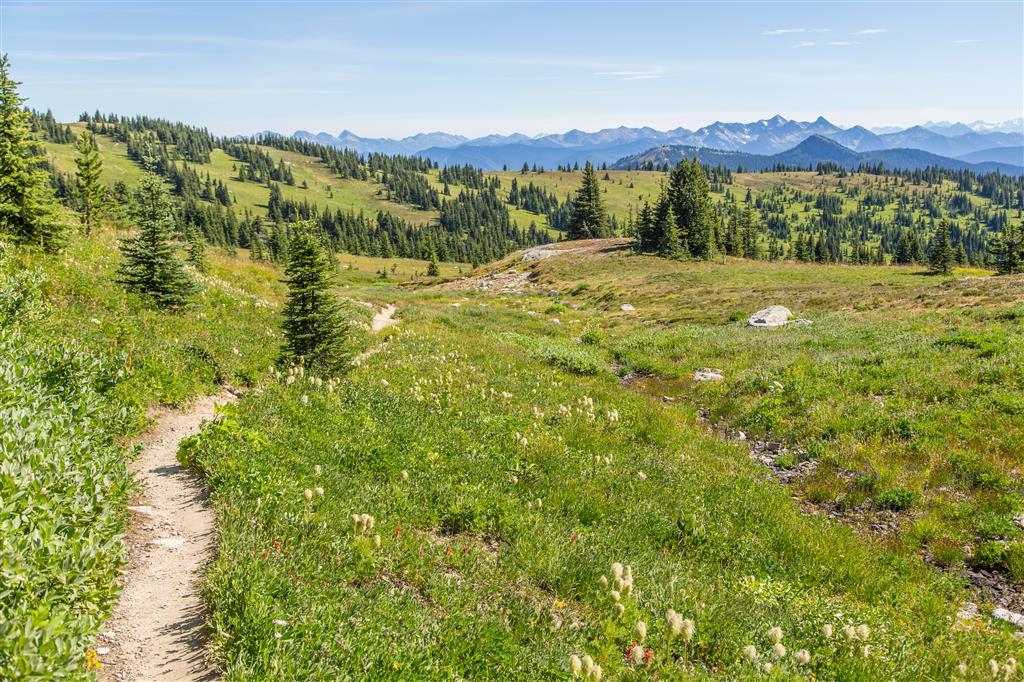
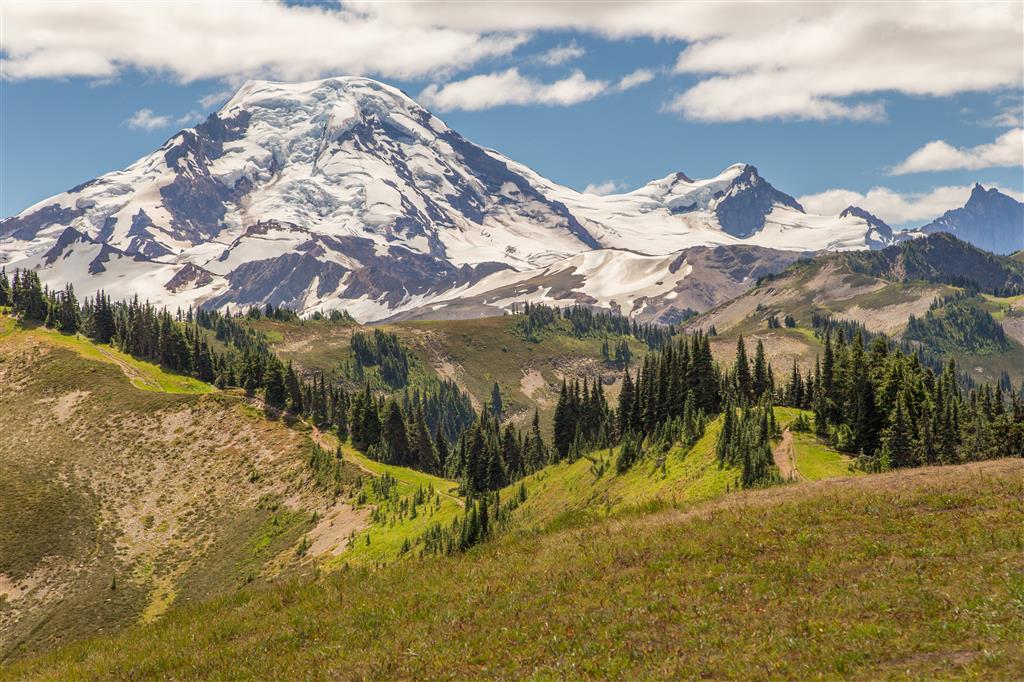
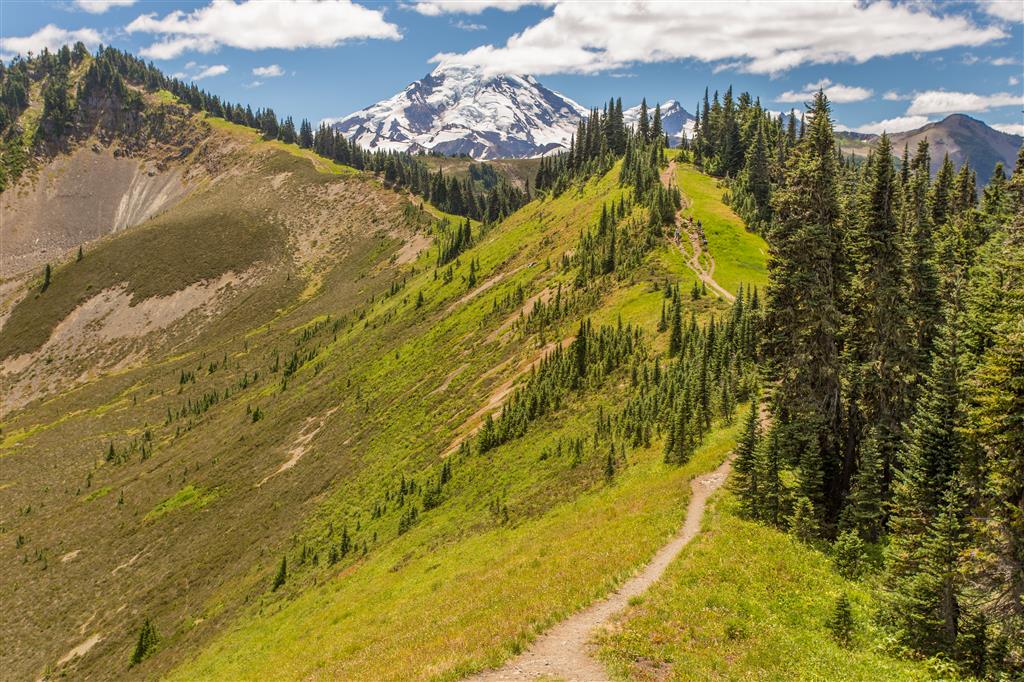
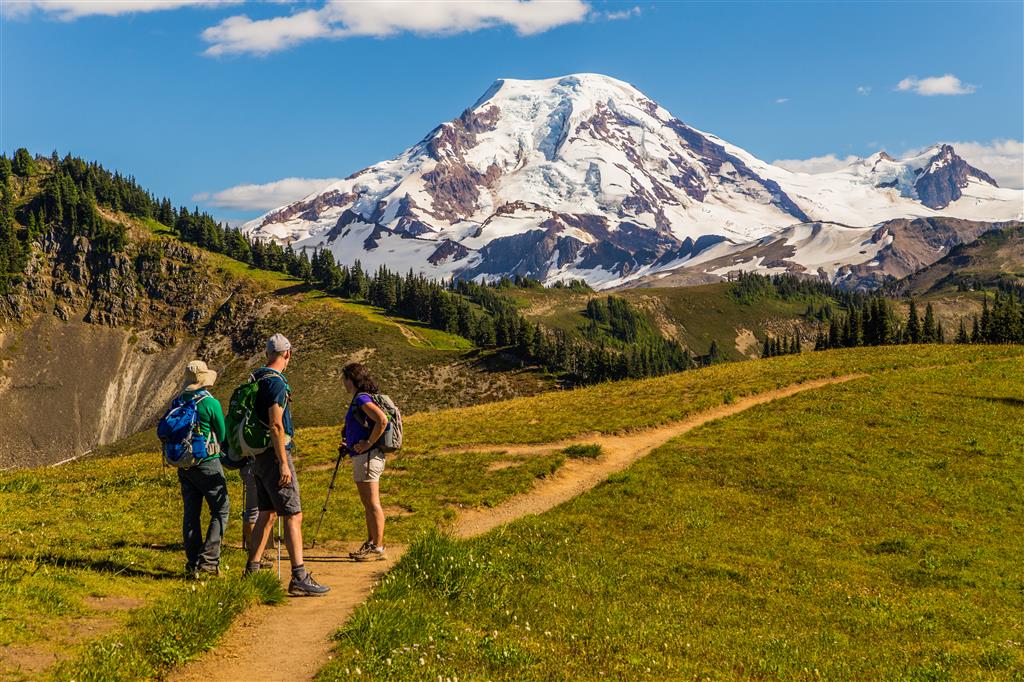
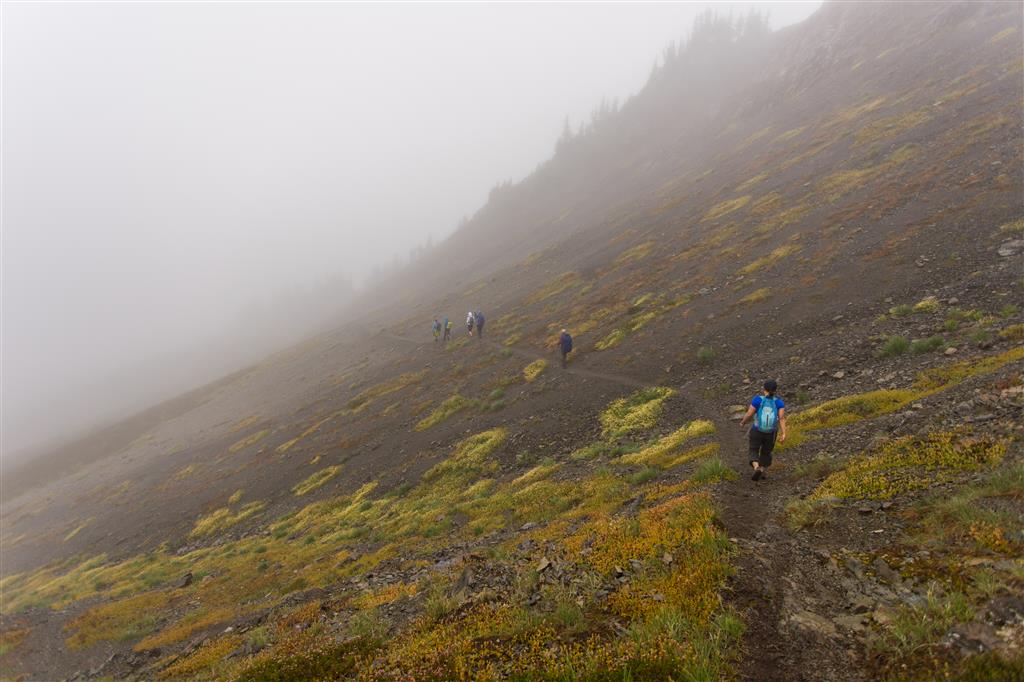
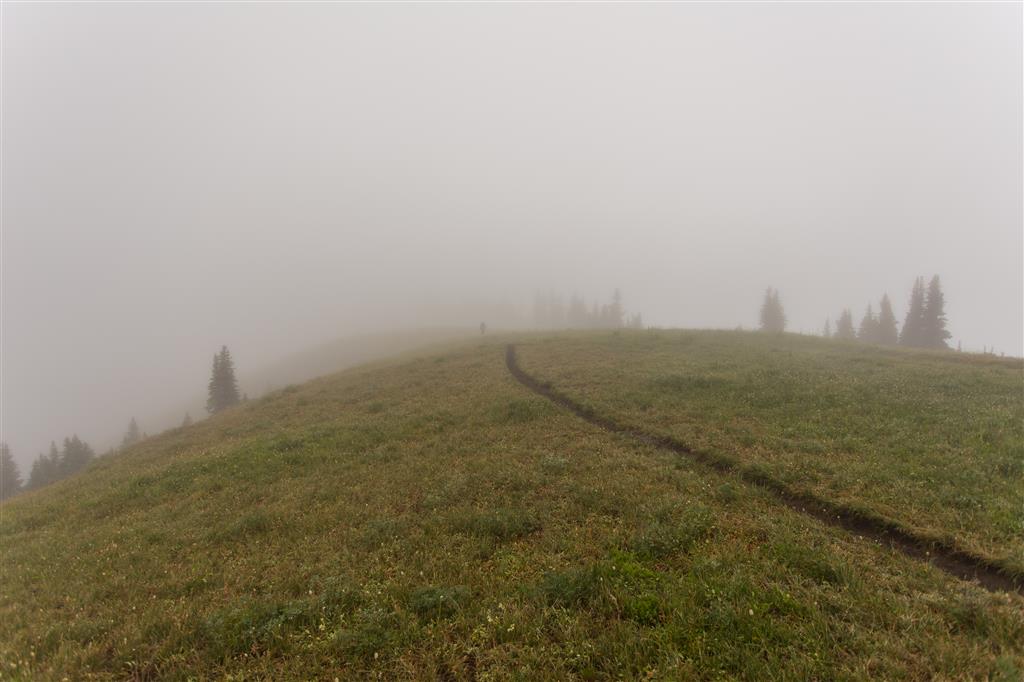
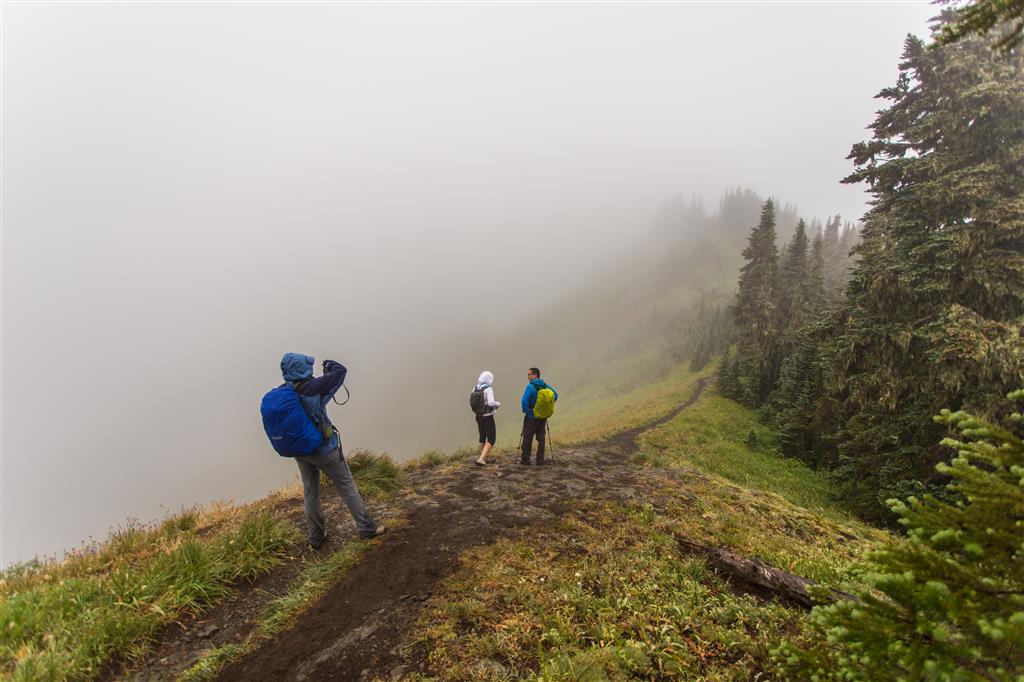
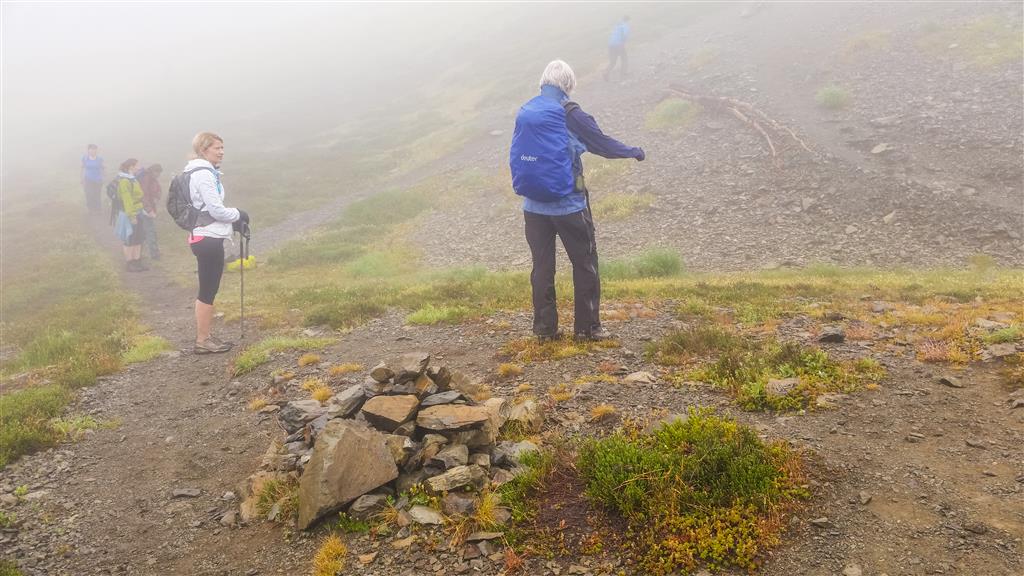
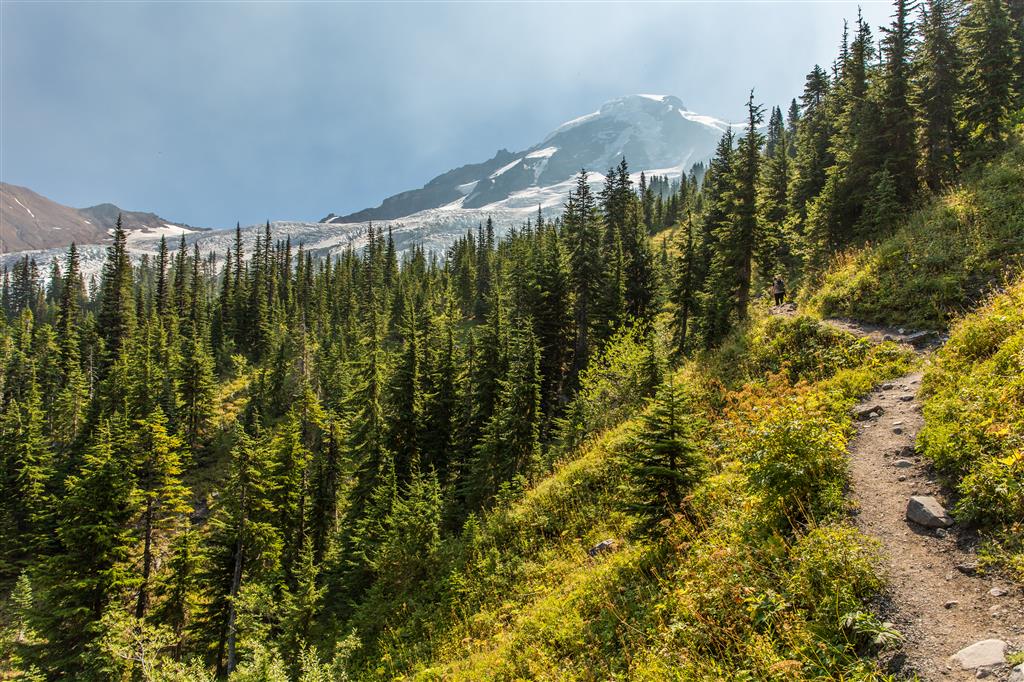
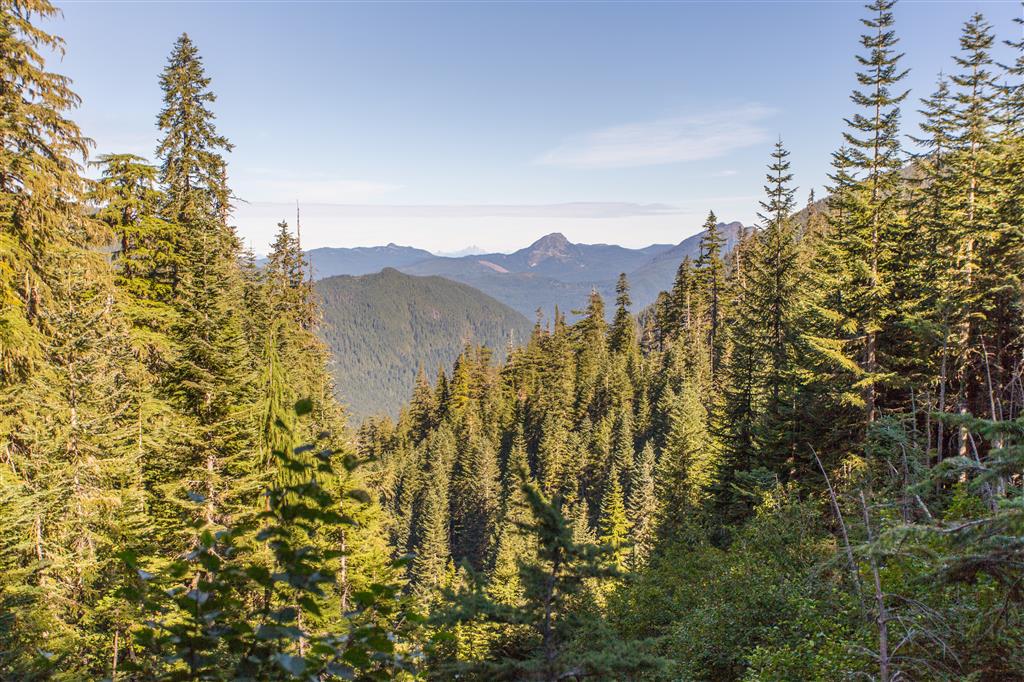
Here is a view of Mt. Baker from the trail…

IMG_8471

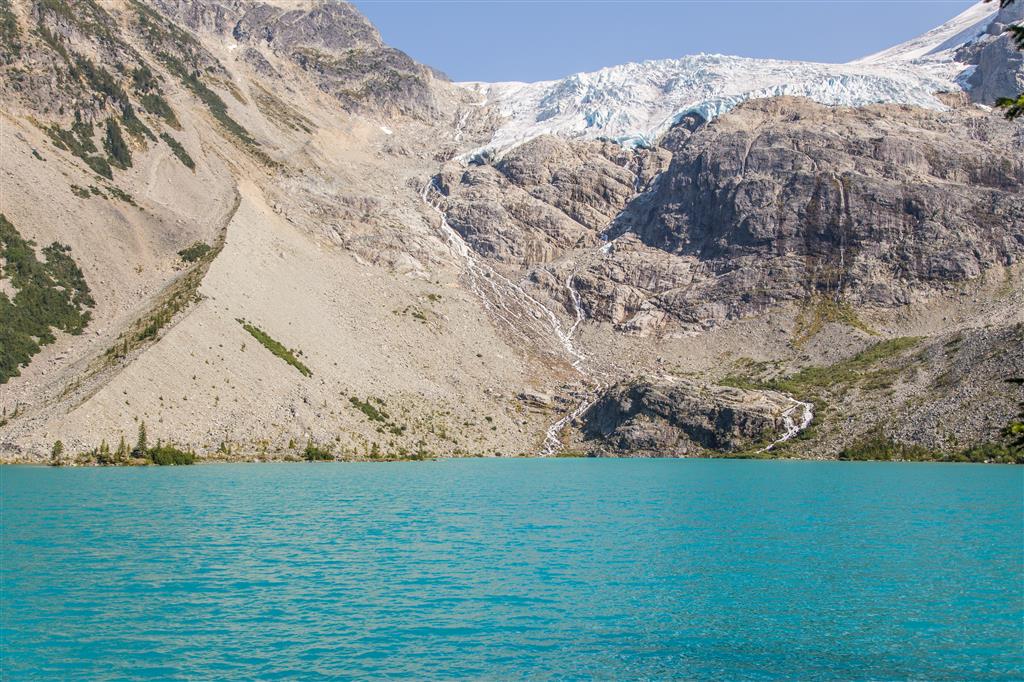
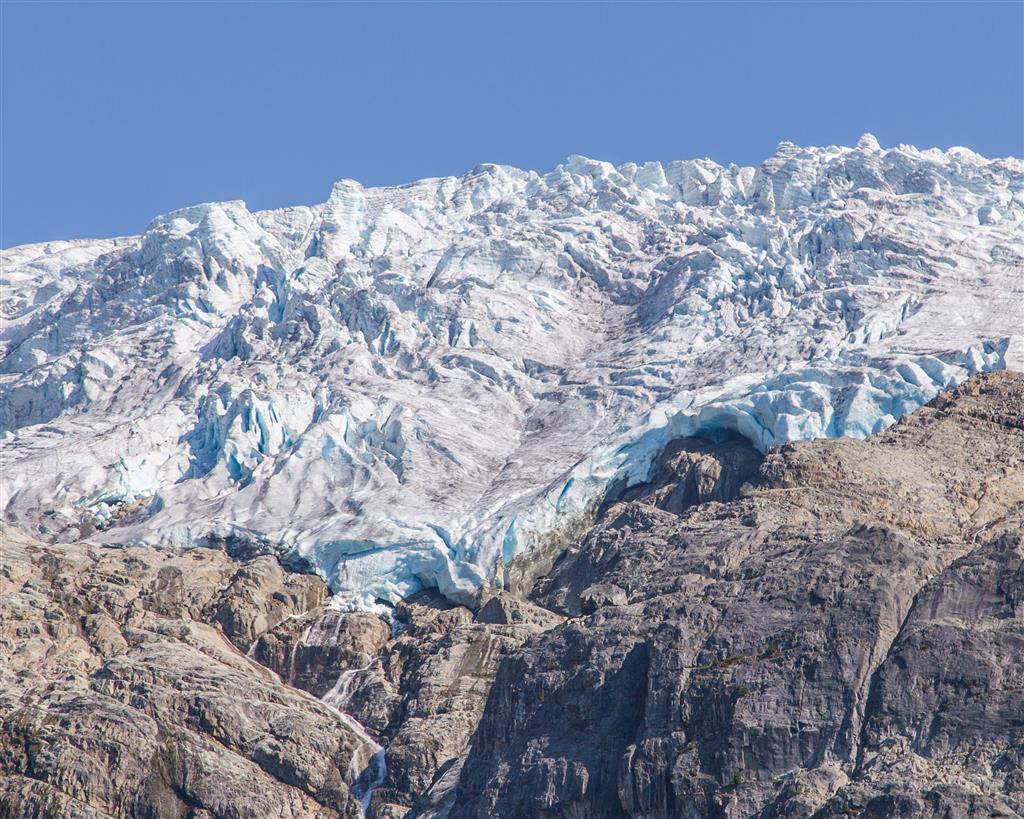
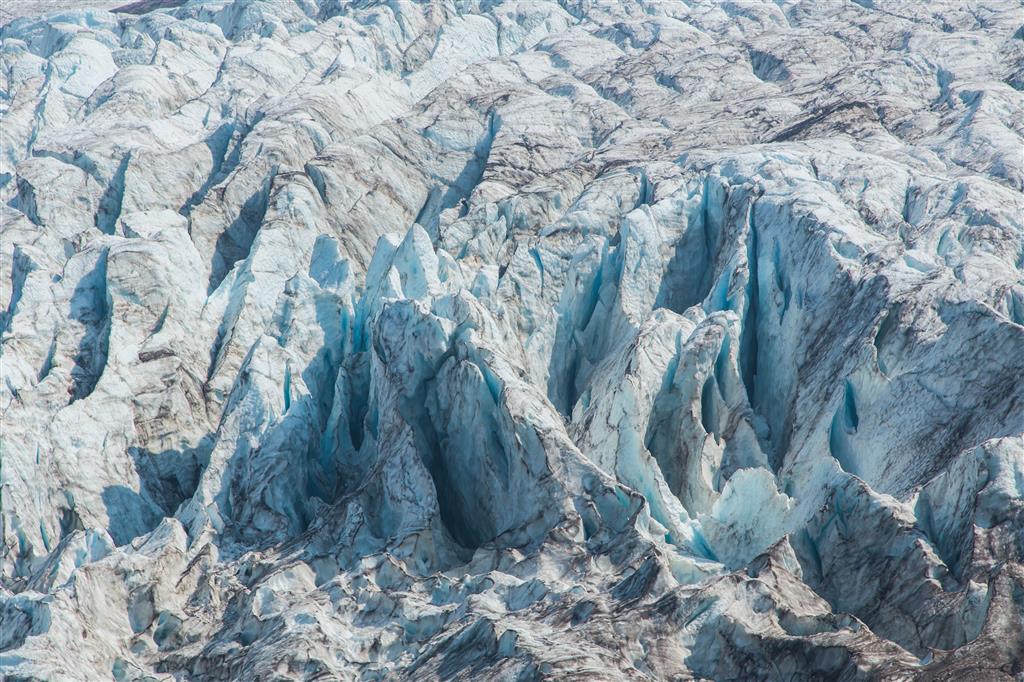
The amazing Coleman Glacier…

IMG_8514

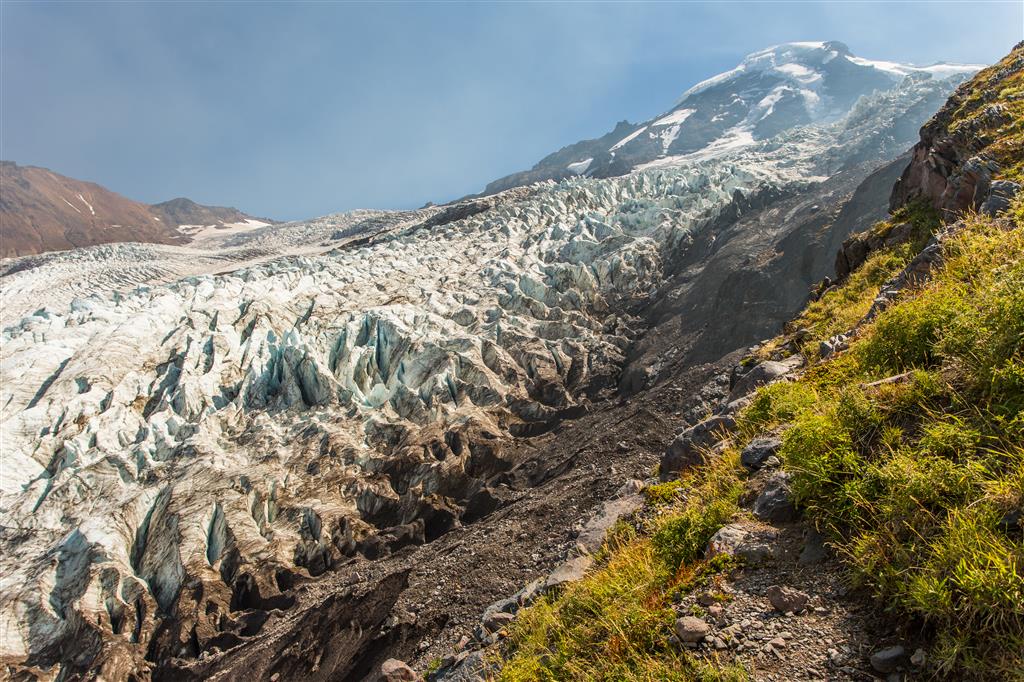
Detail view of Coleman Glacier…

IMG_8521

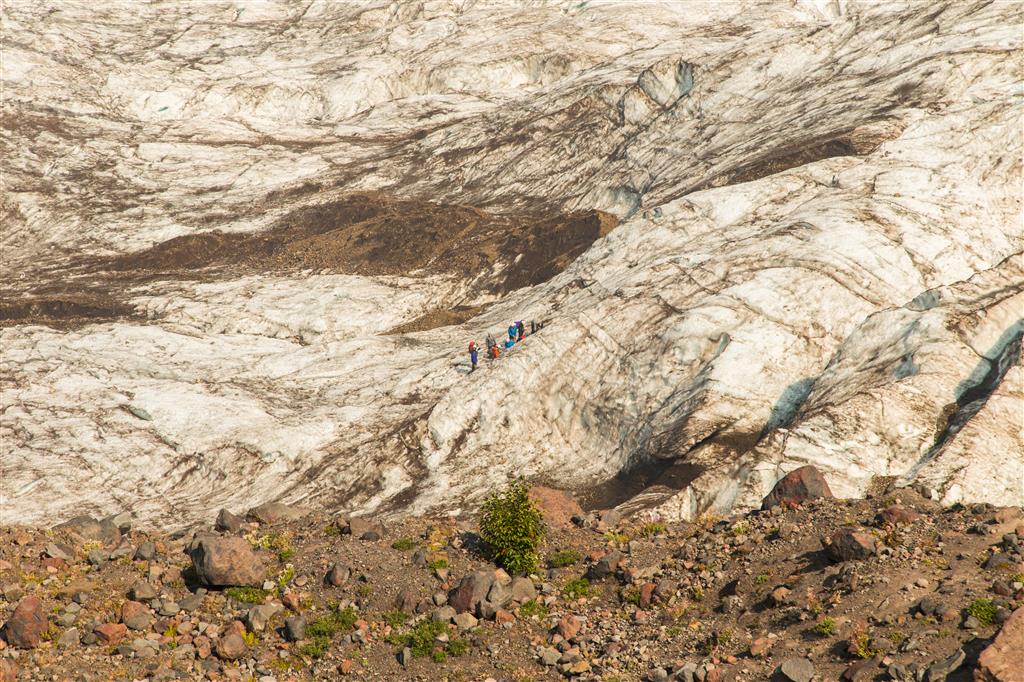
Some people on the glacier…

IMG_8516

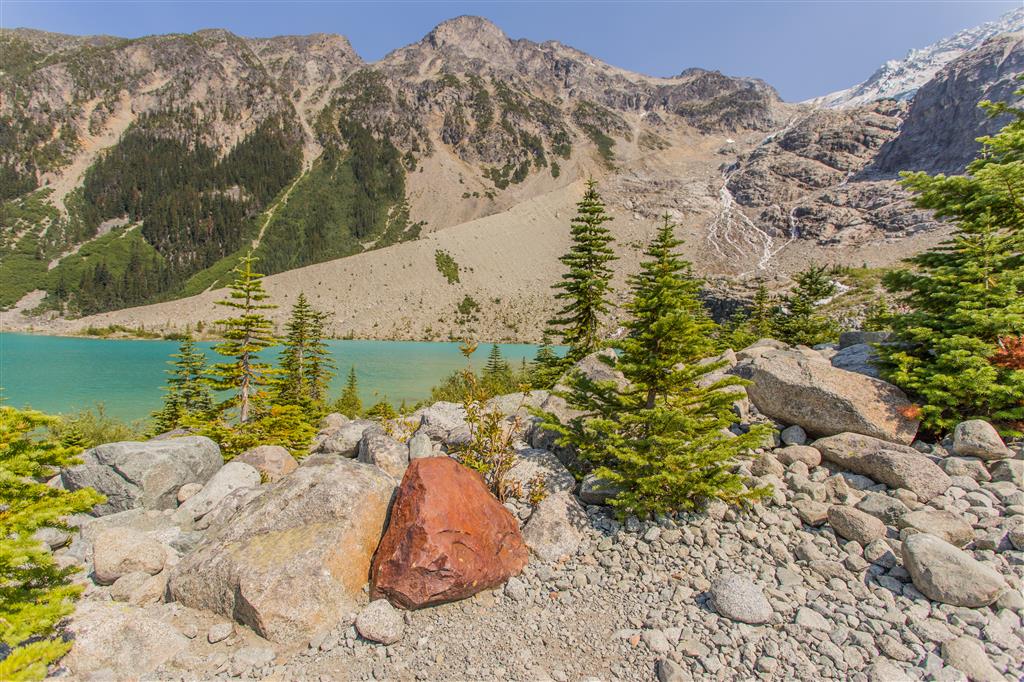
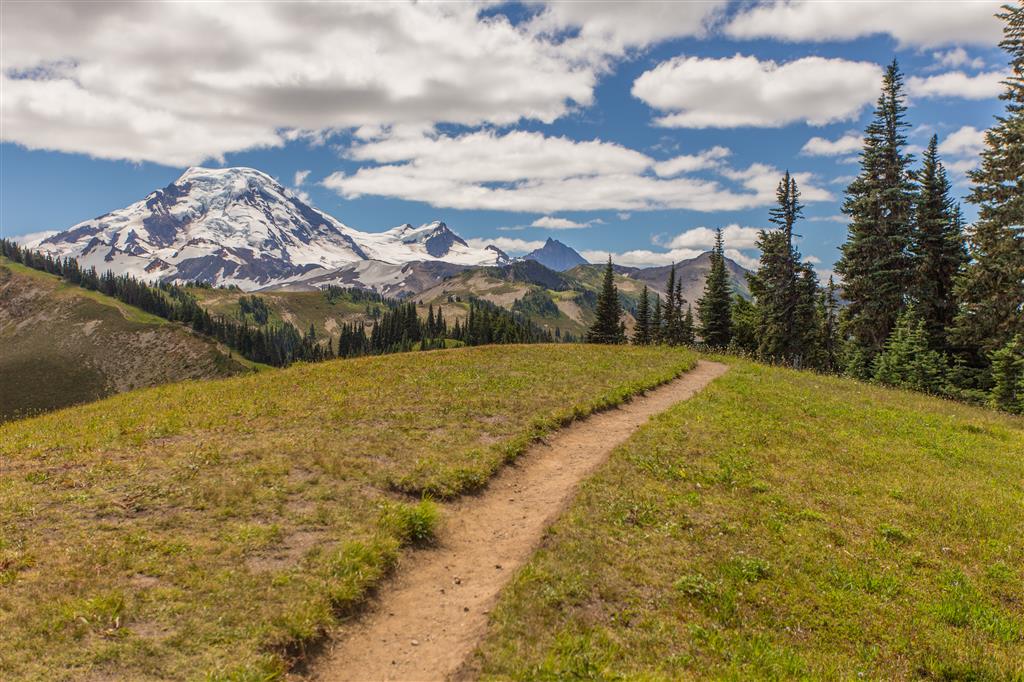
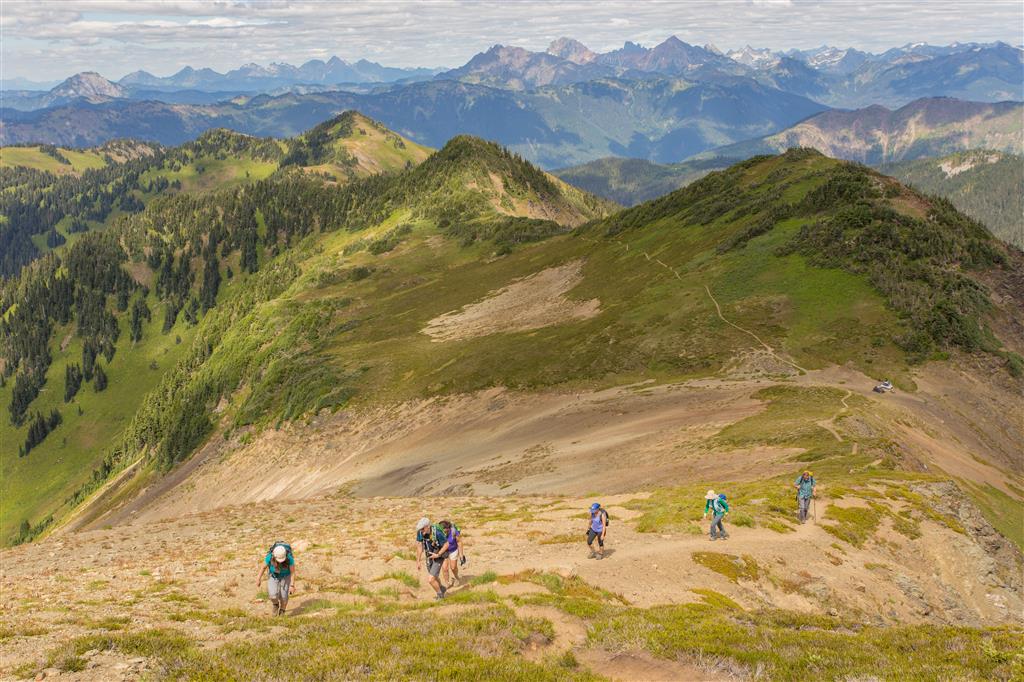
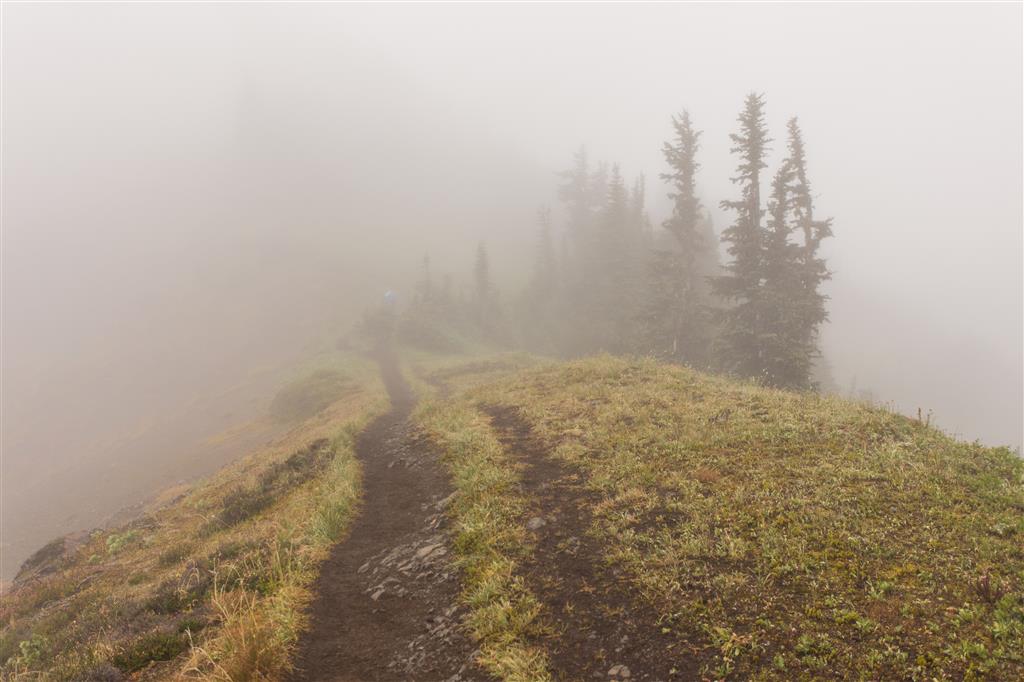
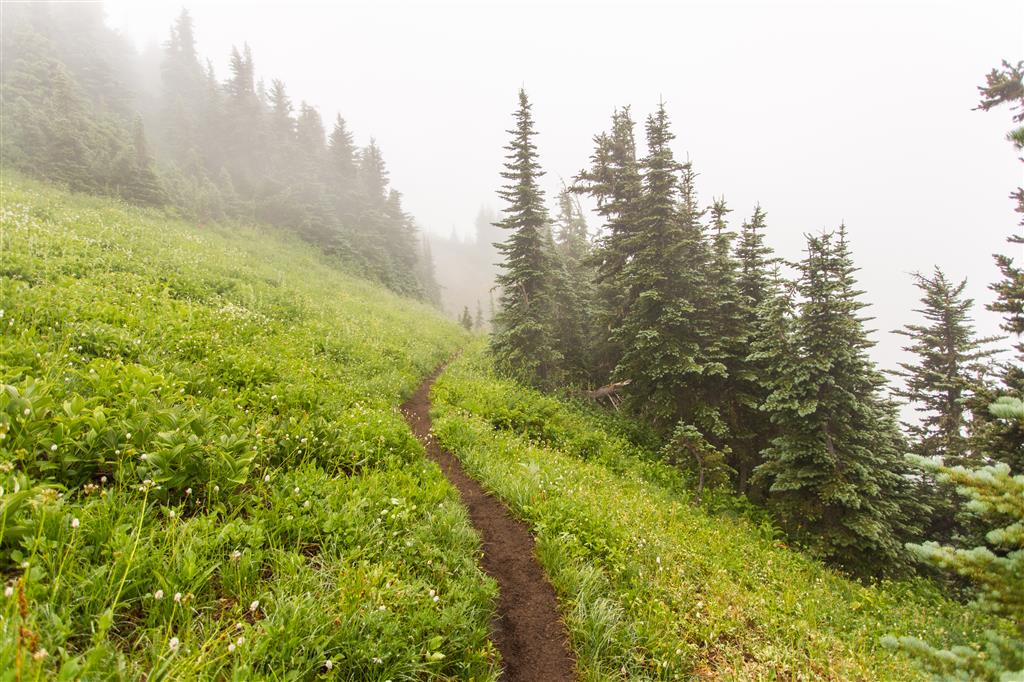
A view from the trail opposite direction of Mt. Baker…

IMG_8443

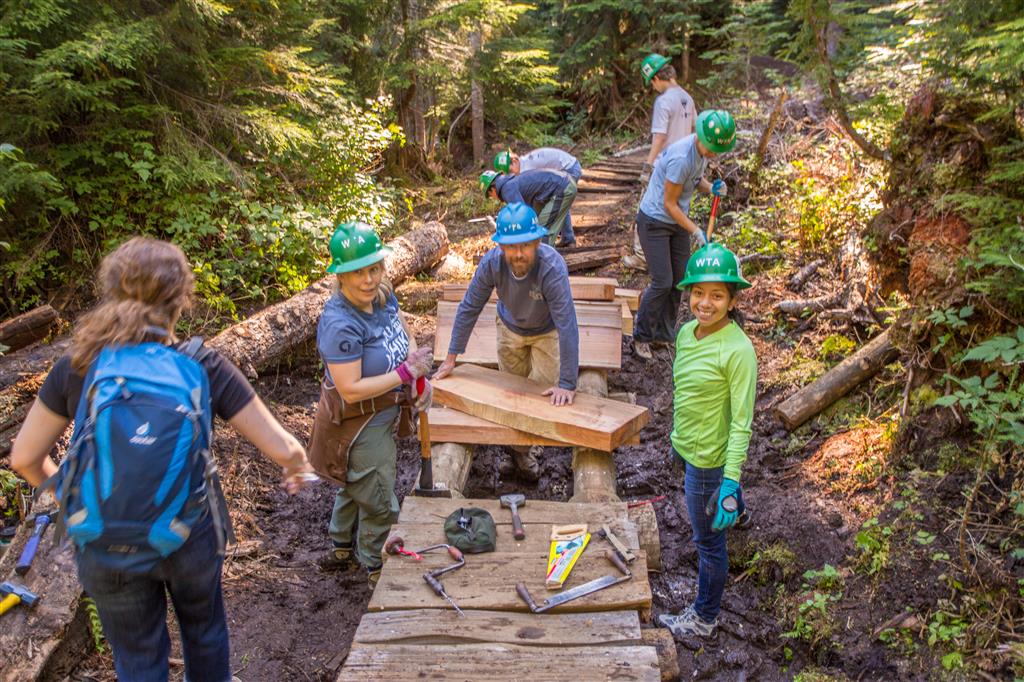
There were several volunteers fixing the trail today…

IMG_8441

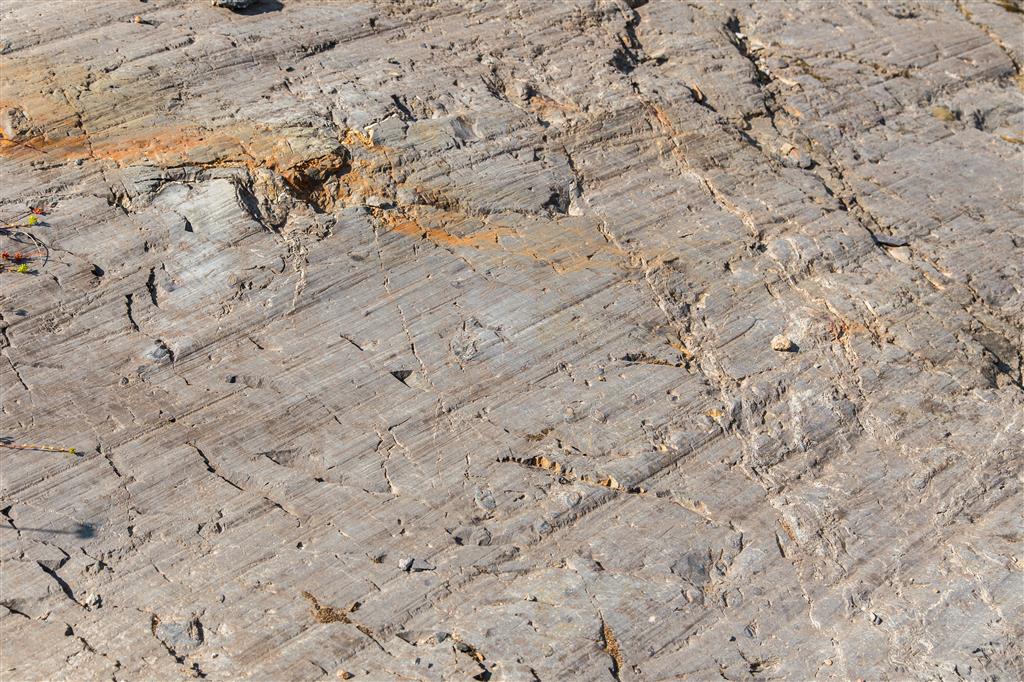
Cool glacial striations (scratches or gouges cut into bedrock by glacial abrasion)…

IMG_8556

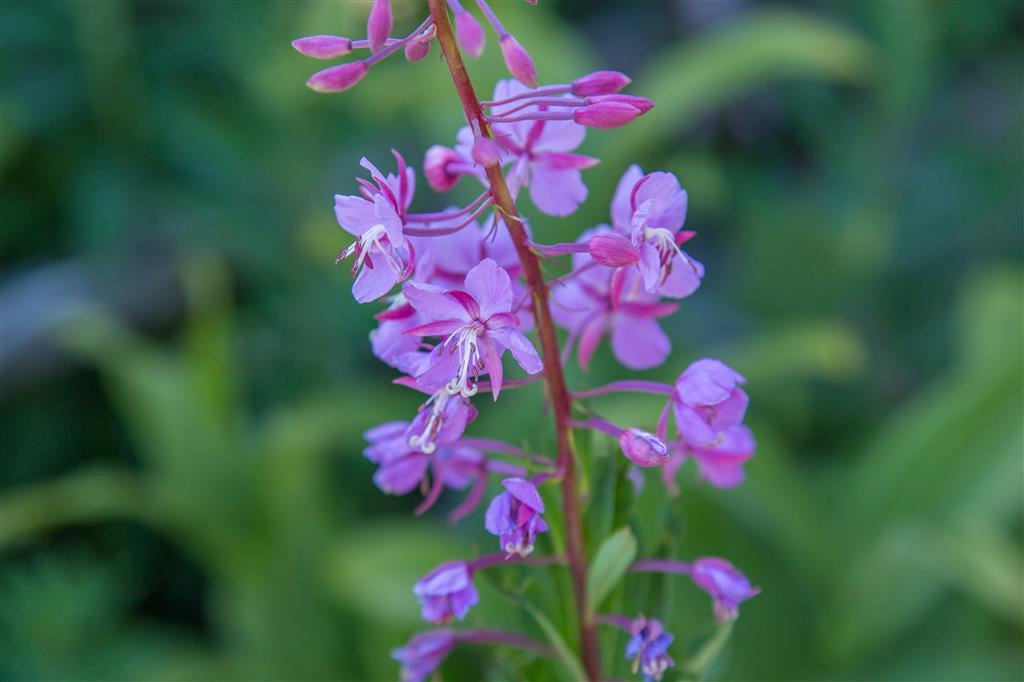
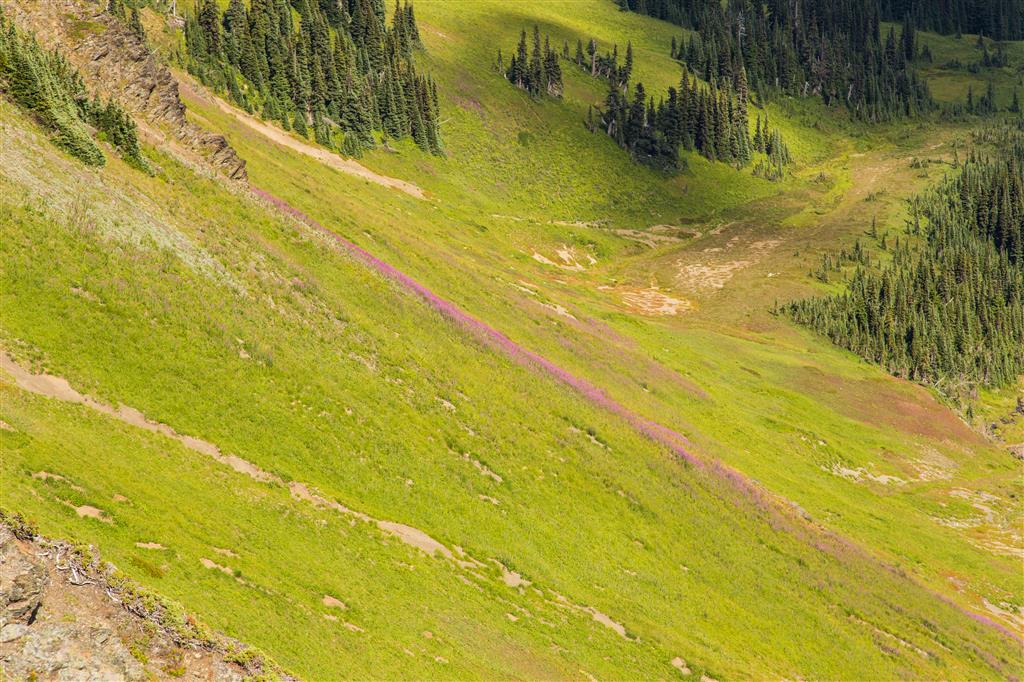
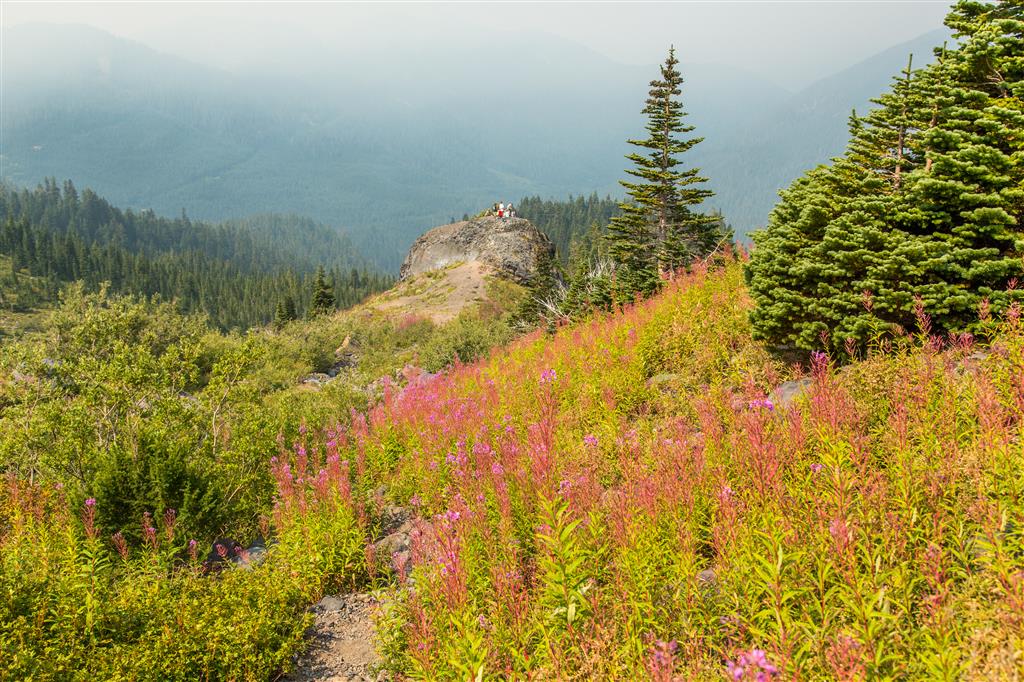
Nice field of Fireweed…

IMG_8583

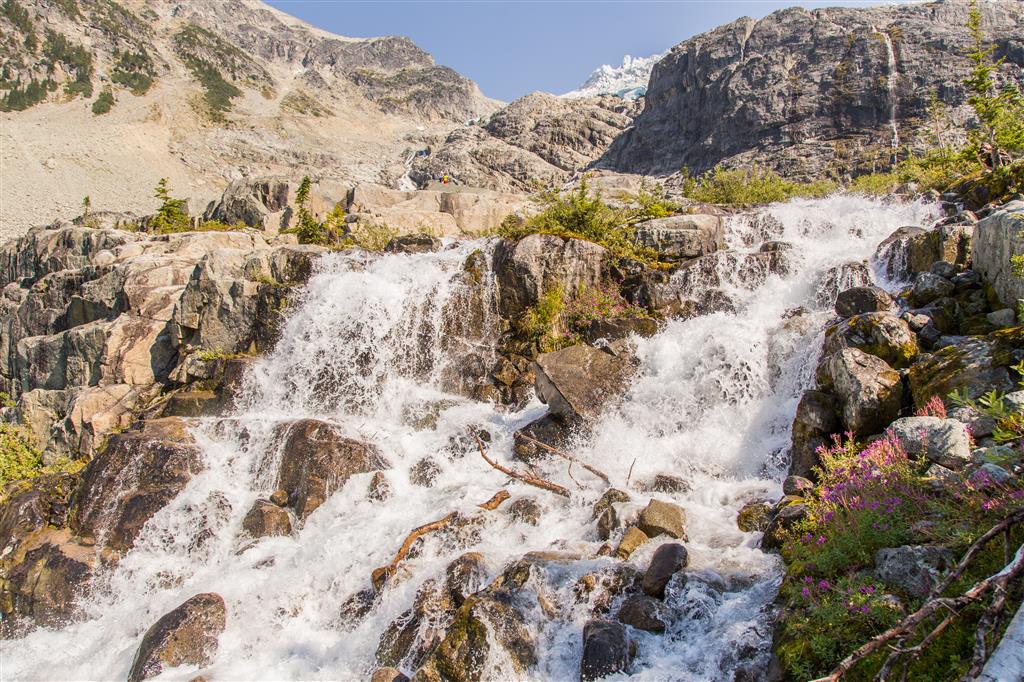
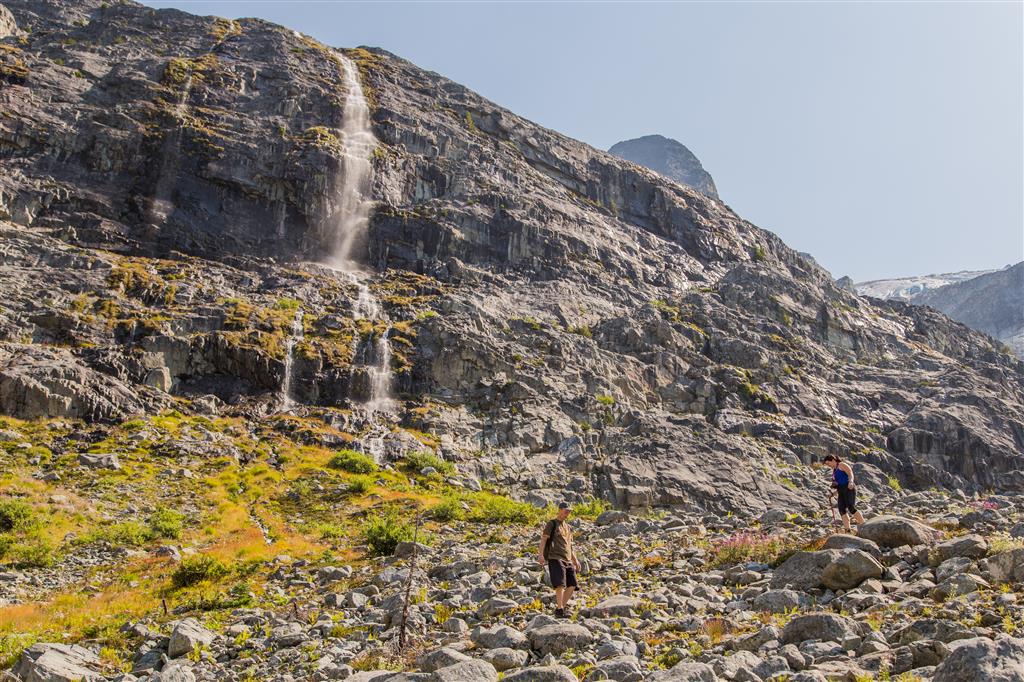
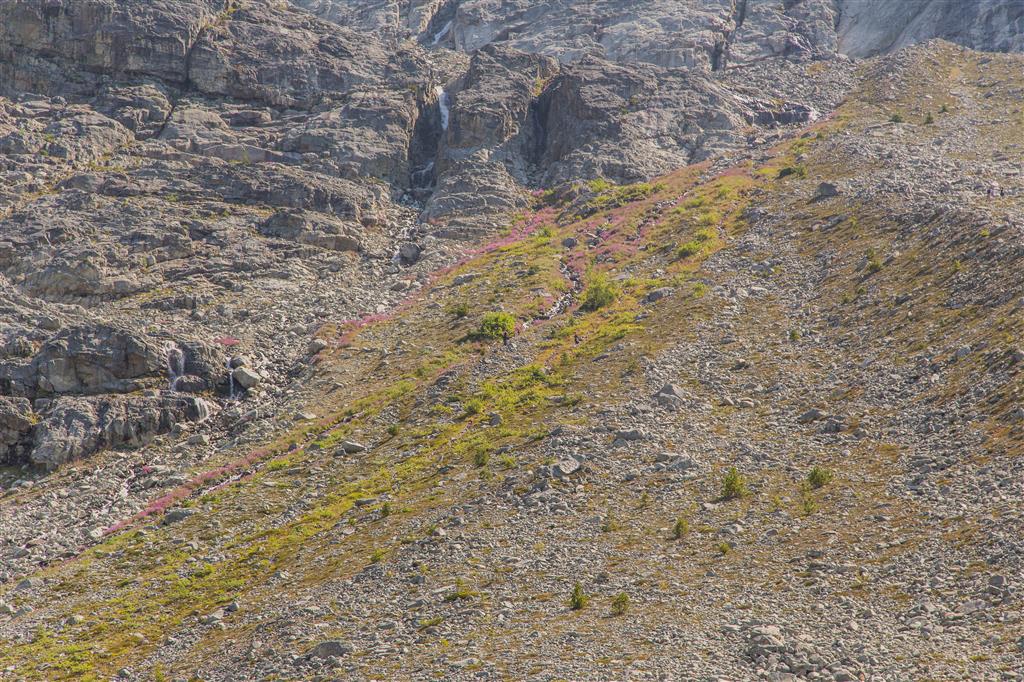
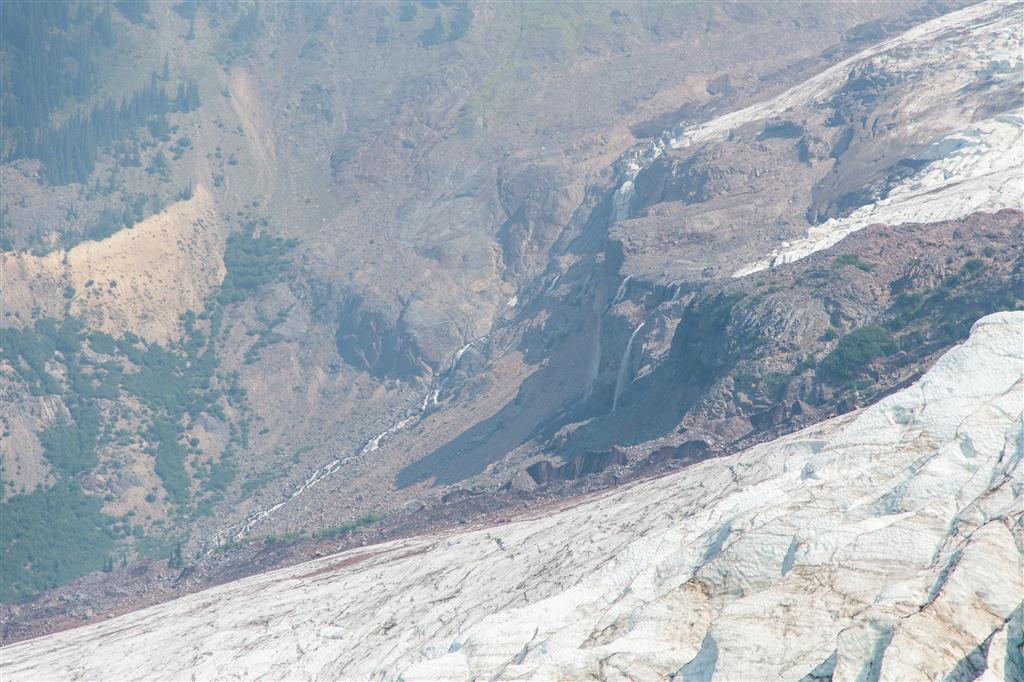
Waterfalls on other side of Coleman Glacier…

IMG_8529

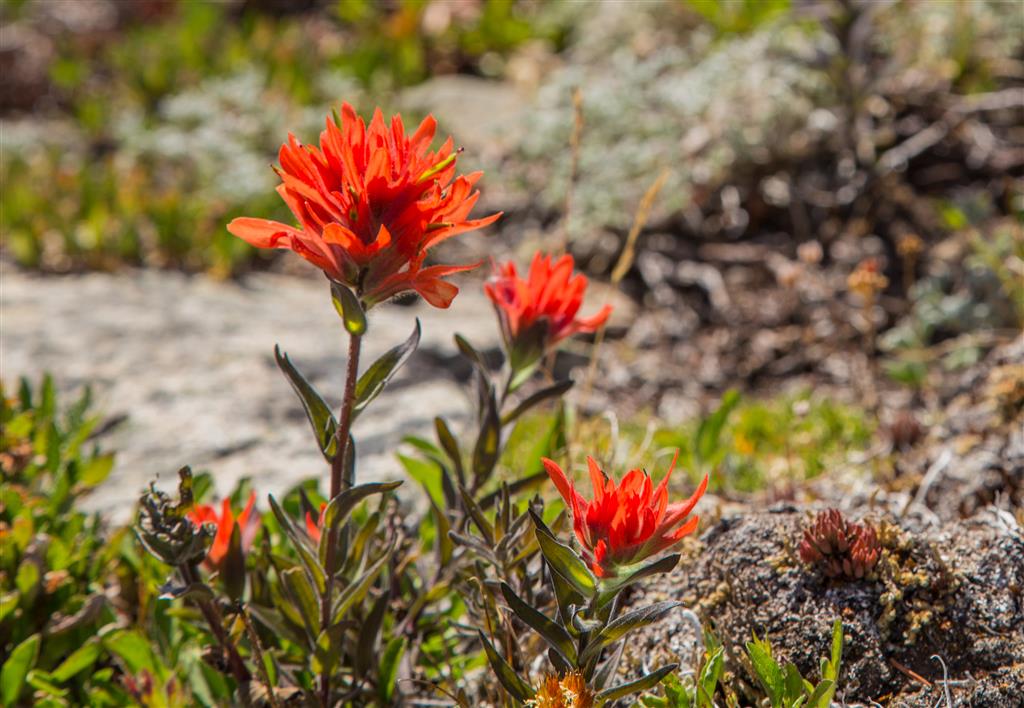
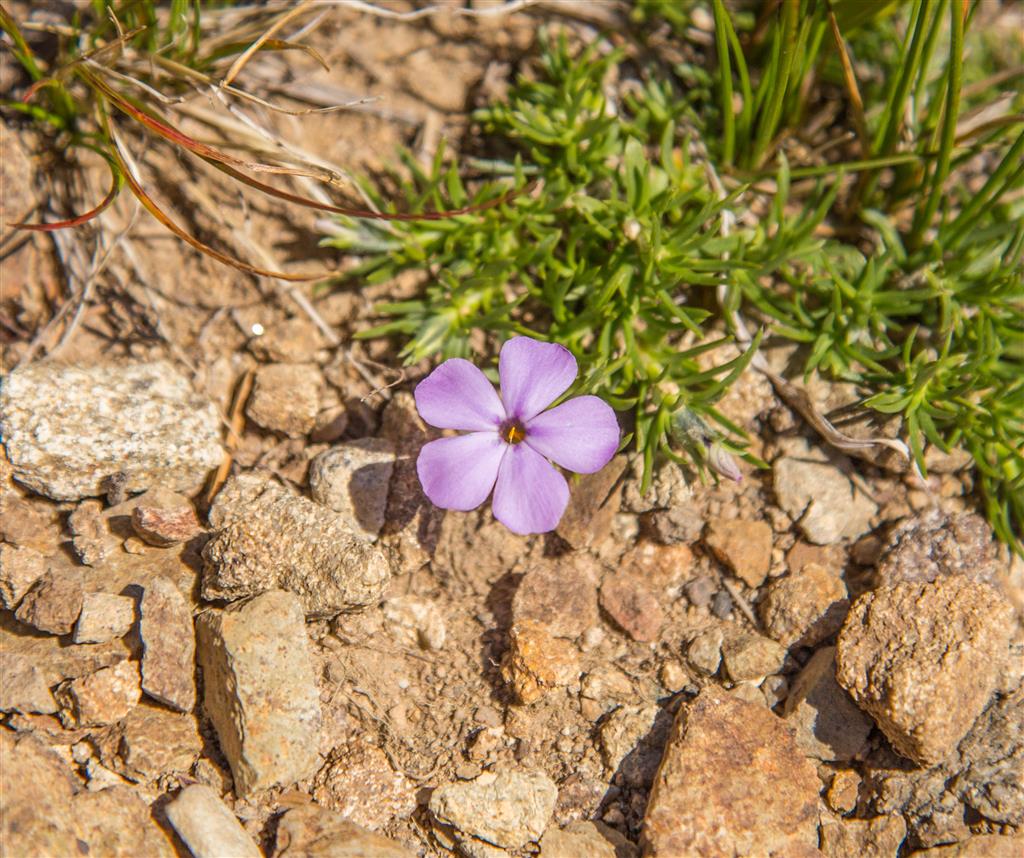
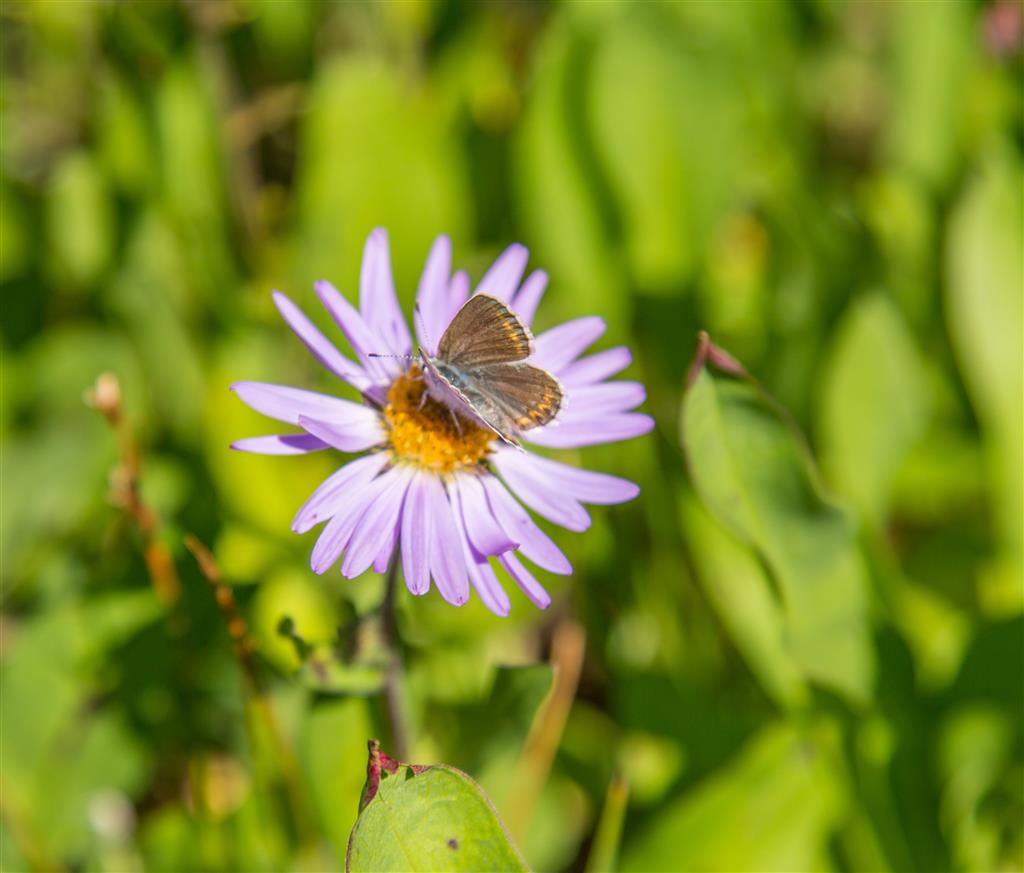
Found these strange spots on this plant…

IMG_8603

★★★★★★★★★★★

Before heading out on your hike, make sure you are well prepared. This means, having the TEN ESSENTIALS. It is also important to leave a trip plan (route details and estimated return time) with someone you trust.

Bring your smartphone, fully charged and put it in airplane mode while hiking. I always bring back-up battery packs for extra piece of mind. It is highly recommended that you bring a GPS device; I use my smartphone with a GPS app (Backcountry Navigator). The GPS will work in airplane mode. Learn how to use it before your hike.

For anyone new to hiking, there is a rule to which hikers follow; it is called “Leave No Trace” or LNT. The concept is generally to pack out what you pack in and respect nature, so all future visitors can enjoy what you have enjoyed.
To learn more about LNT, please check out this BLOG by a certified LNT Trainer.

★★★★★★★★★★★

Joffre Lakes


Joffre Lakes Provincial Park is just north of Pemberton, BC and about 200 km north of Vancouver. This hike features 3 stunningly beautiful glacier-fed turquoise-coloured alpine lakes. If you’re not into hiking, you can see the first lake with a short easy walk. I was in awe of this place – it is so stunning and it should be on everyone’s list. We went on a sunny and hot Tuesday in August. We arrived at the parking lot around 12:00 and it was almost full. There is a pit toilet at the trailhead, so that’s nice ! When our group reached the last lake, we had a quick lunch and then went exploring up the lateral moraine and then down towards the creek. The stats below are to the end of the 3rd lake and back…

Distance: 8.7 km (return)
Time: 6 hours (with plenty of breaks and exploring)
Low point: 1217 m
High point: 1570 m
Elevation gain: 350 m
Cumulative Elevation gain: 575 m
Trailhead: 50° 22’ 10” by  122° 29’ 55” (Google Map)

Here is the route (including some exploring at end)…

Here are four photos of the upper lake…

IMG_8255

IMG_8283

IMG_8308

IMG_8366

Someone standing on a log in the middle lake…

IMG_8378

On the way up, there is a nice waterfall…

IMG_8240

Up close of the glacier…

IMG_8364cr

Strong meltwater flow in the creek…

IMG_8349

Great camping spot…

IMG_8298

Another nice waterfall near the glacier…

IMG_8330

Wildflowers on slope…

IMG_8307

★★★★★★★★★★★

Before heading out on your hike, make sure you are well prepared. This means, having the TEN ESSENTIALS. It is also important to leave a trip plan (route details and estimated return time) with someone you trust.

Bring your smartphone, fully charged and put it in airplane mode while hiking. I always bring back-up battery packs for extra piece of mind. It is highly recommended that you bring a GPS device; I use my smartphone with a GPS app (Backcountry Navigator). The GPS will work in airplane mode. Learn how to use it before your hike.

For anyone new to hiking, there is a rule to which hikers follow; it is called “Leave No Trace” or LNT. The concept is generally to pack out what you pack in and respect nature, so all future visitors can enjoy what you have enjoyed.
To learn more about LNT, please check out this BLOG by a certified LNT Trainer.

★★★★★★★★★★★

Heather Trail

Heather Trail (aka Three Brothers Trail) in Manning Park is a very popular hike. Manning Park is a Provincial Park and covers an area of 70,844 hectares (175059 Acres). It is known for its amazing scenery and alpine flowers. To get to Heather trail, follow Highway 3 for about 65 km east past Hope. Turn off the highway and head up an asphalt – then gravel road to the parking lot. To take 1 km off your hike, park at the north end of the parking lot if possible. There are pit toilets at the trailhead. The day we went was hot and sunny. The wild alpine flowers were still in bloom and looked marvelous ! The first 4 km of the trail are downhill (so you know what that means for the last 4 km !!). The grades aren’t too steep on the entire trail – the steepest section is on the approach to the first Brother (of Three Brothers Mountain), which was our destination.

The Stats:

Distance: 19 km (return)
Time: 7.5 hours
Low point: 1793 m
High point: 2272 m
Elevation gain: 479 m
Cumulative Elevation gain: 930 m

Trailhead: 49° 6’ 12” by  120° 45’ 32” (Google Map)
Location to turn off Hwy 3: 49° 3’ 47” by  120° 46’ 57.5” (Google Map)

The route…

Here is the ridgeline to the 1st Brother peak..

IMG_8018

On the ridgeline, you can see this interesting colour change on the ridge…

IMG_8026

Here is a little stream crossing the trail…

IMG_7963

Here is a trail pic…

IMG_8102

Here is a gully by the peak…

IMG_8021

We saw some smoke in the distance today…

IMG_8122

Me at the 1st Brother…

IMG_8040

And here are some wildflower photos…

IMG_8067cr

IMG_8093cr

IMG_8099cr

IMG_8103

IMG_8126

IMG_8130cr

IMG_8132cr

IMG_8147cr

★★★★★★★★★★★

Before heading out on your hike, make sure you are well prepared. This means, having the TEN ESSENTIALS. It is also important to leave a trip plan (route details and estimated return time) with someone you trust.

Bring your smartphone, fully charged and put it in airplane mode while hiking. I always bring back-up battery packs for extra piece of mind. It is highly recommended that you bring a GPS device; I use my smartphone with a GPS app (Backcountry Navigator). The GPS will work in airplane mode. Learn how to use it before your hike.

For anyone new to hiking, there is a rule to which hikers follow; it is called “Leave No Trace” or LNT. The concept is generally to pack out what you pack in and respect nature, so all future visitors can enjoy what you have enjoyed.
To learn more about LNT, please check out this BLOG by a certified LNT Trainer.

★★★★★★★★★★★

Skyline Divide

Last week I did this hike and it was cloudy, rainy and there were no views, so I just had to come back !! My first post for this hike is HERE. The hike today was just gorgeous, with the sun shining all day. The hike takes you into the northern foothills of Mt. Baker, a 3,286 m volcano.  The Skyline Divide Trail is in the Mount Baker-Snoqualmie National Forest. The area is amazing and you’ll see it in the photos below. Last week we also missed our intended trail, but today, I made sure we took the correct turn. There is a 20 km gravel road to travel to make it to the trailhead – I had no problems with my car – just slow due to potholes and the occasional grouse on the trail.

Remember – You will need a Northwest Forest Pass, which can be purchased in person at the Glacier Public Service Center at 10091 Mt. Baker Highway,Glacier, WA (Link to Map)

Or you can buy an epass in advance online at the Discover Your Northwest website

Border crossing tips: Bring passport, Nexus or enhanced ID !!; no fruit, no veges, no meat (this isn’t a complete list !); trailmix is ok. There is an IGA just across the border if you want to get some fruit or a sandwich for your hike.

A great resource for current conditions for this hike is the WTA website.
Check it OUT !!!

The location of the start of the forestry road (NF-37) to the trailhead is HERE

Here are the stats:

Distance: 13.6 km (return)
Time: 6.25 hours
Low point: 1306 m
High point: 1991 m
Elevation gain: 685 m
Cumulative Elevation gain: 1280 m
Trailhead: 48° 52’ 49.4” by  121° 51’ 53.5” (Google Map)

Here’s the route…

Here are the photos from today…

Mt. Baker through the flowers

IMG_7364

IMG_7367

IMG_7375

IMG_7410

IMG_7457

IMG_7459

Way up to ridgeline peak

Wild flowers flowing down hillside

★★★★★★★★★★★

Before heading out on your hike, make sure you are well prepared. This means, having the TEN ESSENTIALS. It is also important to leave a trip plan (route details and estimated return time) with someone you trust.

Bring your smartphone, fully charged and put it in airplane mode while hiking. I always bring back-up battery packs for extra piece of mind. It is highly recommended that you bring a GPS device; I use my smartphone with a GPS app (Backcountry Navigator). The GPS will work in airplane mode. Learn how to use it before your hike.

For anyone new to hiking, there is a rule to which hikers follow; it is called “Leave No Trace” or LNT. The concept is generally to pack out what you pack in and respect nature, so all future visitors can enjoy what you have enjoyed.
To learn more about LNT, please check out this BLOG by a certified LNT Trainer.

★★★★★★★★★★★

Skyline Divide Trail

This was my first hike in Washington State. This hike takes you into the northern foothills of Mt. Baker, a 3,286 m volcano.  The Skyline Divide Trail is in the Mount Baker-Snoqualmie National Forest. The area is amazing; although, you wouldn’t know it from the photos – we had very low visibility all day – so that means no views !! I will have to go back on a sunny day. Today, we missed our intended trail, but the trail we ended up on was very nice. Unfortunately, the trail ended and we had to hike some steep areas and scree slopes. There was one last section to climb, but with the visibility so low, we couldn’t see where we were going, so we decided to make our way down a slightly different (less steep) route. There is a 20 km gravel road to travel to make it to the trailhead – I had no problems with my car – just slow due to potholes and the occasional grouse on the trail.

Remember – You will need a Northwest Forest Pass, which can be purchased in person at the Glacier Public Service Center at 10091 Mt. Baker Highway,Glacier, WA (Link to Map)

Or you can buy an epass in advance online at the Discover Your Northwest website

Border crossing tips: Bring passport, Nexus or enhanced ID !!; no fruit, no veges, no meat (this isn’t a complete list !); trailmix is ok. There is an IGA just across the border if you want to get some fruit or a sandwich for your hike.

A great resource for current conditions for this hike is the WTA website.
Check it OUT !!!

The location of the start of the forestry road (NF-37) to the trailhead is HERE

The stats:

Distance: 15 km (return)
Time: 7 hours
Low point: 1308 m
High point: 1914 m
Elevation gain: 606 m
Cumulative Elevation gain: 1150 m
Trailhead: 48° 52’ 49.4” by  121° 51’ 53.5” (Google Map)

Here’s the correct route…

Here is a close up of the north end of our route, with  the correct route and the route taken. The “Connect Route” wasn’t taken due to low visibility. It was only a short distance to hook up with the main trail, but it was steep and we couldn’t see well.

Hike route
Here are some photos…

IMG_7256

IMG_7244

IMG_7245

IMG_7240

IMG_7250

20150711_141545

IMG_7241

20150711_160057

IMG_7253

★★★★★★★★★★★

Before heading out on your hike, make sure you are well prepared. This means, having the TEN ESSENTIALS. It is also important to leave a trip plan (route details and estimated return time) with someone you trust.

Bring your smartphone, fully charged and put it in airplane mode while hiking. I always bring back-up battery packs for extra piece of mind. It is highly recommended that you bring a GPS device; I use my smartphone with a GPS app (Backcountry Navigator). The GPS will work in airplane mode. Learn how to use it before your hike.

For anyone new to hiking, there is a rule to which hikers follow; it is called “Leave No Trace” or LNT. The concept is generally to pack out what you pack in and respect nature, so all future visitors can enjoy what you have enjoyed.
To learn more about LNT, please check out this BLOG by a certified LNT Trainer.

★★★★★★★★★★★