Mara Canyon at Lac du Bois Grasslands Protected Area (Cinnamon Ridge Trail)
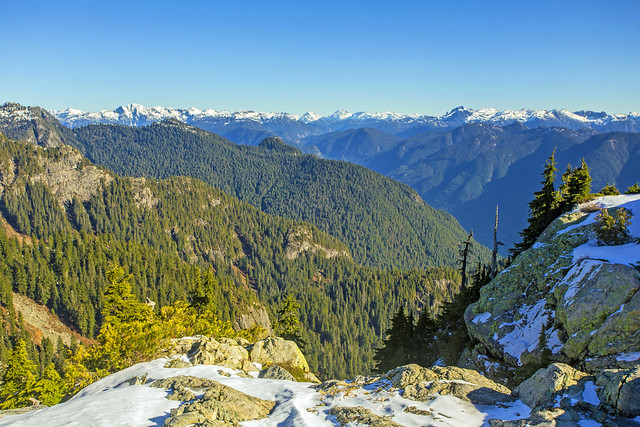
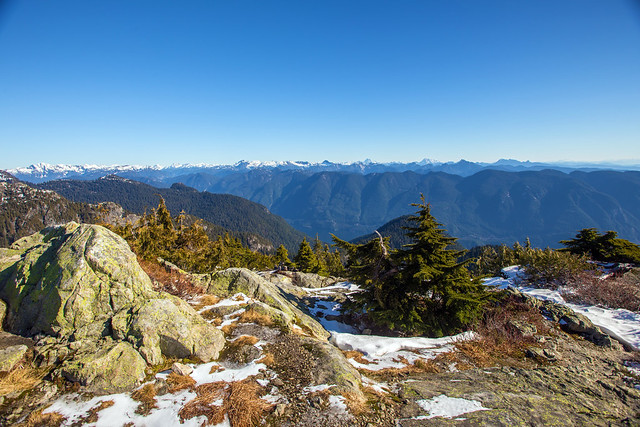
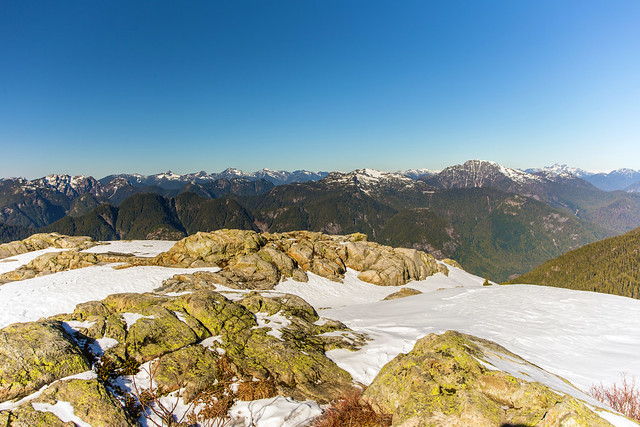
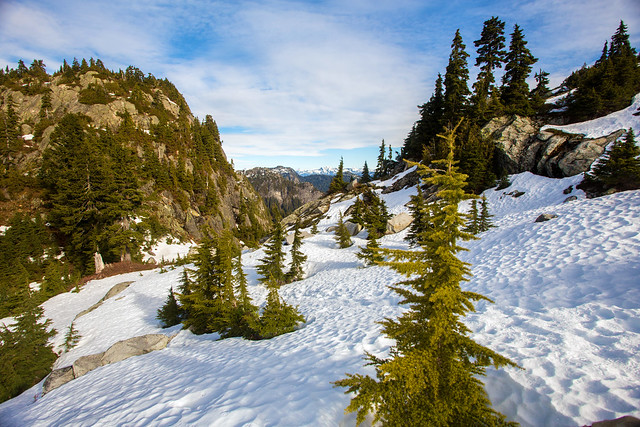
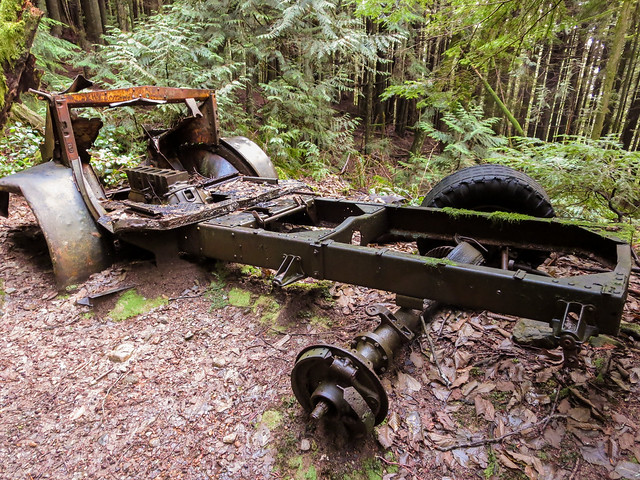
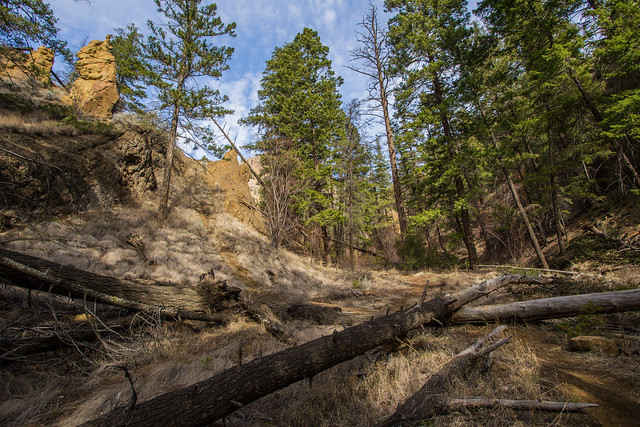
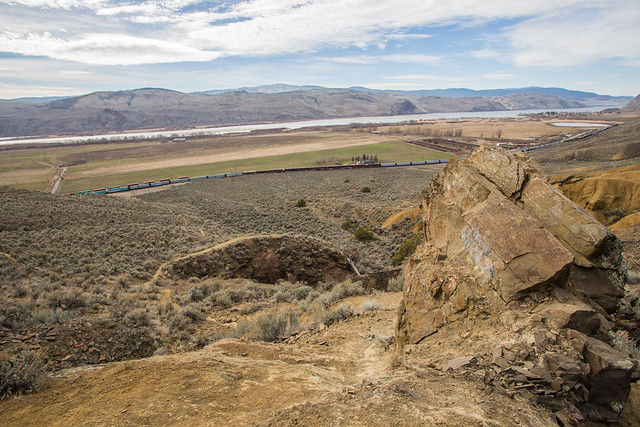
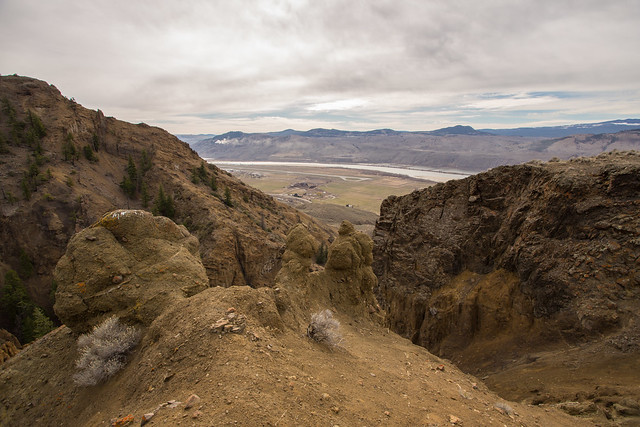
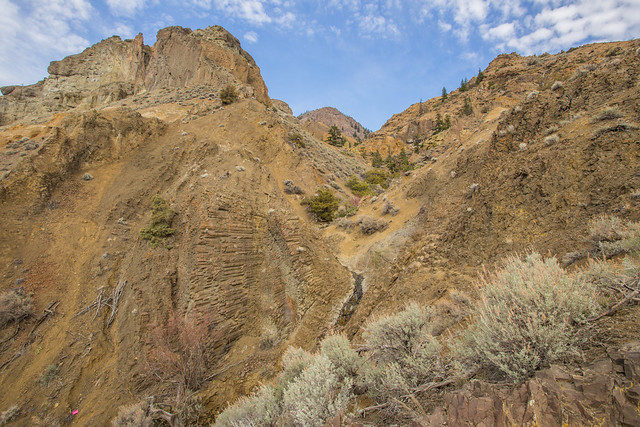
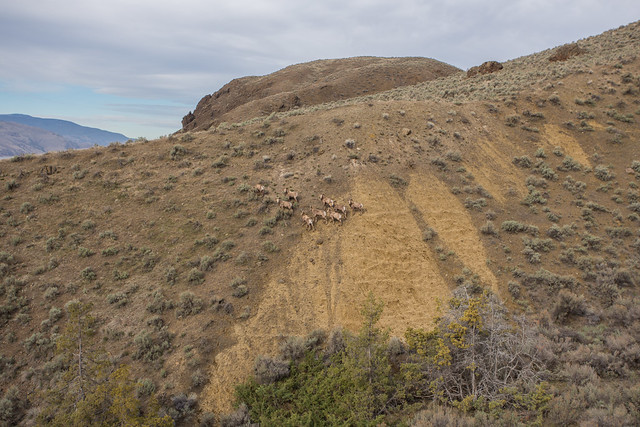
It was another amazing day for a hike in BC ! Starting at 9:30 at the trailhead (350 m) on Tranquille Road in Northwest Kamloops, it was overcast and 10 Deg C with a chilly wind. As I proceeded up the west ridge of Mara Canyon, the terrain got steep fast and finding good footholds was challenging; however, the group of 9 California Big Horn Sheep staring at me had no problem with the terrain. I made it up to the first viewpoint (600 m) in 70 minutes. The trail is not marked well at all and I am thankful for the gpx track emailed to me the night before by local hiker. After the first peak, I continued across a large hoodoo and northwards along the west ridge. There is little green up there, but there are plenty of cacti, Sagebrush and some Ponderosa Pine. Continuing along the ridge, there are many precarious traverses across slopes with small gravel over bedrock – It was very slippery. A large amount of time I was on all fours, just like the sheep ! I made it to the base of Mara bluff (785 m) at 11:30 and from here the descent into the canyon began. Again, there were many loose rock sections to traverse on the way down. I passed a old rusty car and the backbone of possibly one of the California Big Horn Sheep. Once in the dry creekbed, there were more trees – further down, there was some water in the creek. The views looking up from the bottom of the canyon were equally impressive as the views from the ridge. I finally made it back to the trailhead at 1:15 pm, after climbing through two train cars in a very long line of a stationary train. At the end of the hike, skies were blue and the temp was 18 Deg C.
The stats:
Distance: 4.5 km (return)
Low point: 350 m
High point: 757 m
Elevation gain: 407 m
Trailhead: 50° 43’ 6.7” by 120° 28’ 33.4” (Google Map)
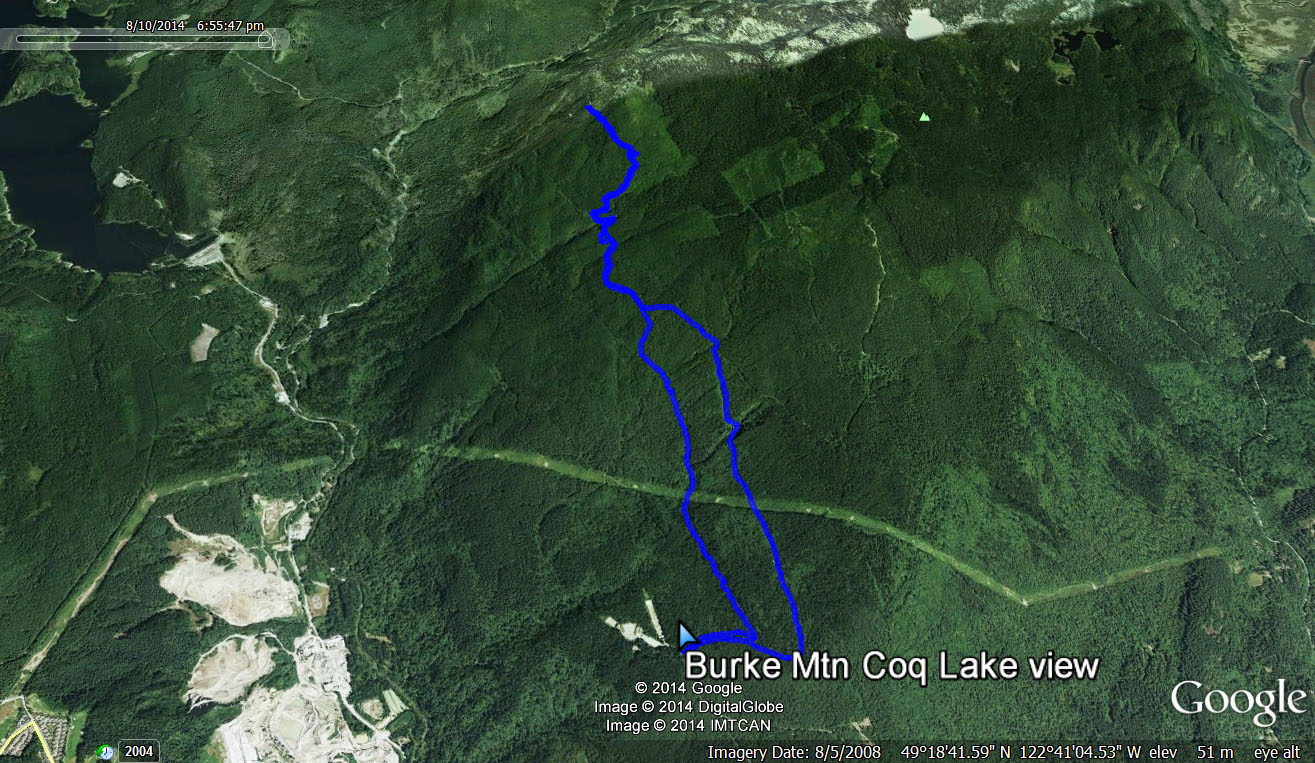
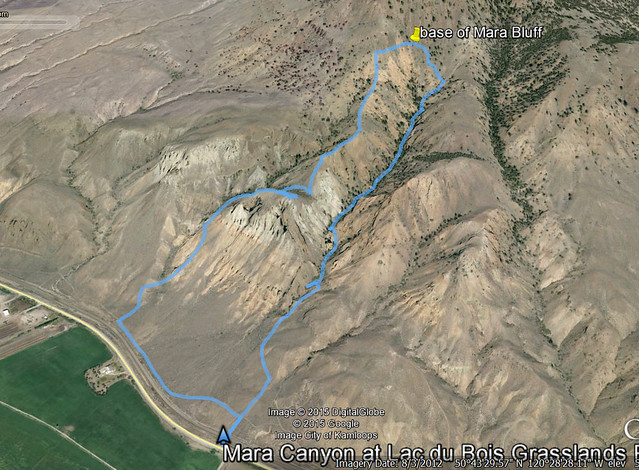
Here is the route…
Here’s the route from Google Earth:
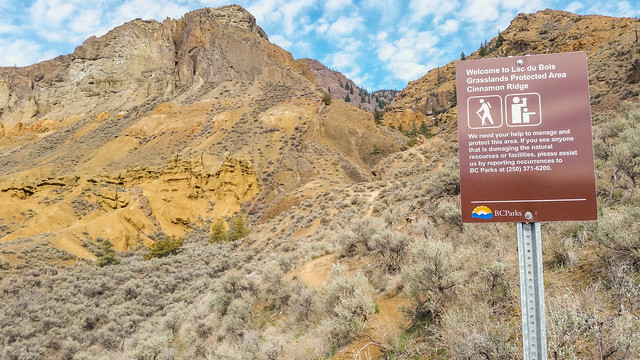
Parks sign…
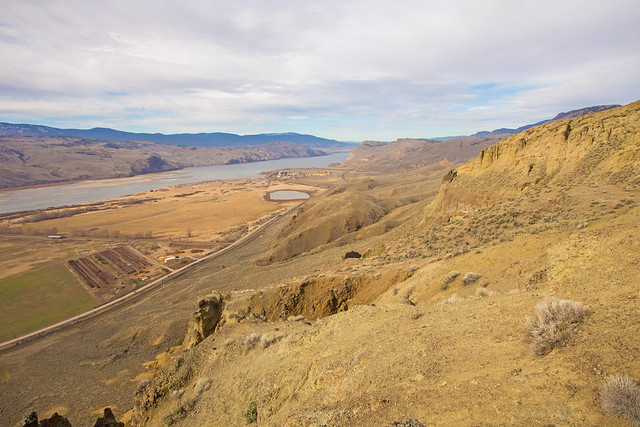
First viewpoint…
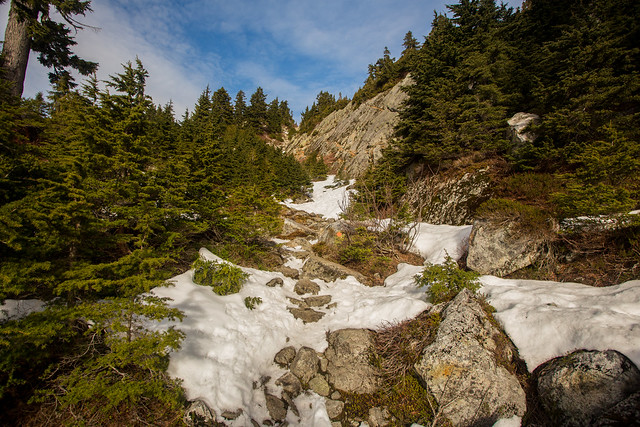
Mara Canyon creekbed…
View on way down…
View through Hoodoo…
Hoodoos from Mara Canyon creekbed…

Looking north up Mara Canyon…
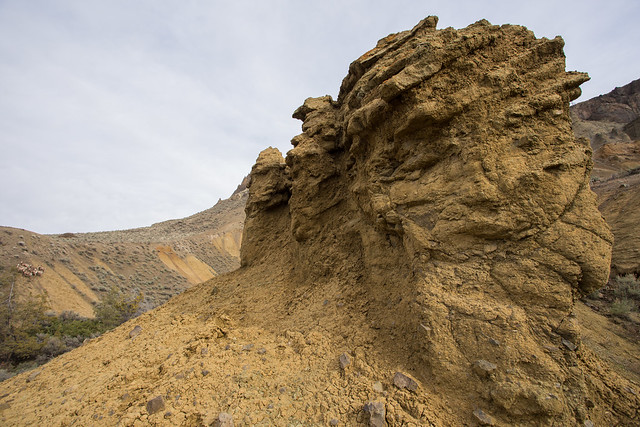
Hoodoo…
California Bighorn Sheep…
★★★★★★★★★★★
Before heading out on your hike, make sure you are well prepared. This means, having the TEN ESSENTIALS. It is also important to leave a trip plan (route details and estimated return time) with someone you trust.
Bring your smartphone, fully charged and put it in airplane mode while hiking. I always bring back-up battery packs for extra piece of mind. It is highly recommended that you bring a GPS device; I use my smartphone with a GPS app (Backcountry Navigator). The GPS will work in airplane mode. Learn how to use it before your hike.
For anyone new to hiking, there is a rule to which hikers follow; it is called “Leave No Trace” or LNT. The concept is generally to pack out what you pack in and respect nature, so all future visitors can enjoy what you have enjoyed.
To learn more about LNT, please check out this BLOG by a certified LNT Trainer.