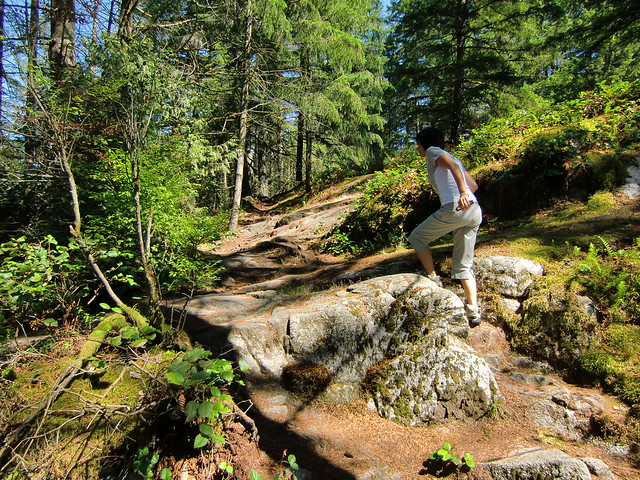
St. Mark’s summit is a great hike and I started from the Cypress Mountain Parking lot. The route taken follows the Howe Sound Crest Trail. This hike can get very busy during sunny weekends, especially in the summer. Beware of snow conditions even into early summer.
Distance: 10.3 km (return)
Low point: 917 m
High point: 1344 m
Elevation gain: 427 m
Trailhead: 49° 23’ 42” by 123° 12’ 10” (Google Map)
Here is the route…
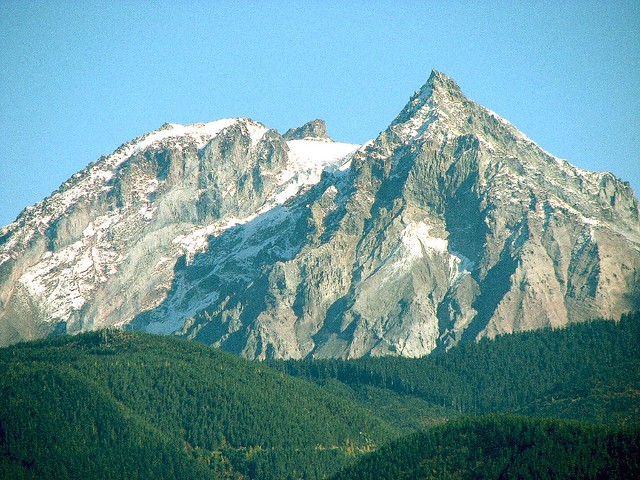
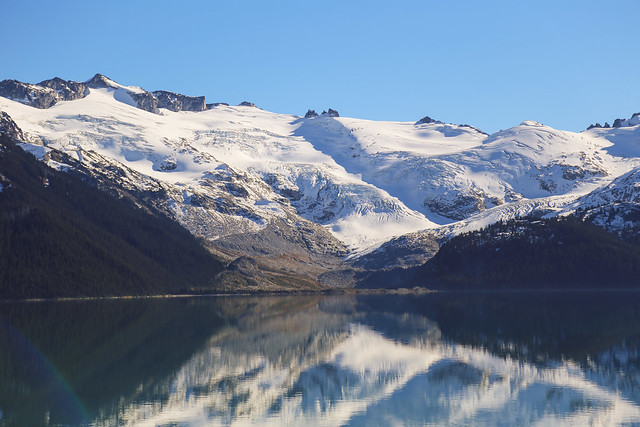
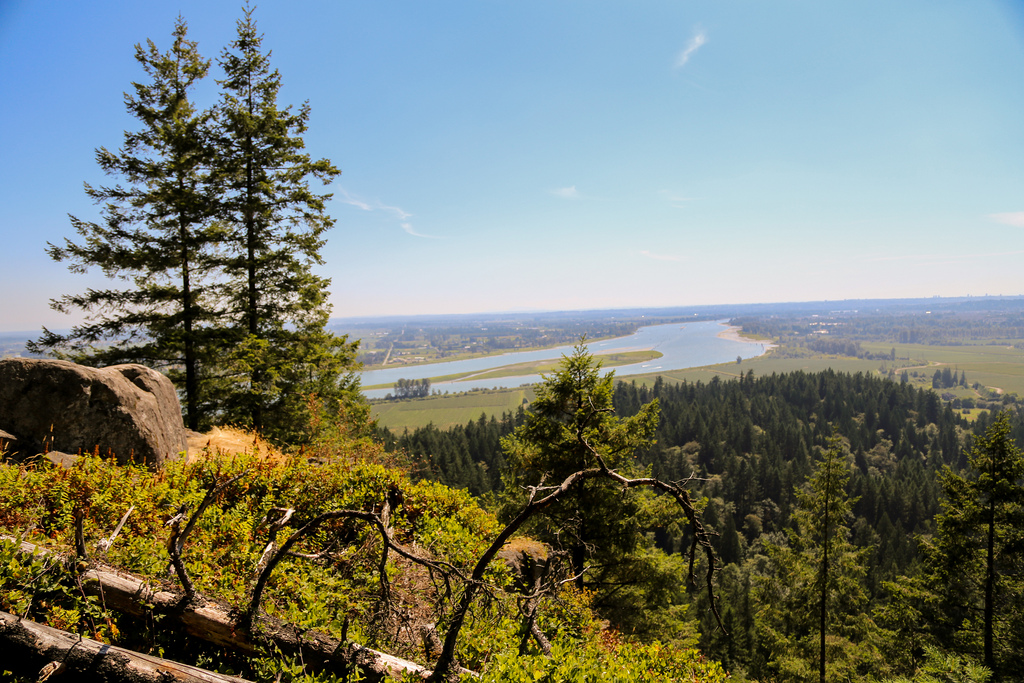
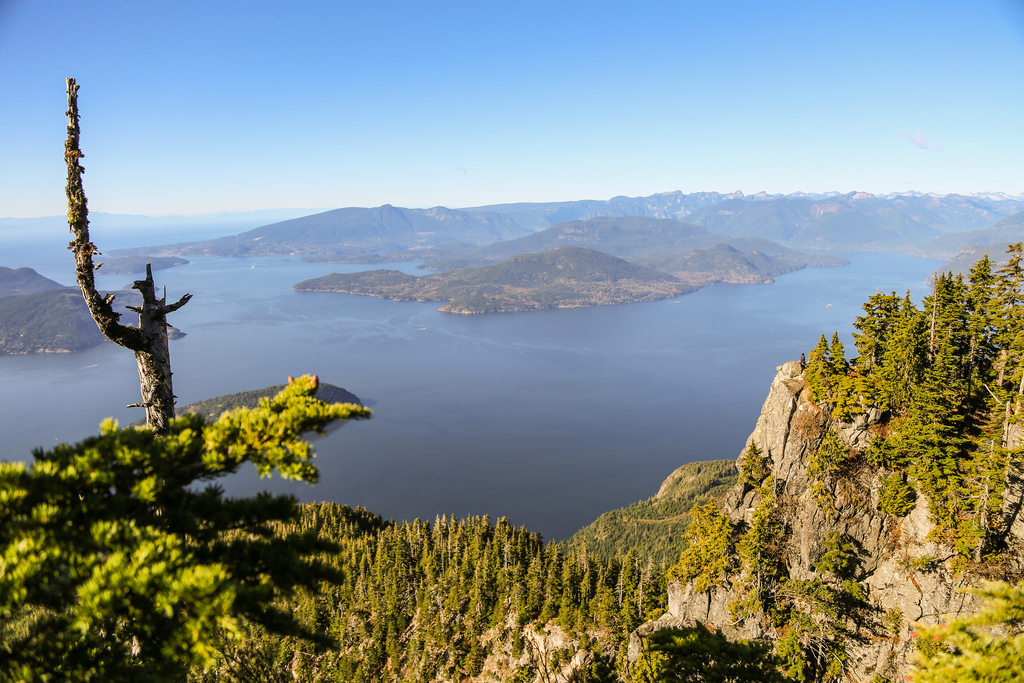
View from the top…
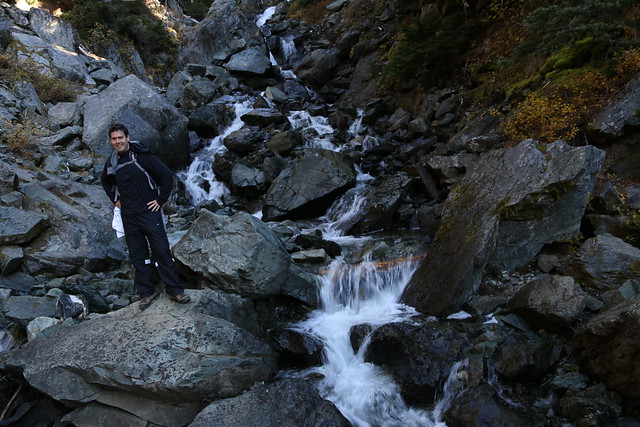
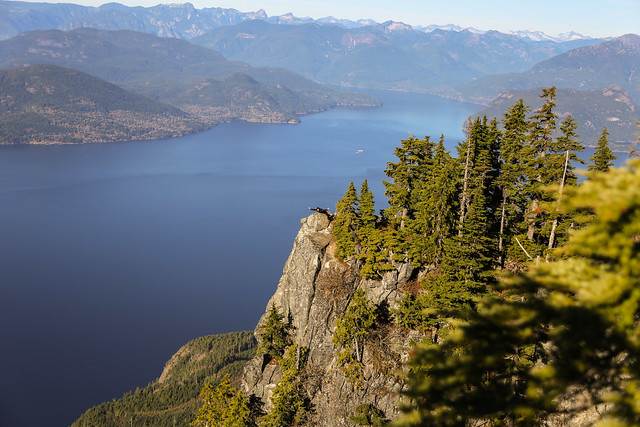
Me on a ledge…
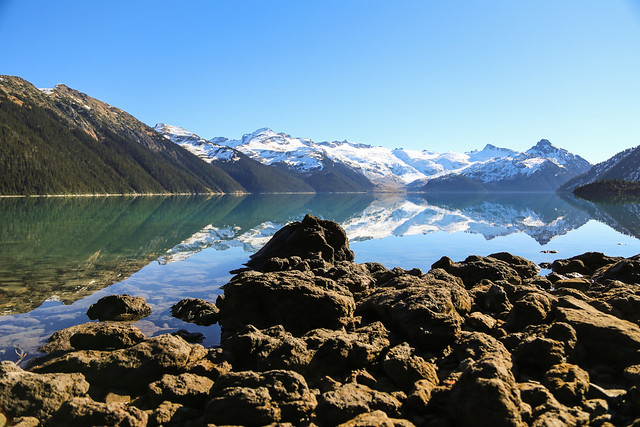
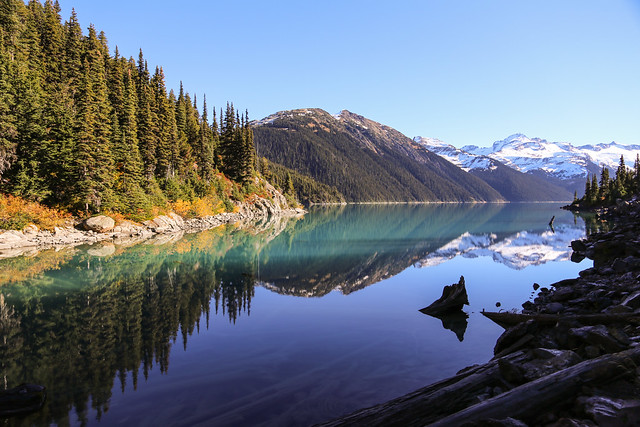
We had a nice view of the Lions…

The Whiskey Jacks were plentiful…

★★★★★★★★★★★
Before heading out on your hike, make sure you are well prepared. This means, having the TEN ESSENTIALS. It is also important to leave a trip plan (route details and estimated return time) with someone you trust.
Bring your smartphone, fully charged and put it in airplane mode while hiking. I always bring back-up battery packs for extra piece of mind. It is highly recommended that you bring a GPS device; I use my smartphone with a GPS app (Backcountry Navigator). The GPS will work in airplane mode. Learn how to use it before your hike.
For anyone new to hiking, there is a rule to which hikers follow; it is called “Leave No Trace” or LNT. The concept is generally to pack out what you pack in and respect nature, so all future visitors can enjoy what you have enjoyed.
To learn more about LNT, please check out this BLOG by a certified LNT Trainer.